Own Your Own Gallery (Wall)!

I've written before about my love of (and more recent investment in) art, but I am also a big fan of adding personality to your home by framing pictures from your travels or featuring your family to create an impactful (and cost effective) statement.

In my own home, I have pictures taken several years ago during a trip to Latvia of my family's former farm where my mother was born (but my family had to flee during WWII) as well as photos from visits to the Great Ocean Road in Australia, Venice and South Africa (my safari at Arathusa still remains my favorite vacation to date). 

For this reason, I was excited to share this idea with my clients who had a blank (but beautifully and newly blue) wall in their DC rowhouse living room. The couple has international roots and travel is important to both of them, so I asked that they go through their archives and find 8-10 images that meant something to them - with a few bringing out the blues and yellows in their home's first floor color palette. Pairing these with double matted white gallery frames (these are from Bed, Bath & Beyond, but you can also find them - often on sale - at Michaels, Pottery Barn, etc.) with the stunning images resulted in just the impact desired.

Clients' Finished Gallery Wall (Note Rest of Room Still in Progress...Pics )

Clients' Finished Gallery Wall (Note Rest of Room Still in Progress...Pics )

Gallery walls can be intimidating but they're a great project to take on to add interest to a blank wall, whether behind a couch, in a hallway or along a staircase. If you're still nervous, here are a few tips:

  • Put the focus on images by selecting stylish but simple frames. I am a fan of white frames with white mats (as above) but you can achieve great looks with black- or wood-toned frames as long as they don't detract from the photos. To create interest, use frames of different sizes. 
     
  • Select more photos than you need for the space. As you piece your layout together, sometimes you'll find one or two images may not be working. It's always good to have options so you can play with alternatives on the fly. And, if you don't use the for the gallery wall, you may think of a new location to pair two or more of them (like your bathroom).
     
  • Embrace the flexibility of a gallery wall. Gallery walls can be permanent but they also can be dynamic - replacing images, adding new ones, playing with arrangements, etc. I highly recommend using Command Universal Picture Hangers for projects like this. Even if you own your home, no one likes an overly holey wall and these are reusable and allow you to make easy adjustments. I also love the mini strips for ensuring photos are secure and level .
     
  • Play with the layout on the floor or a table, diagraming on paper with measurements. I find the best way to find your ideal layout is to frame your images, measure the horizontal and vertical space you want to fill (you can event tape it out with painters tape on the floor/table) and then experiment. Don't forget to use consistent spacing between frames, as this ensures the wall looks purposeful but doesn't have to be grid-like. Once you have your planned wall, document it on paper - including frame sizes, spacing, etc. With this, you can then hang your frames in relation to the previously hung frames easily (taking into account the additional measurements for the placement of the nail or hanger). 
     
  • If you're not using an interior decorator or designer, enlist a friend or two! You'll find at times that you'll be wishing you had a third or fourth hand as you balance the hanger, level, measuring tape, etc...not to mention who doesn't want at least one more pair of eyes! Put on a pot of tea or pour a glass of wine and make an afternoon of it!

This is by no means an exhaustive or step-by-step list, but hopefully these tips will help you if you decide to embark on your own gallery wall! Happy hanging!

New Year's Decorating Resolutions

New Years Day 2017 Brunch Spread

Happy New Year!

While I am not a die-hard resolution-maker, 2016 involved a lot of (good) changes personally - most notably starting At Home DC! I have a big personal and professional list of goals for the year, but I thought it might be more fun to share some of my décor-related resolutions (or perhaps they are more of mantras for 2017):

  1. Step outside your comfort zone. It's easy to gravitate toward one style, color palette or even furniture or accessories store. While I firmly believe you should have a personal style, look for people to challenge what you'd normally choose when redecorating or adding to your home. Through my interior decorating services, I strive to help people do just this (but I need to remember to remind myself to do the same in my own house).
     
  2. Decorate your home to impress but, most importantly, live! A living room or bedroom straight out of a design magazine is a thing of beauty...but it has to add to your enjoyment of your home (and not your list of worries, chores, etc.). The two are far from mutually exclusive but, as with many things in life, it's all about balance (and being smart about paint, fabric and flooring choices to ensure the four- and two-legged ones in your life can enjoy your home, too).
     
  3. Embrace color, pattern and texture. Much like virtually reality has created more immersive experiences (sorry, former life as PR gal in media), bold or unexpected color choices and introducing new patterns and textures in everything from flooring to textiles only adds to the complexity and enjoyment of your space. 
     
  4. Share your home and embrace your community! Okay, perhaps this is me being influenced by this year's election or more likely by the amazing neighborhood I call home, but take time to open your home by hosting friends, family and neighbors. I have always enjoyed hosting  small and large events at home, but I am stepping things up in 2017 starting with a relatively casual but oh-so-enjoyable brunch this morning (pictured above). Not only does this mean you can show off your beautiful home, but you'll also be exposed to new people, new perspectives and (hopefully) new friends. 

Do you have any home-related resolutions? If so, I'd love to hear about them! Here's to a happy, healthy and homey 2017!

Emeralds Are A Girl's Best Friend

With the arrival of October, comes the return of rich seasonal colors. One of my favorite tones in fashion (as a redhead) and design is emerald green.

While it may have been Pantone's color of the year back in 2013, I still find that it can add a nice pop to any room and ups the sophistication (especially when in a lux fabric, like velvet). Emerald is great with various shades of blue, but you may want to save the navy pairings to smaller pops if you have a smaller room since both are such strong colors that can make a space seem smaller than it is. The jewel-toned green also pairs well with medium to light grays, as well as taupes and creams.

Emerald can certainly inspire a room re-design, but that doesn't necessarily mean a full living room or bedroom makeover. Just imagine how cozy and posh a powder room could be with the right wall paper and metallic accents!

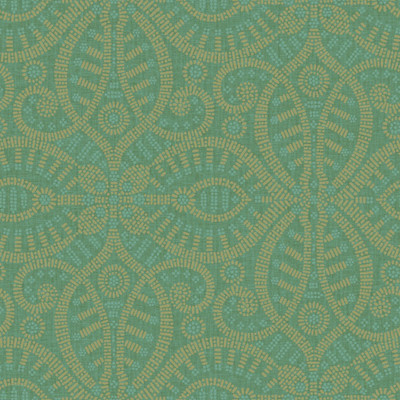
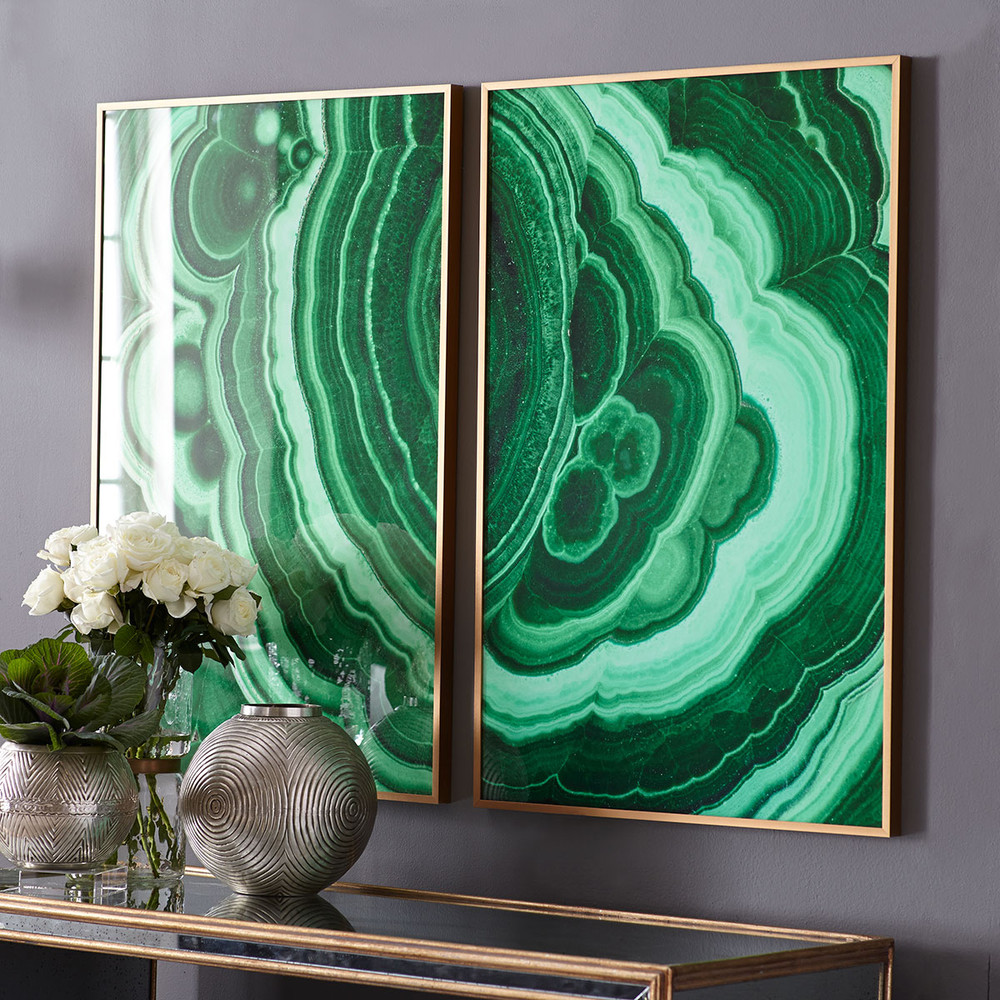
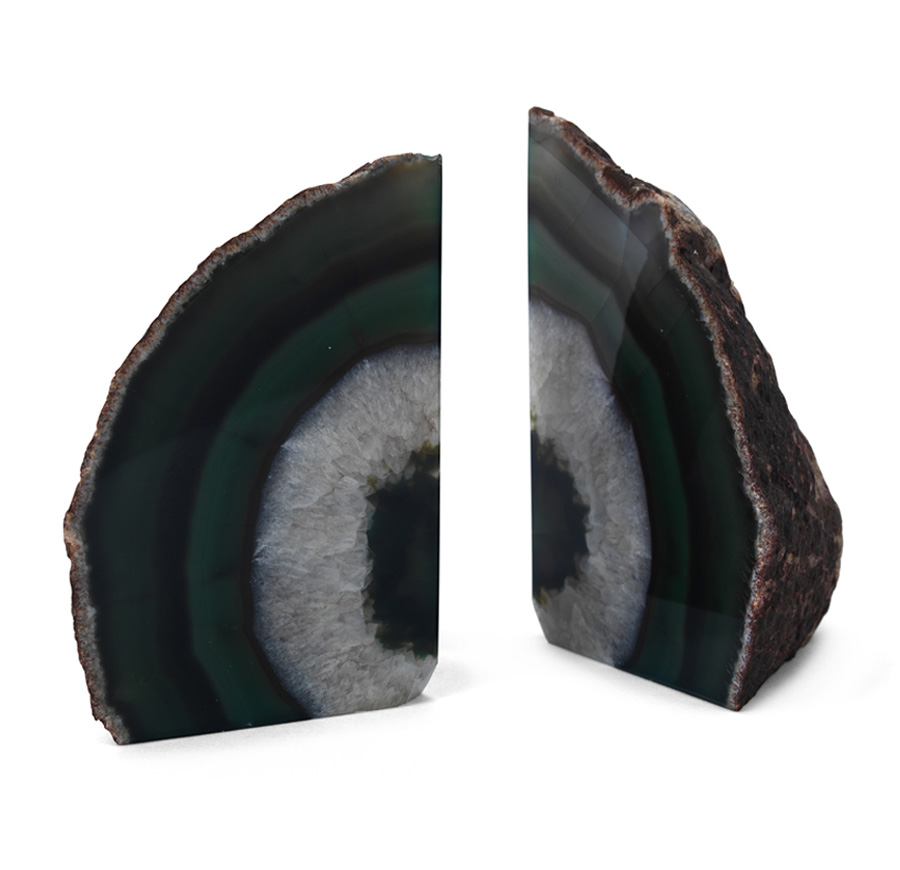
Below are a few emerald OODs (objects of desire) that I would love to add to my home or another. Let's obsess together...

Making a (Back)splash in the Kitchen

When I started my home search in Washington, DC almost four years ago, I - like all prospective buyers - had a long list of my must-haves, nice-to-haves and dealbreakers.

As someone who loves to entertain, the kitchen was a key area of focus, primarily when it came to function (hoping to upgrade from a small, enclosed kitchen), but with an eye on aesthetics. One of those design elements was a sleek backsplash.

Touring dozens of homes, I saw a range of backsplashes (or lack of) - from simple 3-4" ones from the same material as the countertops to tiled, decorative backsplashes starting at the countertop (my preference). To make a long story short, the home that I ultimately bought had a 4" granite strip matching the counter. The easiest solution (and what I often see in updated kitchens on the market) is a decorative tile backsplash that starts above that slab. While I've encountered some of these that look decent, I personally still find most iterations like nails on a chalkboard.

Having just invested in a home (with virgin granite countertops, mind you) and all the associated expenditures, I couldn't justify replacing them. I was, however, able to find a tile contractor who would attempt to remove the slab. Of course, that came with warnings that the countertop could be damaged or that there could be gaps between the countertop and wall that would make installation of the new backsplash more challenging (read: expensive). I decided to throw caution to the wind, immersed myself in thousands of tile options, and set the date.

Despite being a fully renovated property with new interior walls, etc., the two-person tile team ran into two hiccups:

  1. Most of the slabs of 4" granite would not budget with a crowbar from the wall. In the end, after more cautions from the crew about potential damage and my approval, the team took hammer and chisel to the pieces. It was loud and time-intensive, but I breathed a sigh of relief that my countertops were still intact.
  2. In one of the corners, despite new drywall, there were gaps that exceeded the depth of the glass tiles I had selected. Luckily a skim coat was able to correct that.


Demo and about 1/3 of the tiling was done in one day, and I had a brand new backsplash on day two! I've included a slideshow below of before, during and after above, and I'll leave you with a few takeaways from my experience if you are considering a similar kitchen project:

  1. Ask friends for contractor recommendations and/or consult a reference site online (but I put more weight on personal experiences). You also can consider visiting a reputable tile supply store (I found the one I purchased my tiles from had cards for those they recommended handy).
  2. Get at least two bids, having them visit and see the space. I have found many contractors send you a more detailed questionnaire and even ask for pictures.
  3. Take home tile samples - even ones that you think might not work. You'll have to consider not just color, but size, layout and finish. Even though I was limited to a range of whites and greys by my existing countertop, there were still lots of choices.
  4. If your contractor is not providing materials, confirm that you have everything you need - from the tiles (with extra in case some are broken or there are other mishaps), grout, edging, etc. And, when you pick up or receive those tiles, check every box! I did when I picked up and discovered that a few boxes were the wrong color (luckily before going home and the tile store delivered the remainder due to the mistake).

I'd love to hear about your home improvement experiences and tips, as well!

Investing in Art, Enhancing Your Home

When your first starting out on your own after college, "art" is a word that most likely was associated with what you'd check out in your local museum or when studying abroad...certainly not something that seems accessible or a priority for a tight budget.

"White Forest" by Texas-Based Artist Austin Allen James

"White Forest" by Texas-Based Artist Austin Allen James

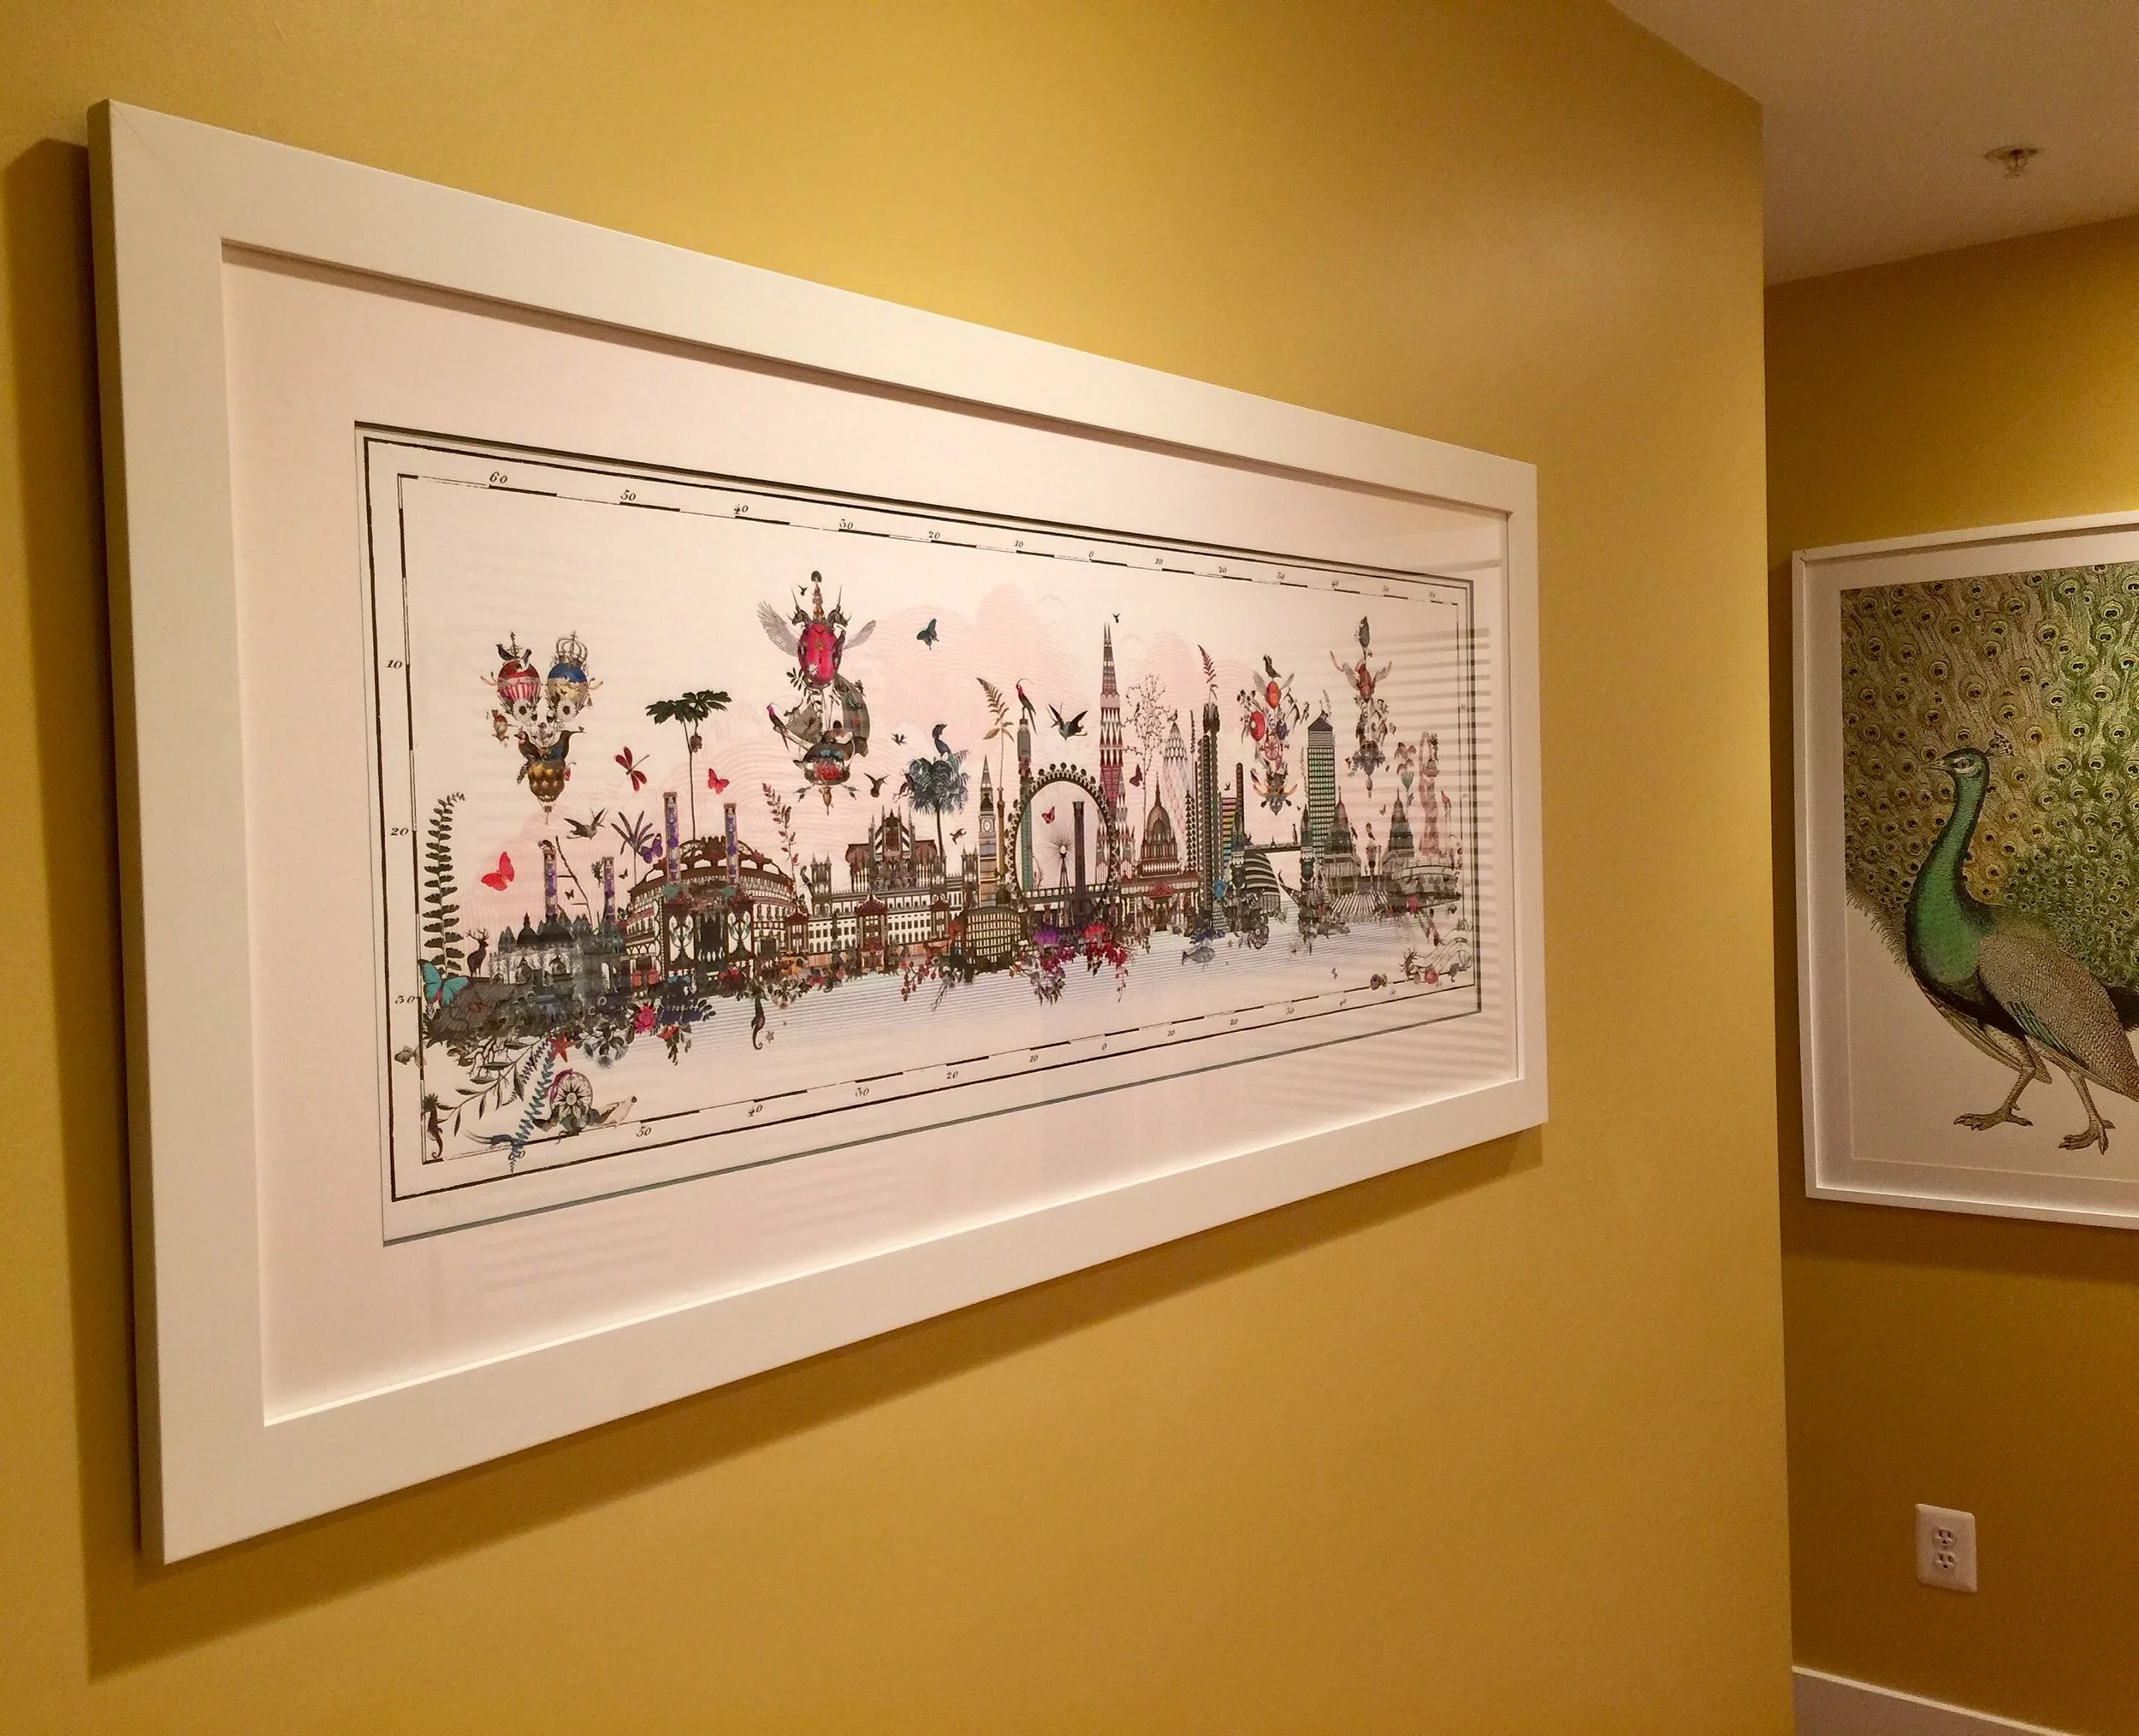
If you're like me, your first wall art might have started with framed posters from the aforementioned museums or perhaps some mass manufactured pieces from Ikea (although I did make the move to paint four canvases in two shades of green and arranged behind my bed early on). However, as I've matured and especially as I bought my first home, I saw the value in adding unique pieces to my walls - buying a large-scale original painting a year and a half ago and later investing in a beautiful panoramic print (both acquired during travels for work) a few months later.

"Kennilieti Lunduna" by London-Based, Icelandic Artist Kristjana S. Williams

"Kennilieti Lunduna" by London-Based, Icelandic Artist Kristjana S. Williams

I decided I was going to start investing in art well before I found the right pieces and, since it may be intimidating for some, I thought I'd share a few tips if you would like to do the same:

  1. Identify wall space (blank or that has something you'd like to replace) for your forthcoming investment.
  2. Consider the scale of the space and surrounding items, the color palette of the room and they type of art you are most interested in (abstract, pop art, realism, etc.).
  3. Set a budget range that is comfortable but treats this purchase as it will be - an investment.
  4. Search for local galleries online (or post on a local message board to inquire about local artists, which I did) and set aside time on the weekends to browse and find out what you like and what you don't.
  5. Do the same browsing when in different cities and even online. As noted above, my two recent acquisitions came from a trip to Austin, Texas and during an overseas stint in London.
  6. When you find "the one" that speaks to you - if it fits with your space, design and budget - go for it! Don't forget to take into account any framing costs (if it's a print or canvas that needs it) and transportation (local delivery or cross-country shipping); both can be pricey but well worth it (my print required a custom mat and frame and my Texas painting had to be shipped via a specialized art freight company).
  7. Hang that piece and pour a generous glass of wine as you stand back and admire! (Note: This step can be repeated.)

Down with and Long Live Pumpkin Spice

As I got myself up this morning and checked my watch for the current weather before taking my dog for a walk, I was happy to see a temp that started with a "5." Cooler temperatures are certainly a sign of fall in DC...much more for me than the much maligned arrival of all things pumpkin spice.

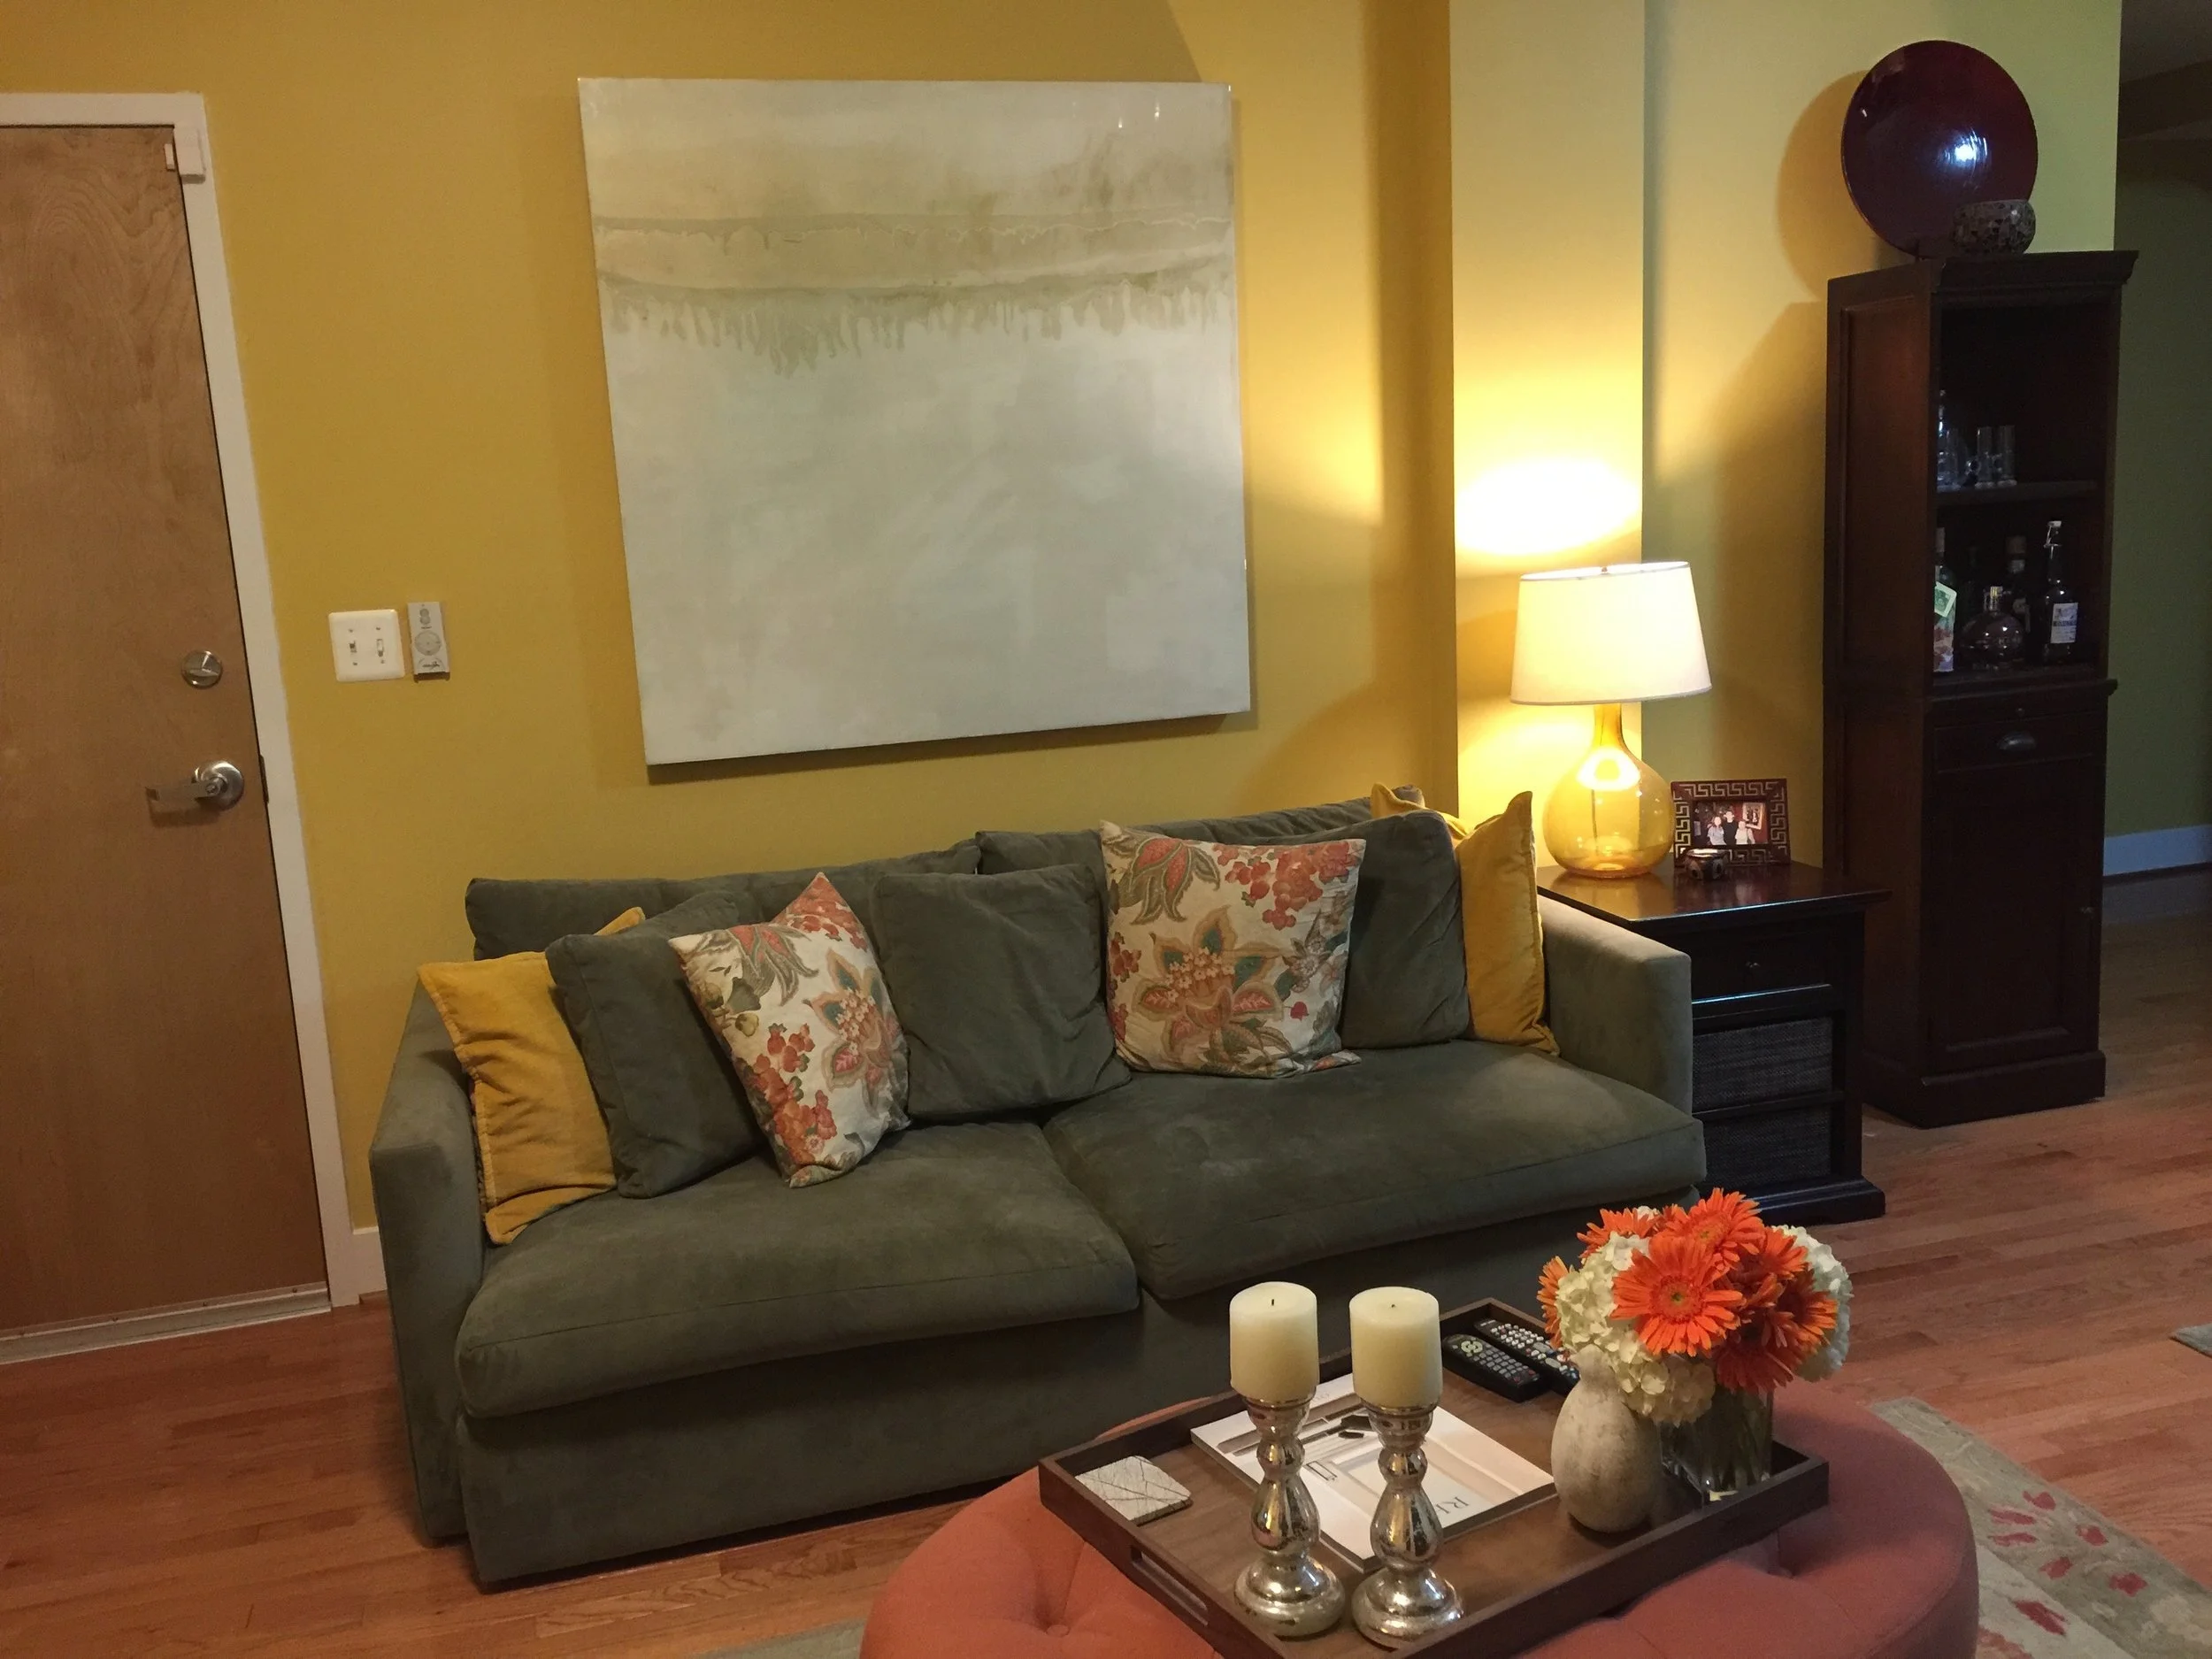
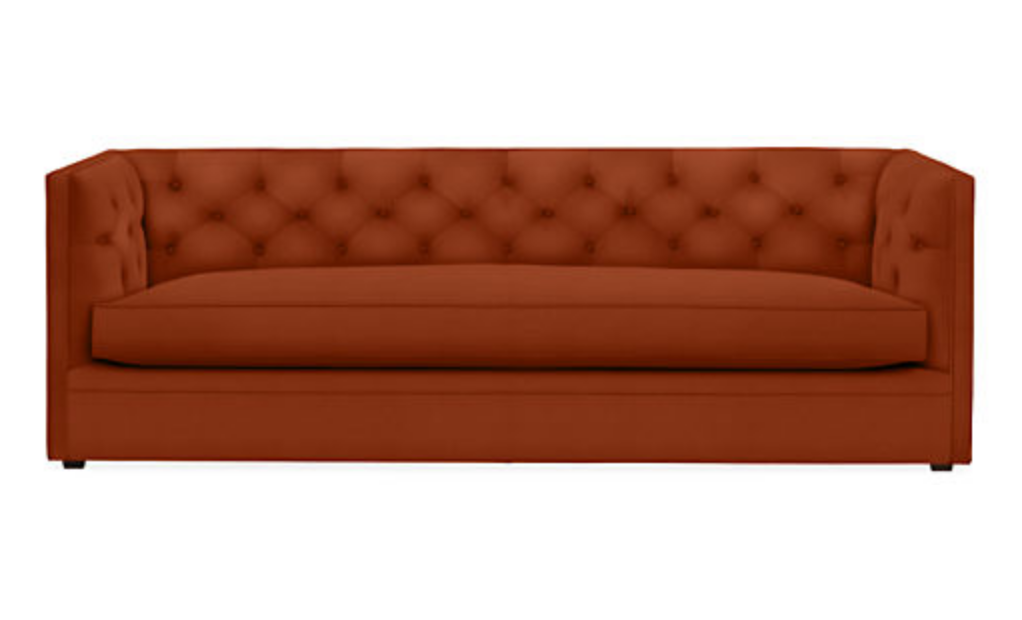
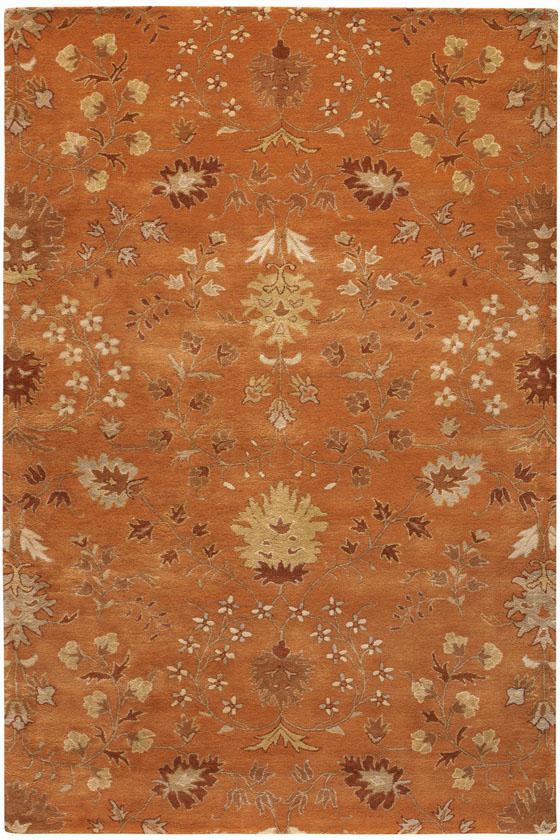
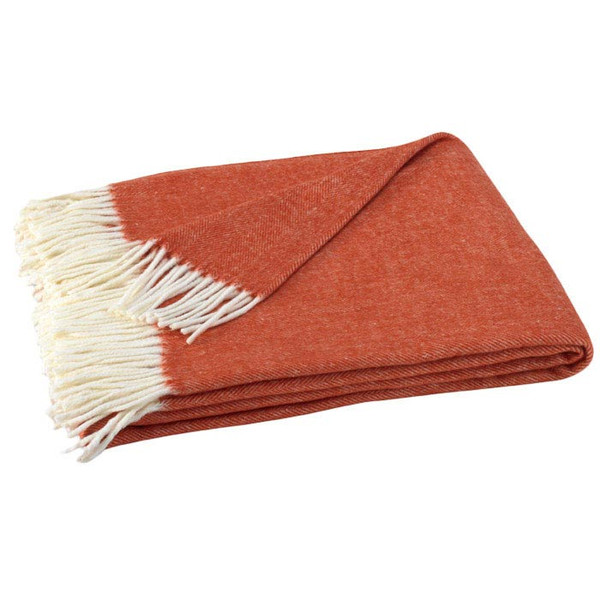
As much as I am not a fan of PSLs and every food product that now comes laced with cinnamon, nutmeg and other lovely flavors under the pumpkin spice banner, I am a fan of spice-inspired design (I even have a tufted ottoman in a light cinnamon tone).

So, whether you like or detest PSL season, I've gathered a few design pieces below that I can fully support adding to your home decor this fall and year-round! Any others you would add?

Bin-There, Done That: Fridge Edition

Staying organized - love it or hate it - can make life so much easier (and visually appealing). If you're in the "love it" camp, like me, The Container Store is your mecca, you dream of custom closets, etc.

In an effort to add some organization to my fridge (in conjunction with a focus on reducing food waste, ensuring easy access to healthy food options and keeping things clean), I recently decided on a whim to pick up a few clear storage bins during a trip to Home Goods (another mecca for me). All less than $10 each, I loved the look of cans and bottles aligned neatly and a little tray of snack cheeses (another weakness) so much, that I ended up returning to another store to buy more and complete the project. The end result is below...

Okay, so it's no Cribs fridge, but it makes cooking at home a little easier and tidier!

While I ended up with Core Kitchen bins from my visits, there are a variety of similar bins (clear and colored) that you can buy online and in store, at retail or on sale.

Clover Accent Tables

When you're entertaining, it seems like there's never enough space for people to leave their drinks and noshes (or phones). However, that doesn't mean you need to add a massive coffee table or side board that will just collect junk, dust, etc. the rest of the time.

Photo Credit: GrandinRoad.com

Photo Credit: GrandinRoad.com

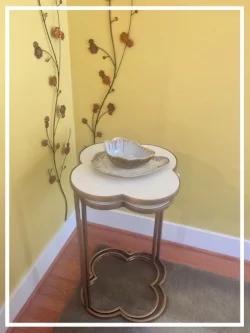
I've been on a mission for the perfect small table to pull out when I needed extra space in my living room, and I intended to buy a simple c-table (eyeing the Portica from Room & Board due to ability to customize finishes and constantly checking for ones I loved at Home Goods). I ended up putting off the purchase but, in the end, I ended up with another "c-table," the Clover Accent Table from Grandin Road. I ordered the set on a whim after seeing a 30% off deal expiring in less than 24 hours and the nested tables came a few days later.

Aesthetic-wise, the clover design adds more of a feminine touch and the neutral top and soft metallic finish mean they blend well with my existing palette of gold, cinnamon, sage and cream accents. The tables are tucked away usually in the corner of my dining room (I have an open concept space with dining room and living room adjacent), and I've even added a decorative bowl and plate I received as a gift for my birthday and wanted to display. With an upcoming holiday party and more entertaining in my future, I know they'll get good use.

Is there anything on your home shopping list that you've been look for the "perfect one" of?

Tables at Home in My Home

Tables at Home in My Home