Wall Art

Window on DC: Making Meaningful Wall Art

Last year, my neighborhood lost a longtime resident and cherished neighbor and, as her house is redeveloped, I was able to salvage a bit of Petworth history and a memory of one of my favorite neighbors, Miss Erma.

Miss Erma Greeting Bea on Her Porch

Miss Erma Greeting Bea on Her Porch

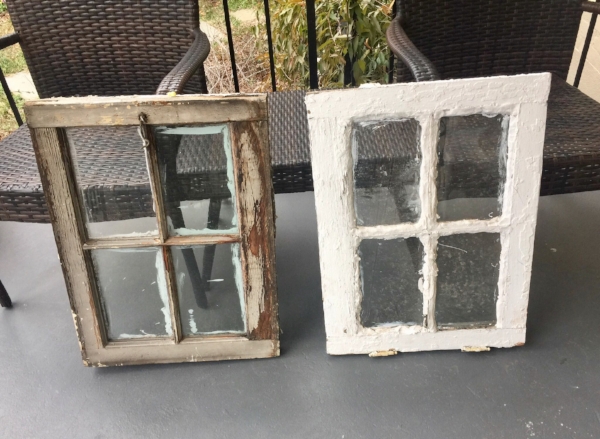
Miss Erma was among one of the first residents I met on my block when I moved in several years ago, and I miss walking by her house to say hello during daily dog walks (she's pictured at left enjoying a regular visit from my pup). As the construction crew rehabs her house and prepares it for new neighbors, I was fortunate to snag the two original windows from her house that were left for the next haul of debris. 

I have never reclaimed a piece of history for wall art before (though I have often thought about it watching HGTV or visiting Community Forklift), so I decided this would be a worthwhile opportunity. While there are many articles and blog posts online about taking vintage windows, doors, mantels, etc. and repurposing them as art, tables and more, I was surprised how few mentioned the possibility of lead paint. Luckily I was acutely aware of the likelihood of led paint on the frames (houses on our block were built in the early 1900s), and I bought a test at the local hardware store before doing anything.

As suspected, the windows showed signs of lead paint, so I halted further work until I could get the supplies needed to take precautions before preparing them to come into my home. I am not an environment hazard expert, but I found this information from the New York Department of Health helpful in deciding on my approach. 

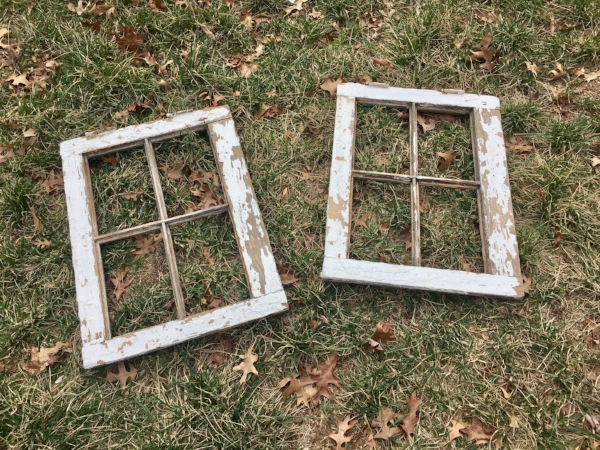
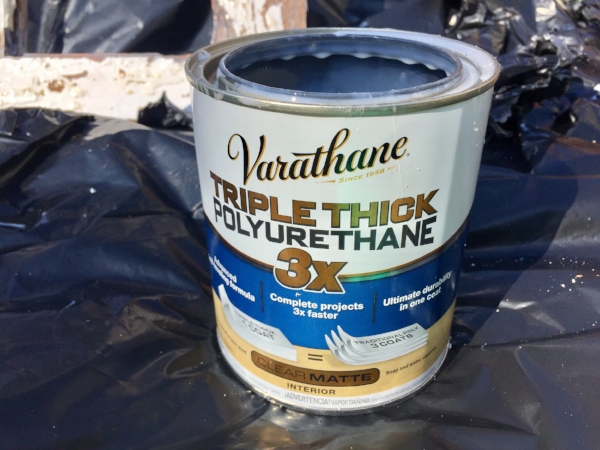
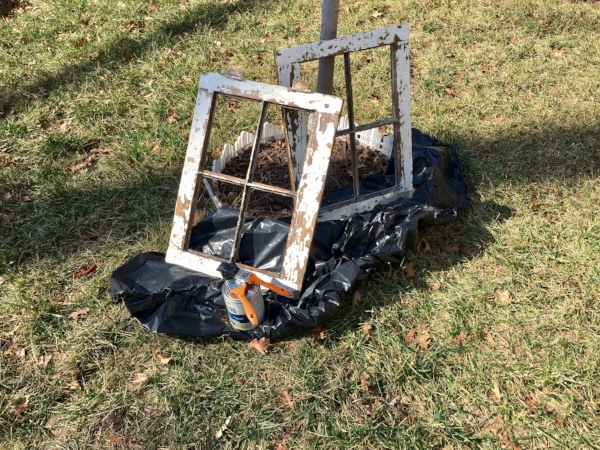
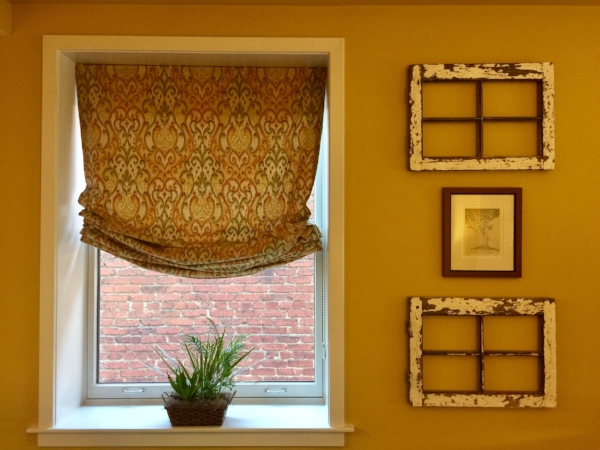
While I had toyed with keeping the glass (after removing/replacing panes, and even adding a mercury glass effect), I ultimately decided to leave the windows without glass (they are substantially lighter for hanging, as well). While wearing protective gear, I removed layers of caulk and used a wire brush to remove loose paint and a coarse sandpaper to tackle any potential splinters. After a quick cleaning with soapy water to remove any remaining dust and debris, I let them dry before sealing with Varathane Triple Thick Polyurethane in a matte finish. The poly dried to a tacky finish in two hours and was ready to come inside a few hours later (no smell at all).

I decided to hang the windows with the weathered white paint facing out, pairing with an existing original drawing already hanging in my home. I love having a constant reminder of a dear neighbor and a bit of DC's history on my wall. 

Have you recycled any architectural elements for your home? I'd love to hear about them!

Own Your Own Gallery (Wall)!

I've written before about my love of (and more recent investment in) art, but I am also a big fan of adding personality to your home by framing pictures from your travels or featuring your family to create an impactful (and cost effective) statement.

In my own home, I have pictures taken several years ago during a trip to Latvia of my family's former farm where my mother was born (but my family had to flee during WWII) as well as photos from visits to the Great Ocean Road in Australia, Venice and South Africa (my safari at Arathusa still remains my favorite vacation to date). 

For this reason, I was excited to share this idea with my clients who had a blank (but beautifully and newly blue) wall in their DC rowhouse living room. The couple has international roots and travel is important to both of them, so I asked that they go through their archives and find 8-10 images that meant something to them - with a few bringing out the blues and yellows in their home's first floor color palette. Pairing these with double matted white gallery frames (these are from Bed, Bath & Beyond, but you can also find them - often on sale - at Michaels, Pottery Barn, etc.) with the stunning images resulted in just the impact desired.

Clients' Finished Gallery Wall (Note Rest of Room Still in Progress...Pics )

Clients' Finished Gallery Wall (Note Rest of Room Still in Progress...Pics )

Gallery walls can be intimidating but they're a great project to take on to add interest to a blank wall, whether behind a couch, in a hallway or along a staircase. If you're still nervous, here are a few tips:

  • Put the focus on images by selecting stylish but simple frames. I am a fan of white frames with white mats (as above) but you can achieve great looks with black- or wood-toned frames as long as they don't detract from the photos. To create interest, use frames of different sizes. 
     
  • Select more photos than you need for the space. As you piece your layout together, sometimes you'll find one or two images may not be working. It's always good to have options so you can play with alternatives on the fly. And, if you don't use the for the gallery wall, you may think of a new location to pair two or more of them (like your bathroom).
     
  • Embrace the flexibility of a gallery wall. Gallery walls can be permanent but they also can be dynamic - replacing images, adding new ones, playing with arrangements, etc. I highly recommend using Command Universal Picture Hangers for projects like this. Even if you own your home, no one likes an overly holey wall and these are reusable and allow you to make easy adjustments. I also love the mini strips for ensuring photos are secure and level .
     
  • Play with the layout on the floor or a table, diagraming on paper with measurements. I find the best way to find your ideal layout is to frame your images, measure the horizontal and vertical space you want to fill (you can event tape it out with painters tape on the floor/table) and then experiment. Don't forget to use consistent spacing between frames, as this ensures the wall looks purposeful but doesn't have to be grid-like. Once you have your planned wall, document it on paper - including frame sizes, spacing, etc. With this, you can then hang your frames in relation to the previously hung frames easily (taking into account the additional measurements for the placement of the nail or hanger). 
     
  • If you're not using an interior decorator or designer, enlist a friend or two! You'll find at times that you'll be wishing you had a third or fourth hand as you balance the hanger, level, measuring tape, etc...not to mention who doesn't want at least one more pair of eyes! Put on a pot of tea or pour a glass of wine and make an afternoon of it!

This is by no means an exhaustive or step-by-step list, but hopefully these tips will help you if you decide to embark on your own gallery wall! Happy hanging!