
While we've previously covered a small bathroom makeover on this blog, today's post expands on it by digging into ways to inject personality into private spaces that are best known for function over form.
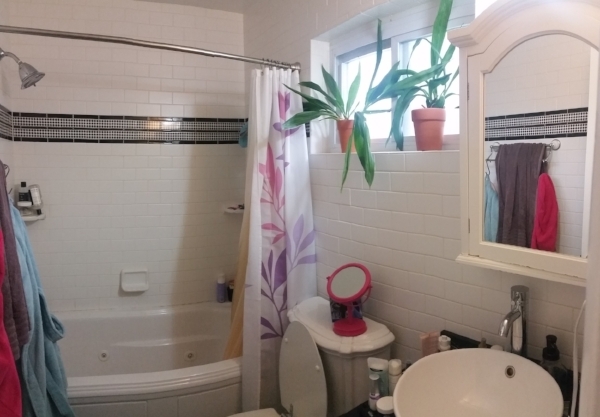
Earlier this year, I worked with my clients in Rockville to help them add new life to two of the bathrooms in their lovely home. While it would be easy to go with a standard 3x6 subway tile surround and standard pre-fab vanity, these homeowners were open to ideas and finishes that would add style to these smaller spaces. (You can see one of the before and afters below.)

While each homeowner and space is unique, I want to challenge you (whether you are working with a designer/decorator or not) to take these tips to heart before you start your own bathroom project:
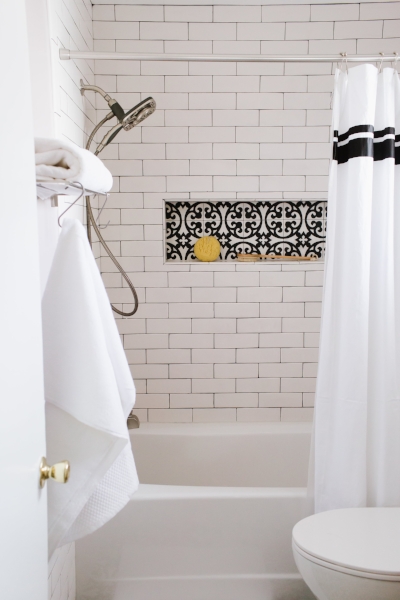
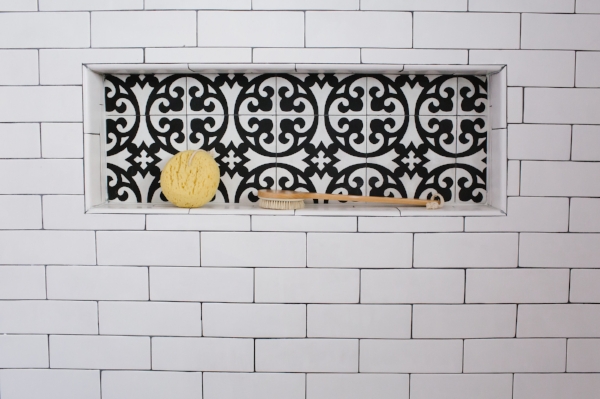
1. Find At Least One Feature/Finish to Splurge On: As with any room, you want to have a focal point or feature that draws the eye initially and that is complemented by the rest of the design. In small bathrooms, one easy way to do this is through floor and accent tile. In both of these bathrooms, we chose conversation-worthy tiles — a black and white cement tile for the hall bathroom (LiLi's Marrakesh 1 from Architectural Ceramics in Chevy Chase) and a blue-toned marble chevron tile from TileDaily for the master bathroom.

LiLi's Marrakesh 1 Tile in Bathroom Niche (Also Used on Floor)
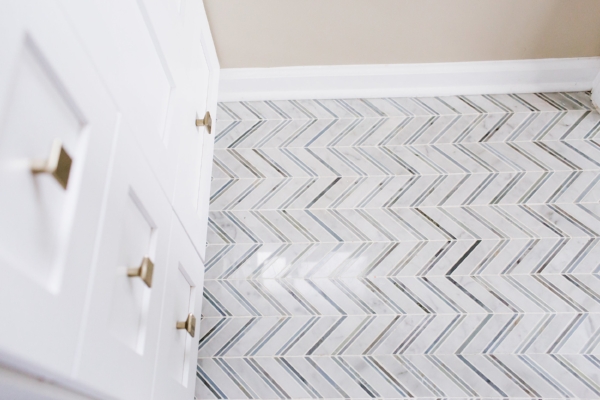
Chevron Mix Blue Marble Mosaic Tile from TileDaily
2. Make Small Changes That Feel Custom: You may not have the budget for custom cabinetry but consider swapping the hardware or adding a custom countertop to a pre-built unit. In the master bathroom, we swapped out the silver hardware for a square-shaped brushed gold finishes to match the other hardware and paired it with a quartz top (Emerstone Quartz Carrara White from Architectural Stones in Rockville) that matched the in-shower bench added during the renovation. Other ways to add a custom feel without spending too much include using tiles in different shapes (we used 3x9 in the hall bathroom and 3x12 in the master bathroom) or with a contrasting grout (as we did in the hall bath to complement the cement tile floor).

Strasser Woodenworks Vanity (from Wayfair) with Updated Hardware
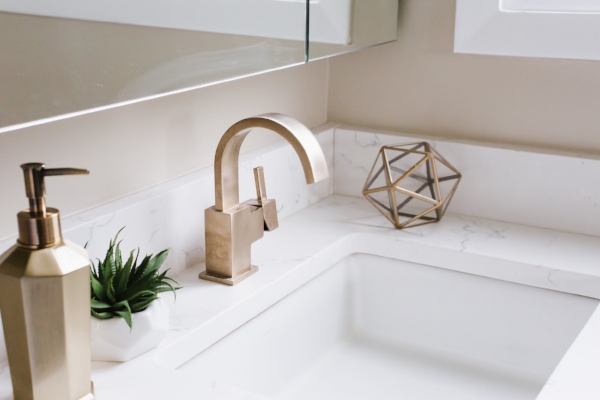
Custom Quartz Countertop Added to Pre-Fab Vanity
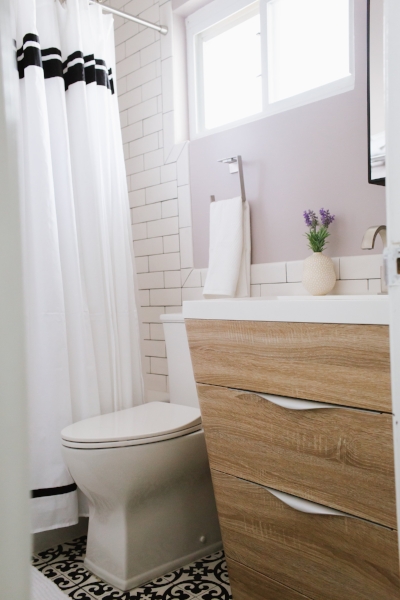
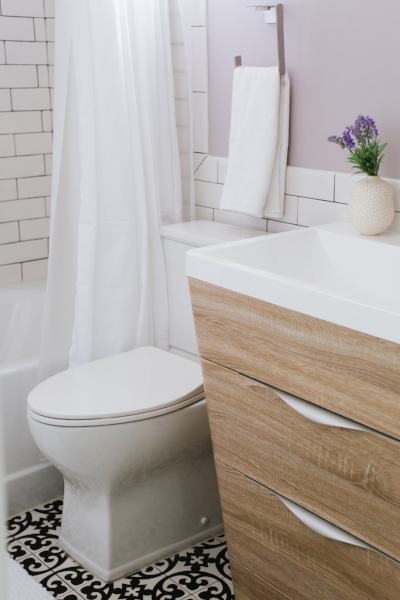
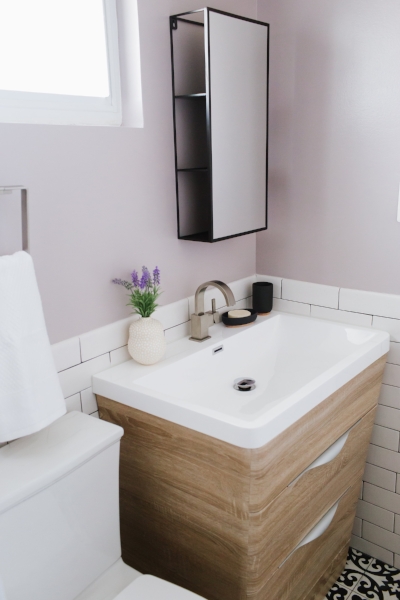
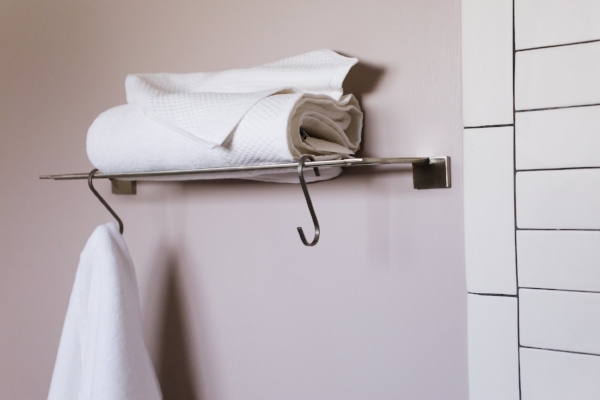
3. Include Contrasting Elements to Add Interest: As in other spaces in the home, don't hesitate to play with tone and texture to add personality. In the hall bathroom, we paired a more modern natural wood vanity with the starker black and white tile work. My client chose to go with brushed silver hardware but another option is to add matte black/iron finishes to tie together the modern vanity and the vintage-feeling tile. Contrast can also come in the form of color, like the Behr Vintage Mauve paint in the aforementioned bathroom or the blue towels in the master bath (bringing out the blue tones in the chevron tile and contrasting with the Behr Sandstorm paint).

LiLi Cement Tile from Architectural Ceramics Contrasts with Fresca Milano Vanity (from Wayfair)
Behr Vintage Mauve Contrasts with 3x9 Goose Down Matte Tile from Sonoma Tilemakers via Architectural Ceramics
Many thanks to Beth Caldwell of Beth Caldwell Photography for capturing the "afters" above. I hope these tips will help you as you think about future projects and how to be anything but boring but stick to a budget. Happy remodeling!
Finishes Guide
Hall Bathroom
- LiLi Marrakesh 1 8” x 8” Ceramic Tile
- Sonoma Tilemakers 3x9 Stellar Tile in Goose Down Matte
- Fresca Milano 31.5" Single Sink Modern Bathroom Vanity Set in White Oak
- Umbra Cubiko Mirror & Storage Unit
- Pottery Barn Mercer Double Horizontal Sconce
- Delta Vero Single Handle Centerset Bathroom Faucet in Stainless
- Delta Ashlyn Monitor 17 Series Shower and Tub Combo in Stainless
- Delta Vero Bathroom Accessories in Stainless
Master Bathroom
- TileDaily Chevron Mix Blue Marble Mosaic Tile
- Walker Zanger 3x12 Knit Brick Tile in Cotton
- Landmark Ceramics Attitude Mosaic A Tile in Simply Grey
- Strasser Woodenworks Simplicity Vanity in White
- Emerstone Quartz in Carrara White
- Hickory Hardware Skylight Cabinet Knob in Elusive Golden Nickel
- Mirror (Borrowed from Hall Bathroom Vanity Set)
- Rejuvenation West Slope LED Sconce in Aged Brass
- Delta Vero Fixtures and Bathroom Accessories in Champagne Bronze
Amber Harris is the owner of At Home DC, an interior decorator and a licensed real estate agent with Keller Williams Capital Properties working with clients in DC, Maryland and Virginia.

