
A Blend of Rustic and Modern in Deep Creek
While I consider my self a hands on partner to my decorating and real estate clients, the COVID-19 pandemic made the in-person aspects of my work much less common (for good reason). Especially as a decorator and design consultant, there really is no substitute for seeing a space in person — understanding the charming details and pain points, seeing how light plays in the space, etc.
I have worked with clients in New York and New Jersey remotely but this past year gave me the opportunity to take on my biggest design project to date — a 4,400 square-foot vacation home right on Deep Creek Lake in Swanton, Maryland (and to do it almost entirely remotely, save one site visit on a rainy September day). Earlier this month, I had a chance to finally see the fruits of our collective labors, the Ar’ya Relaxed Chalet, in person (in addition to inviting along the talented Beth Caldwell to capture it).

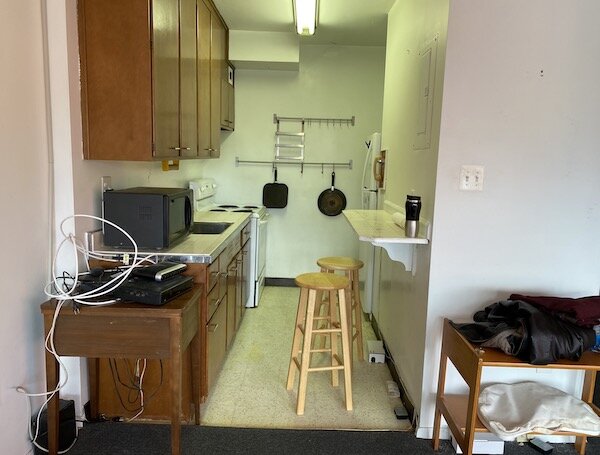
BEFORE: The pre-renovation kitchen blended in, was smaller and allowed less opportunity for family and friends to gather (Photo Courtesy of Taylor-Made Deep Creek Vacations & Rentals)

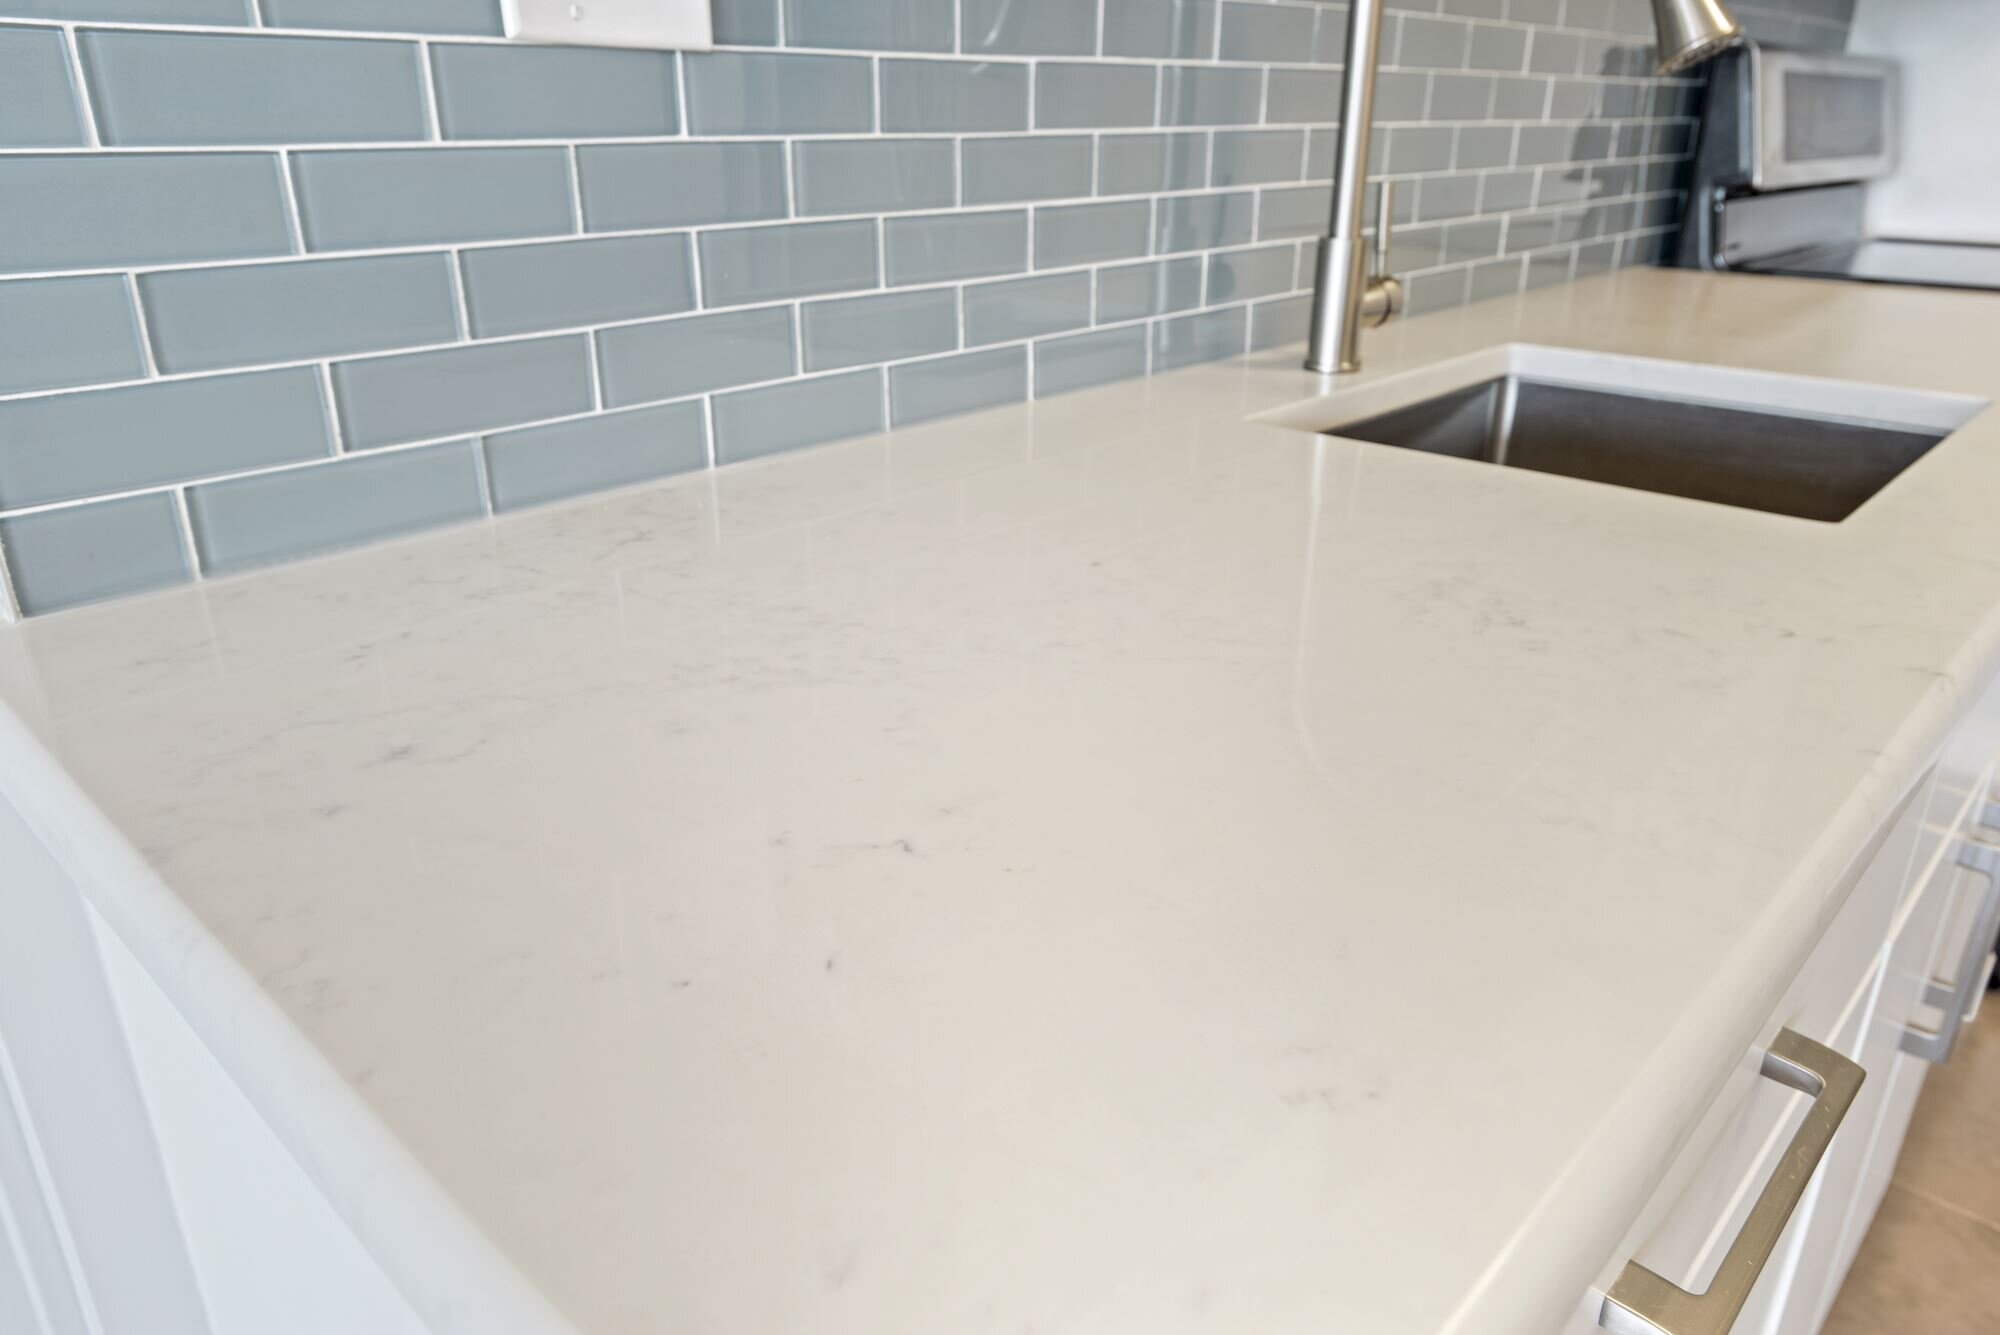
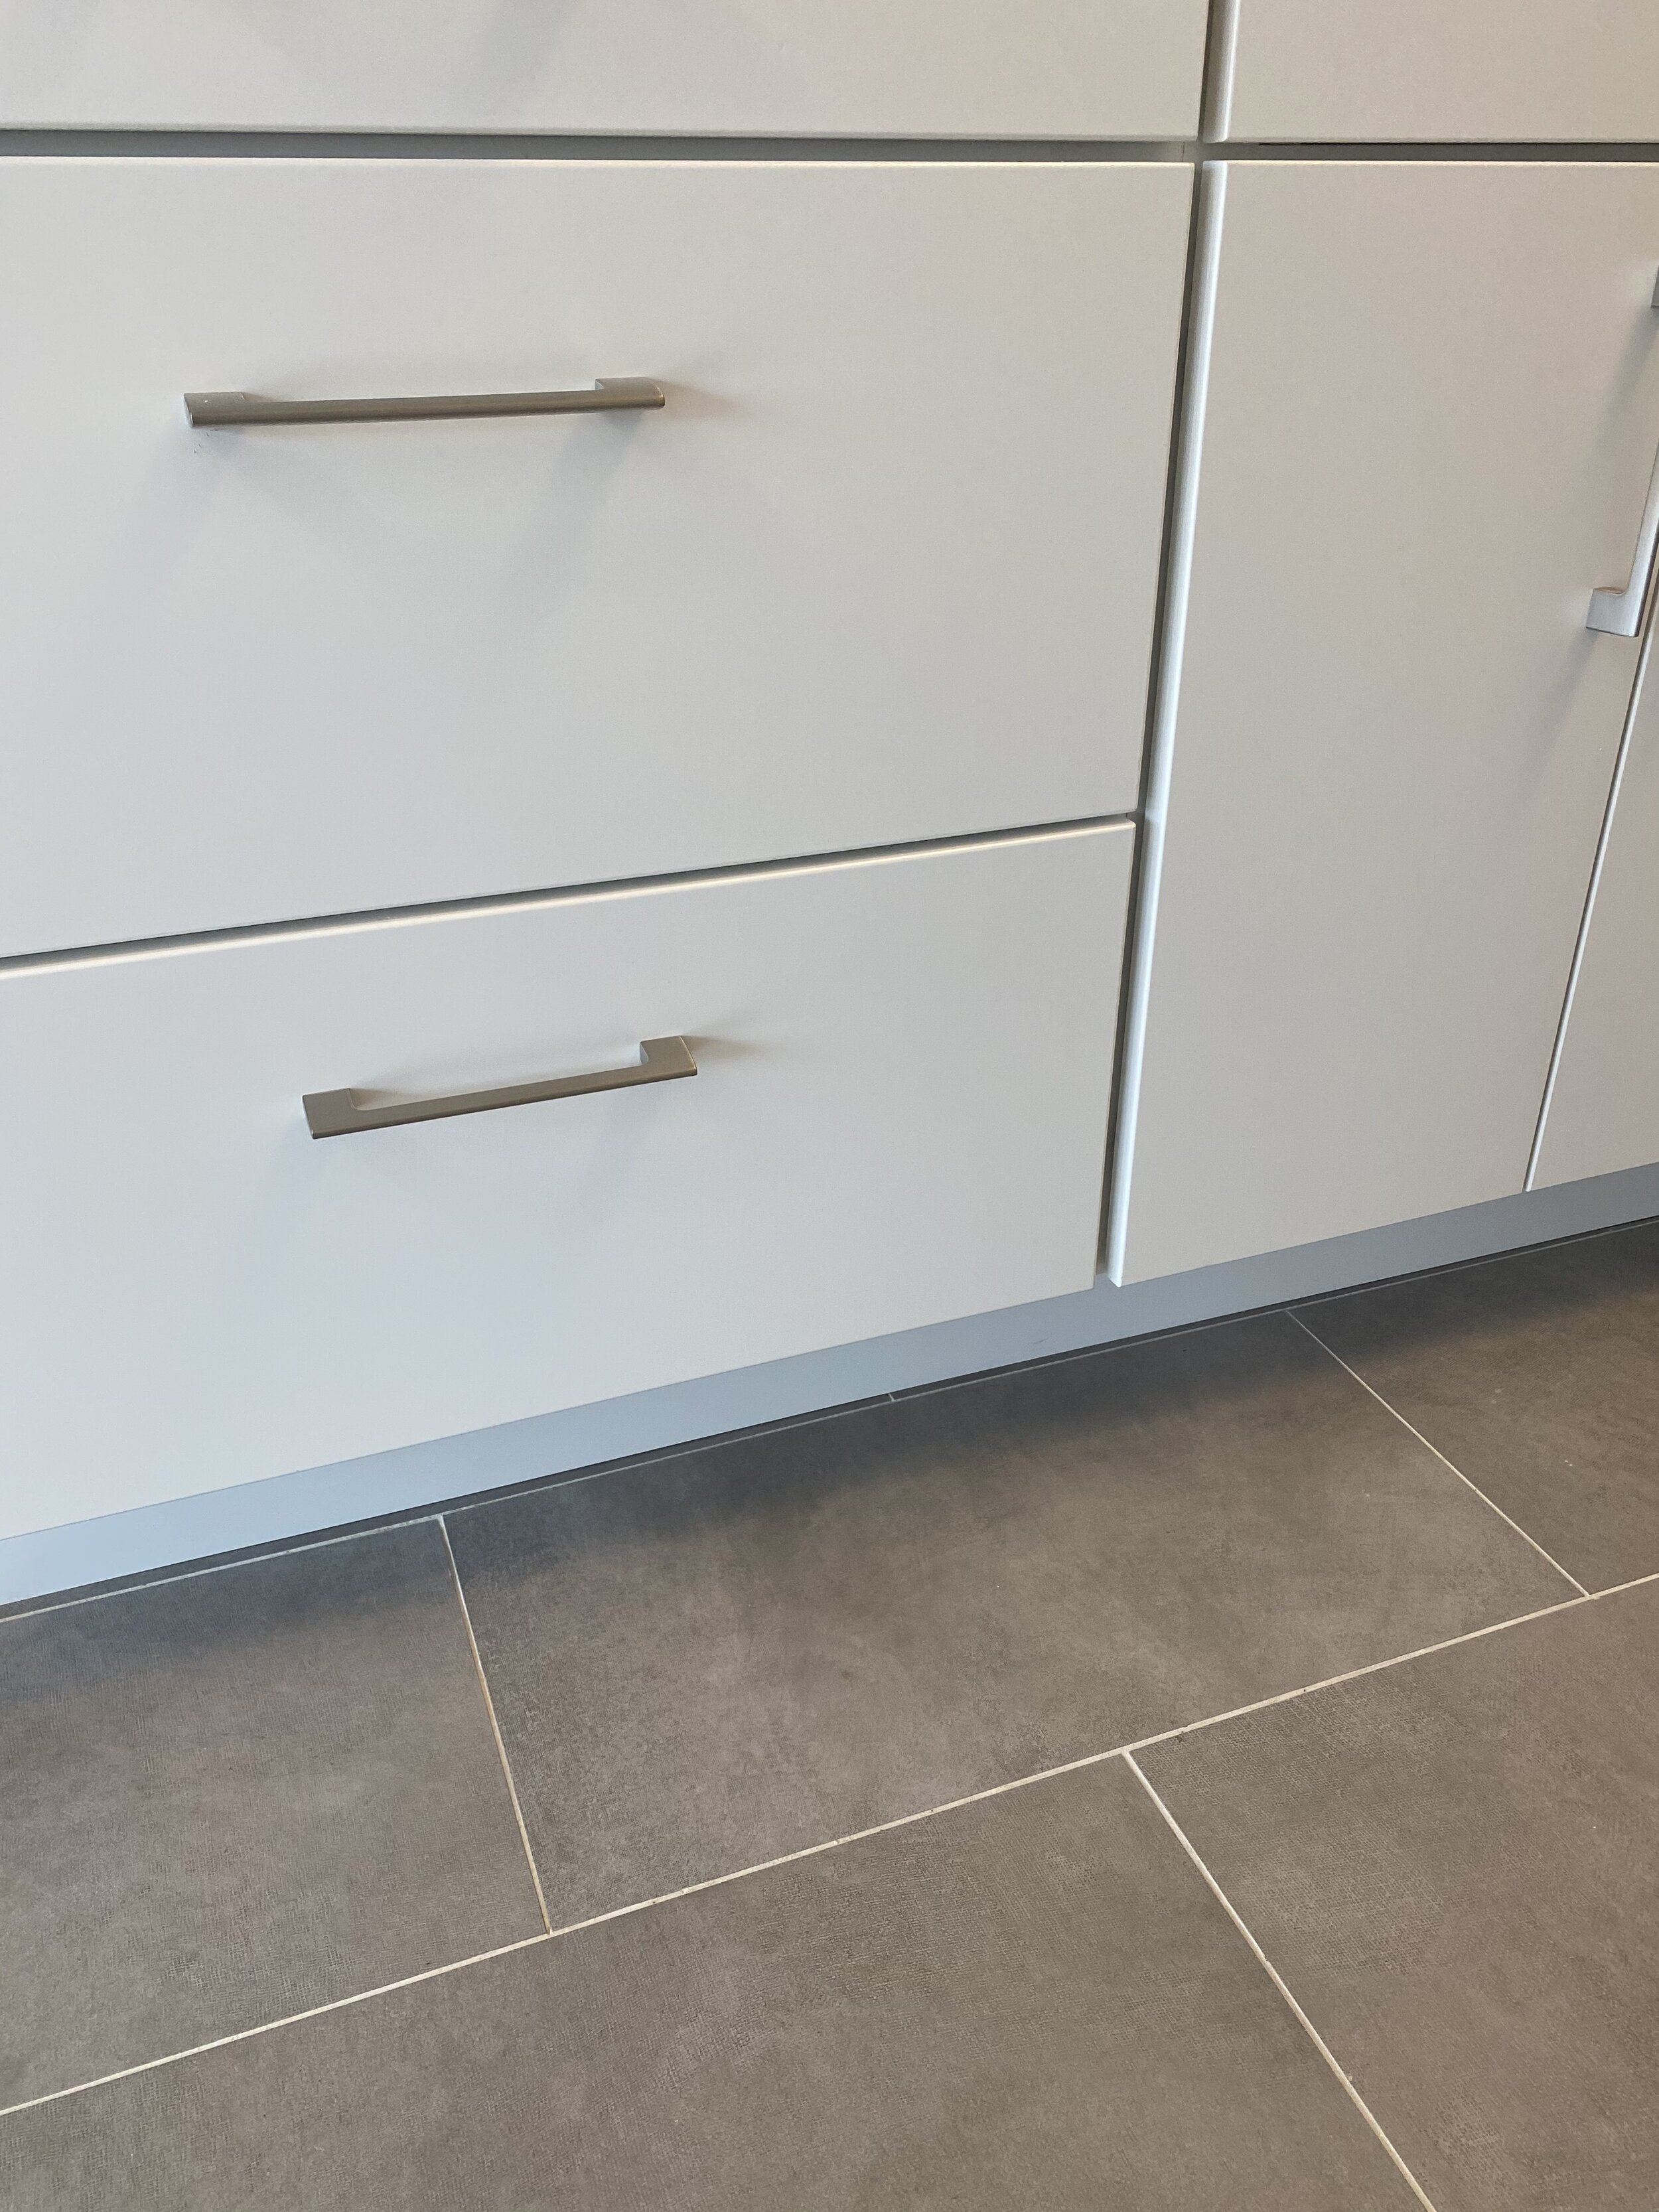
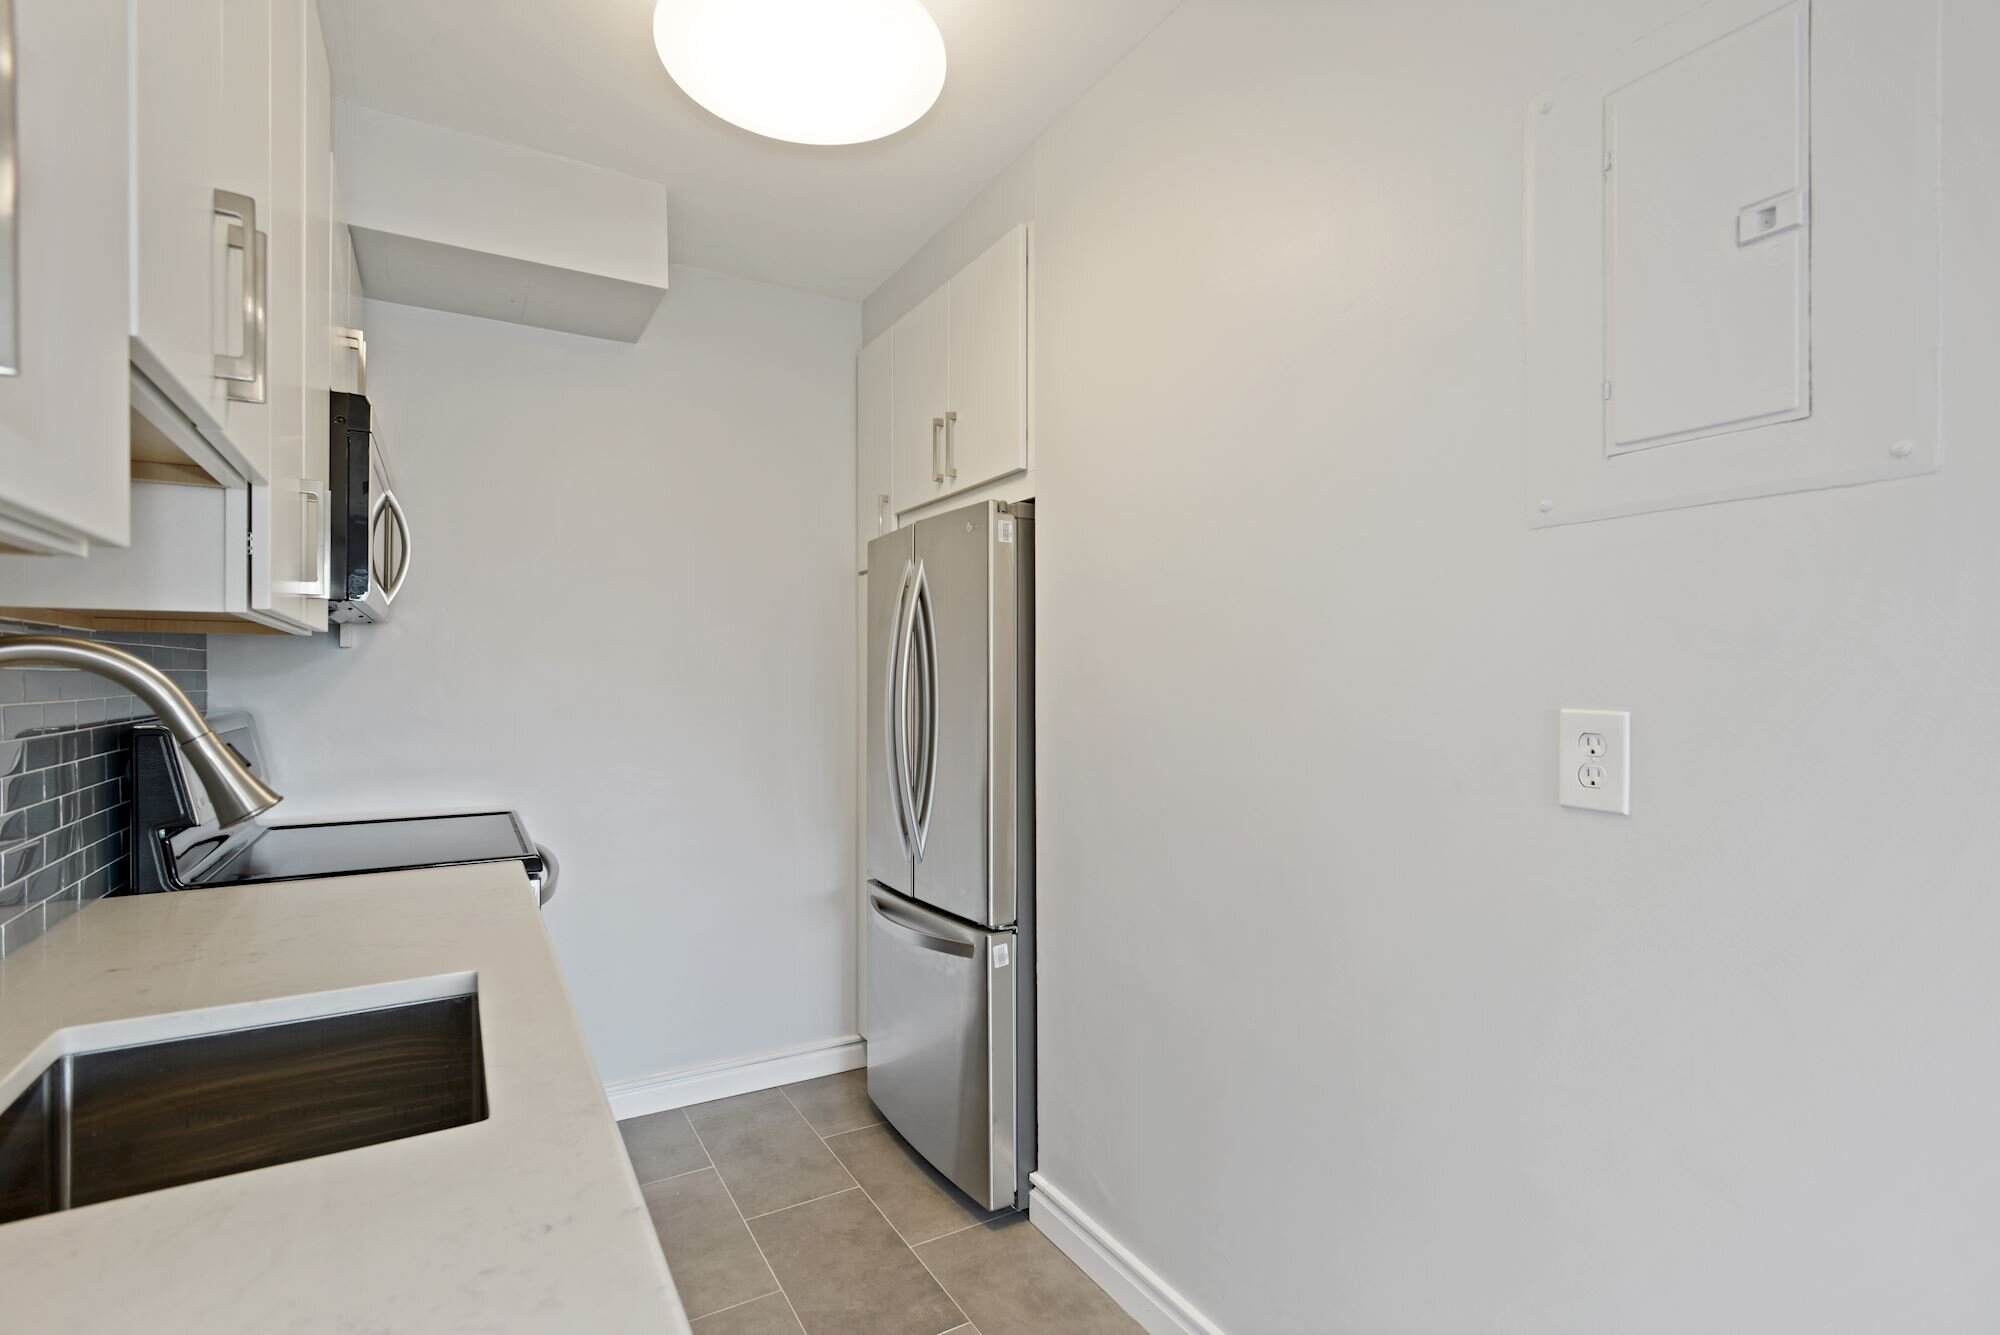
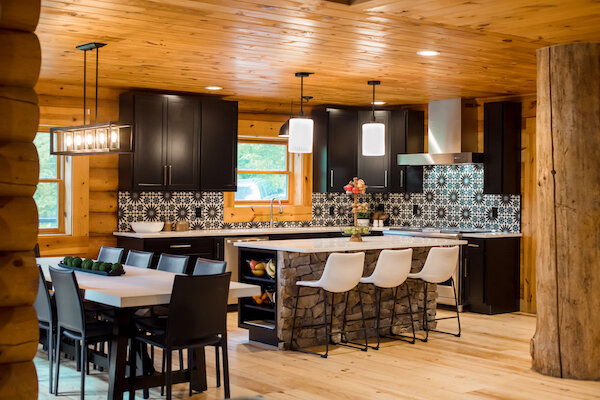
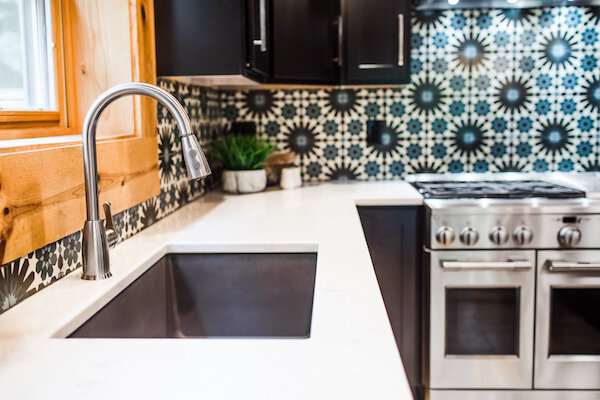
AFTER: The renovated kitchen offers more storage, seating and a modern twist with a funky tile and sleek quartz countertops; the stone was repurposed from the peninsula (Photo: Beth Caldwell)
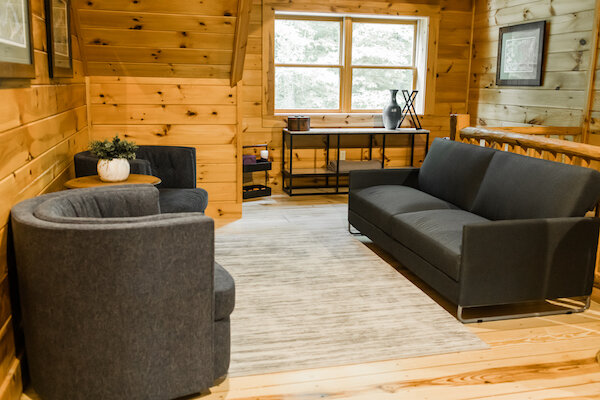
First off, this is a log house (we won’t call it a cabin, Dave). There is no changing that…not that anyone wanted to. The vision we crafted for the vacation home (which is also a rental/investment property) was to create cohesive spaces that infused modern sensibilities without being at odds with the rustic nature of the home. While my clients purchased the property pre-pandemic and Deep Creek has long drawn vacationers year-round from the region, we wanted to make a departure from the country quilts and appeal to new and return urban dwellers looking for an escape. So, what did this mean in terms of the approach?
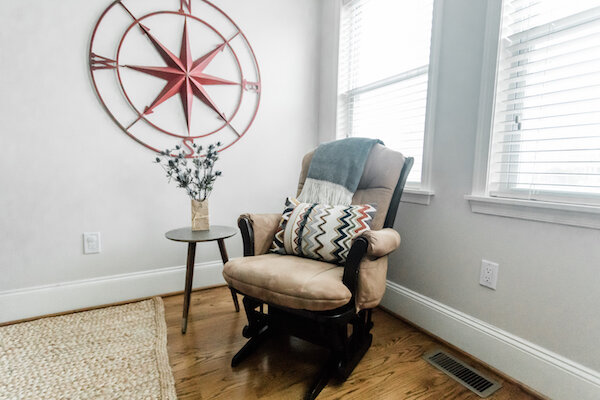
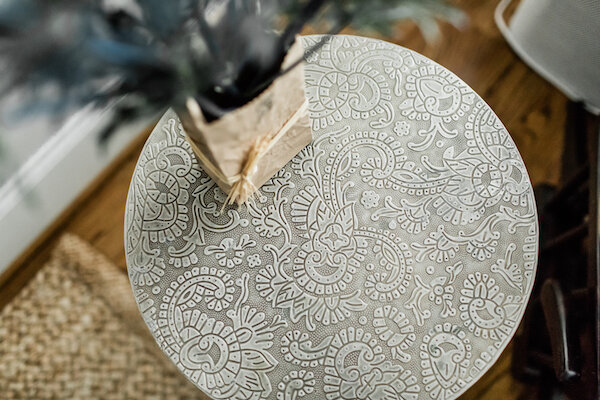
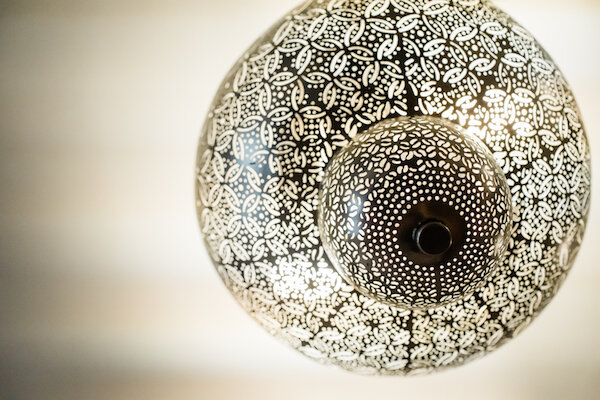
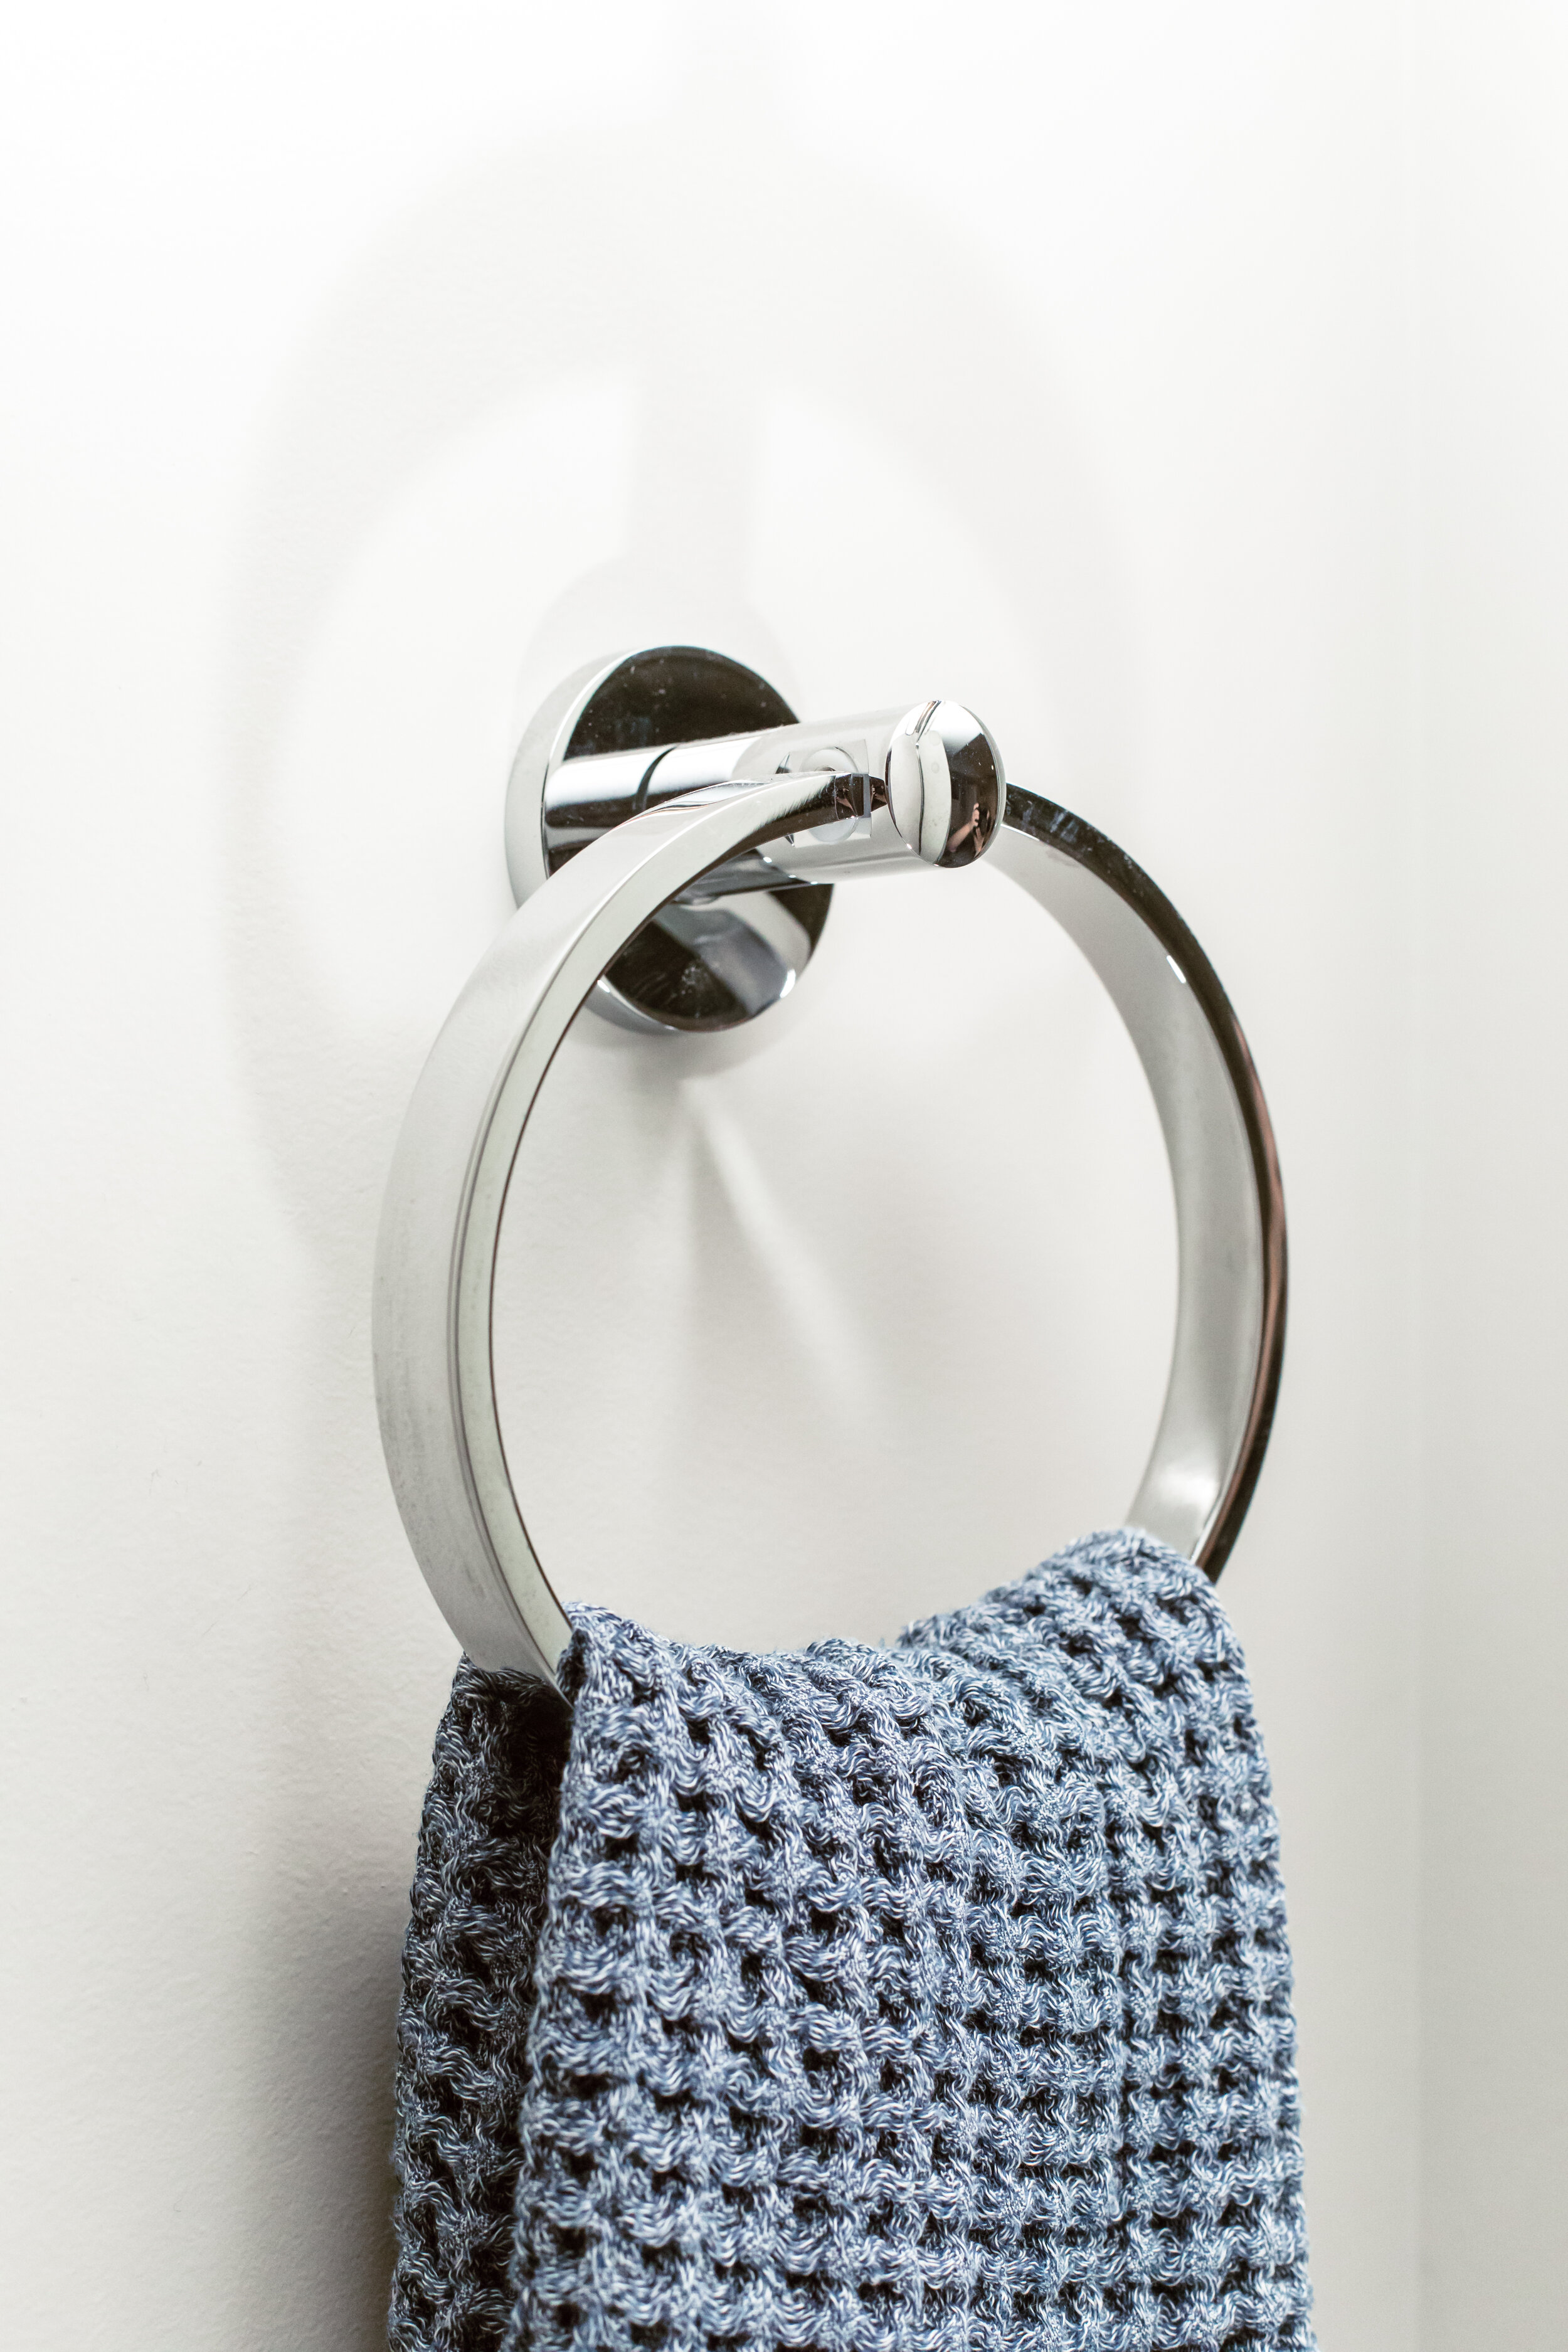
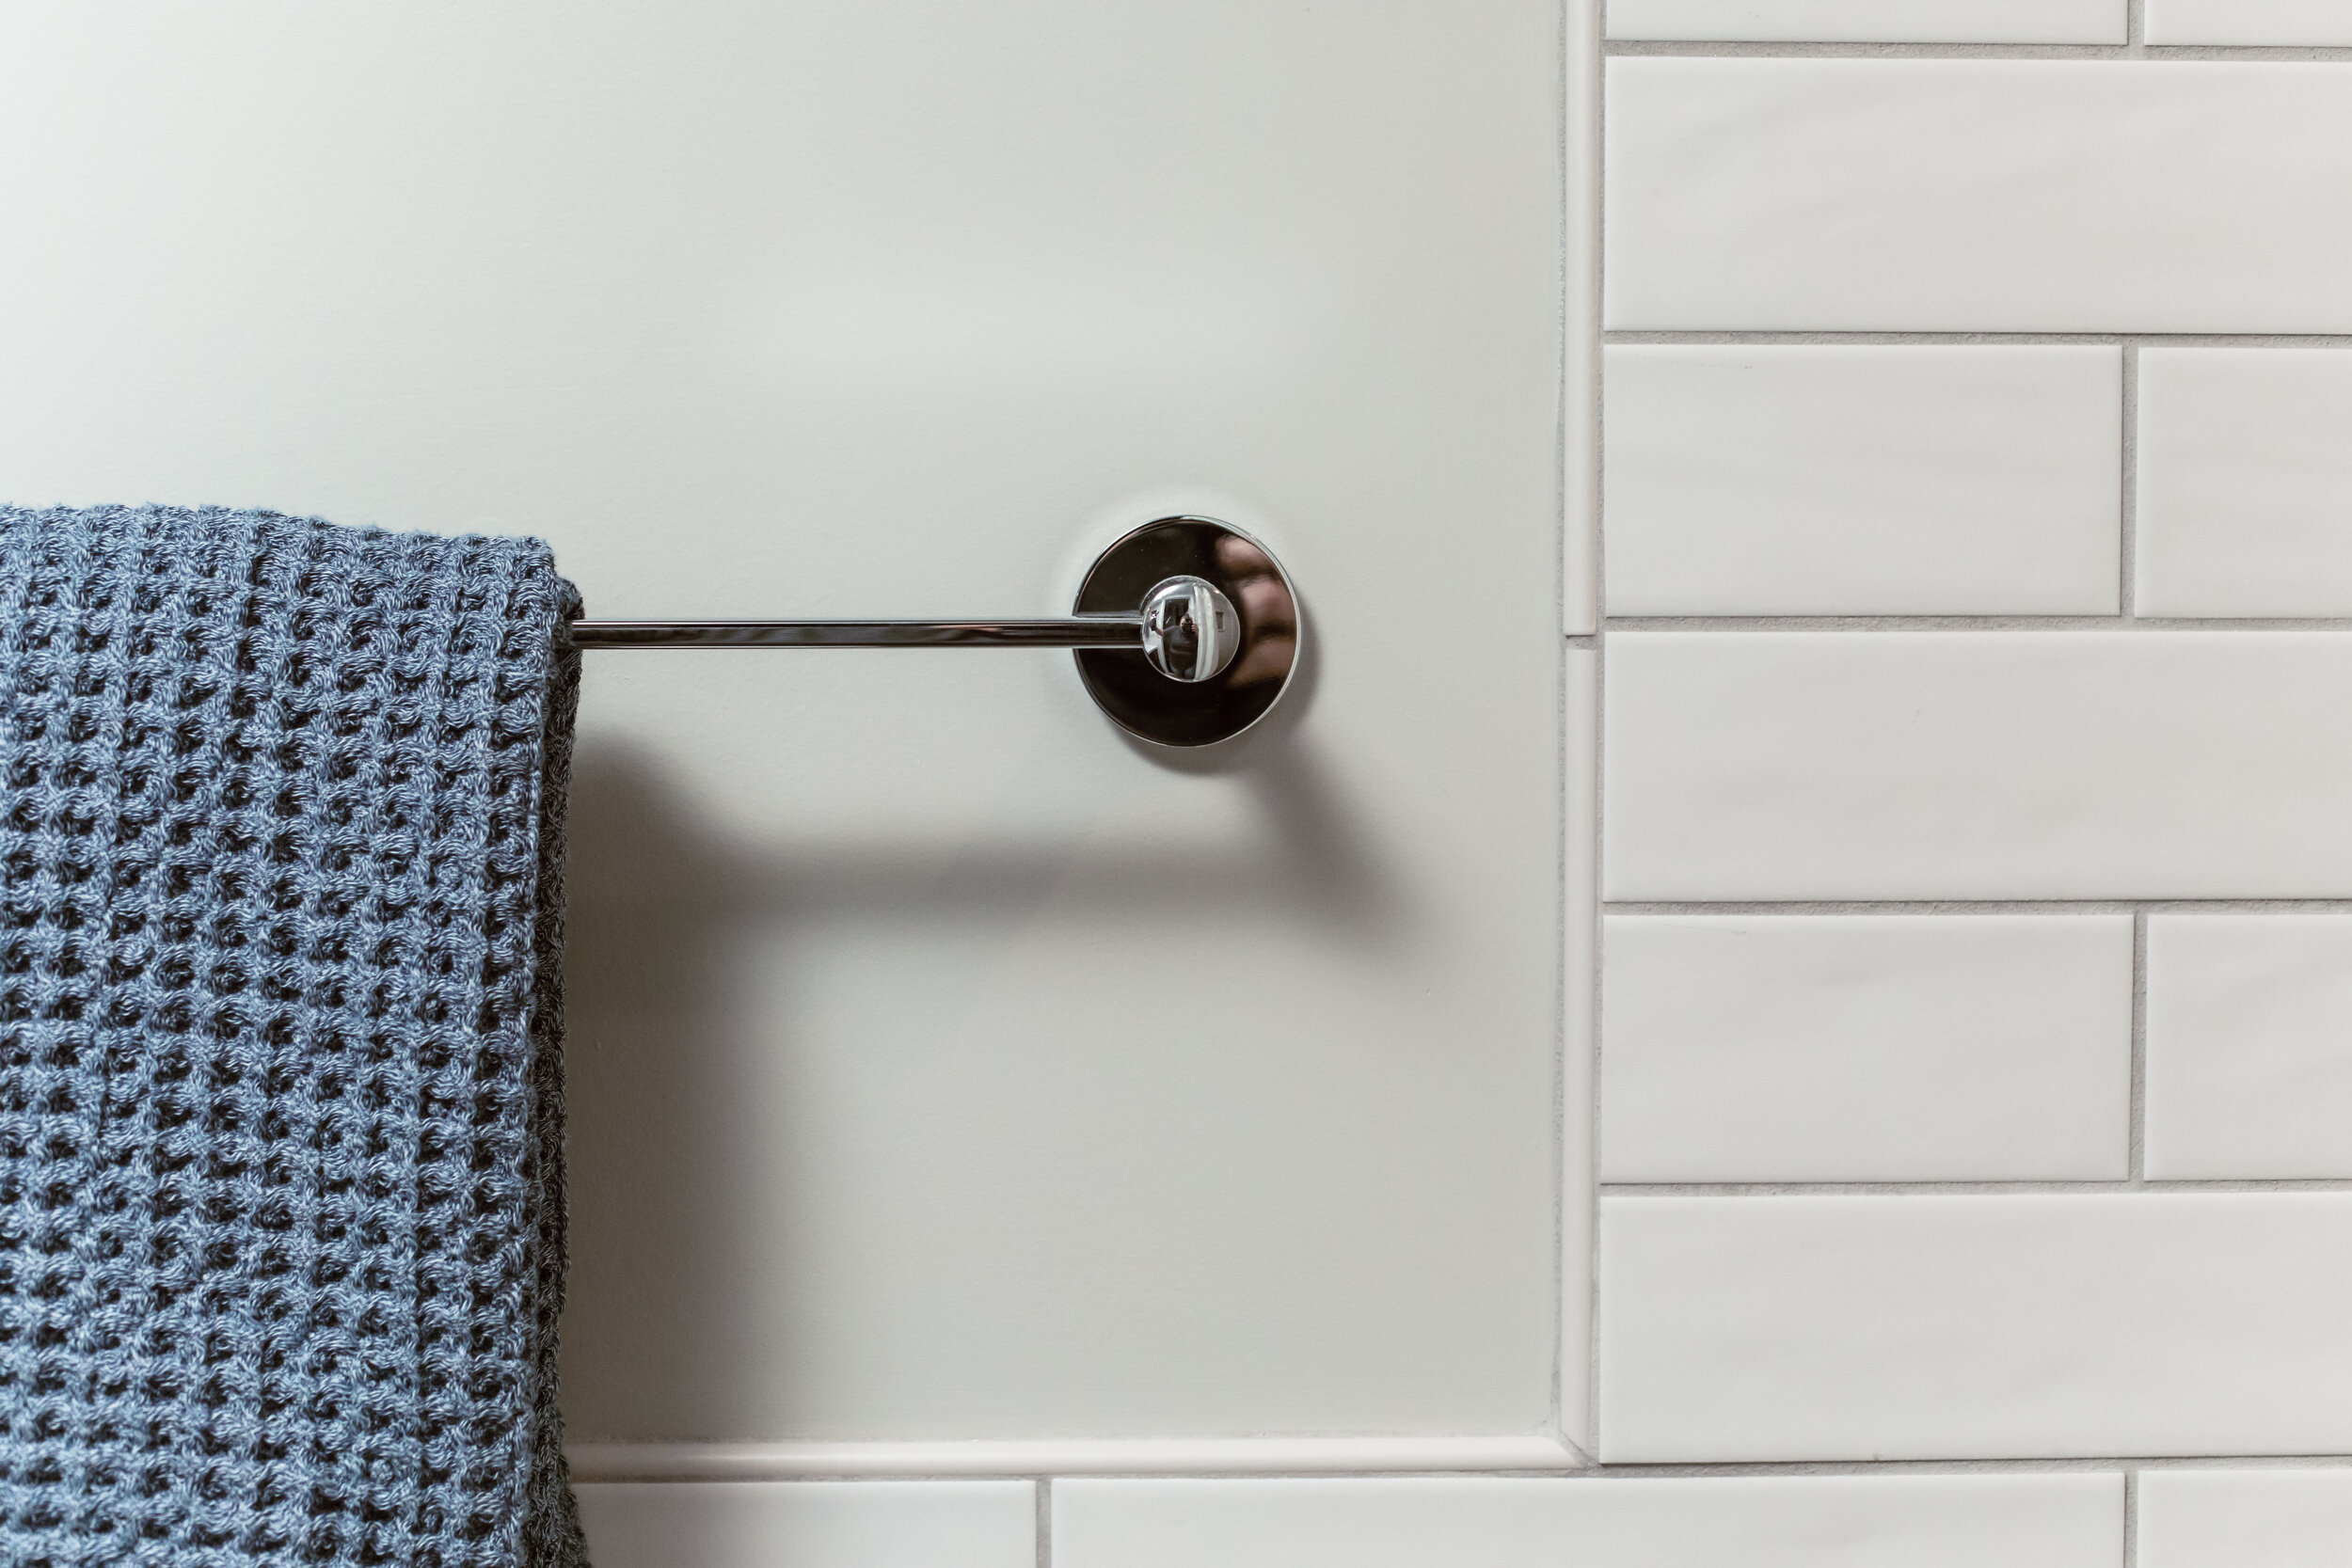
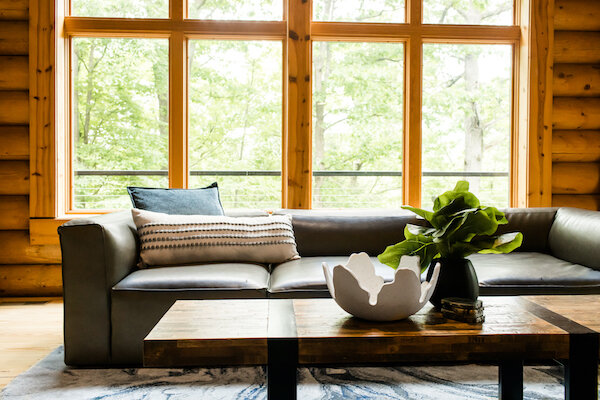
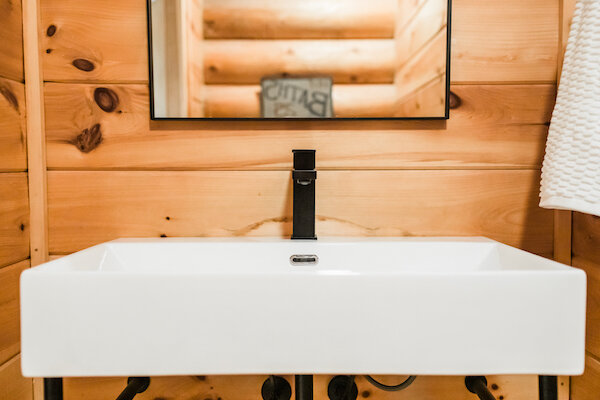
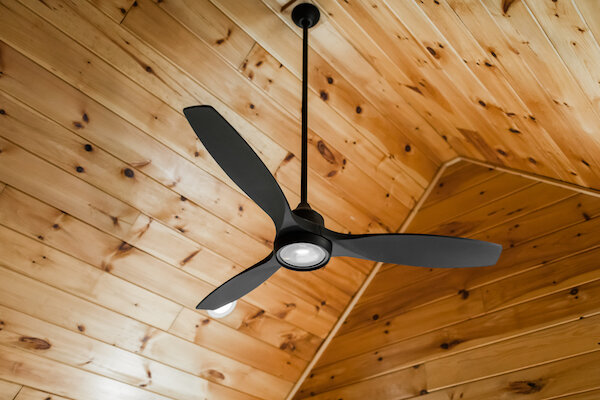
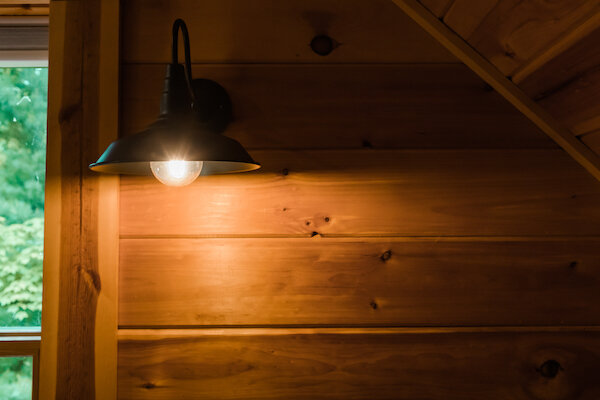
Striking a Balance: The logs and overall wood tone (which is warm and on the orange/red part of the spectrum) wasn’t going to change. We needed to balance it out with a complementary palette (lots of cream, blue and gray with flashes of green) and fixtures in matte black, for example, that feel simultaneously modern and rustic. We also kept in mind that pieces can be moved around between rooms and spaces and still “work” (as my clients reminded me that things often grow legs when guests arrive).
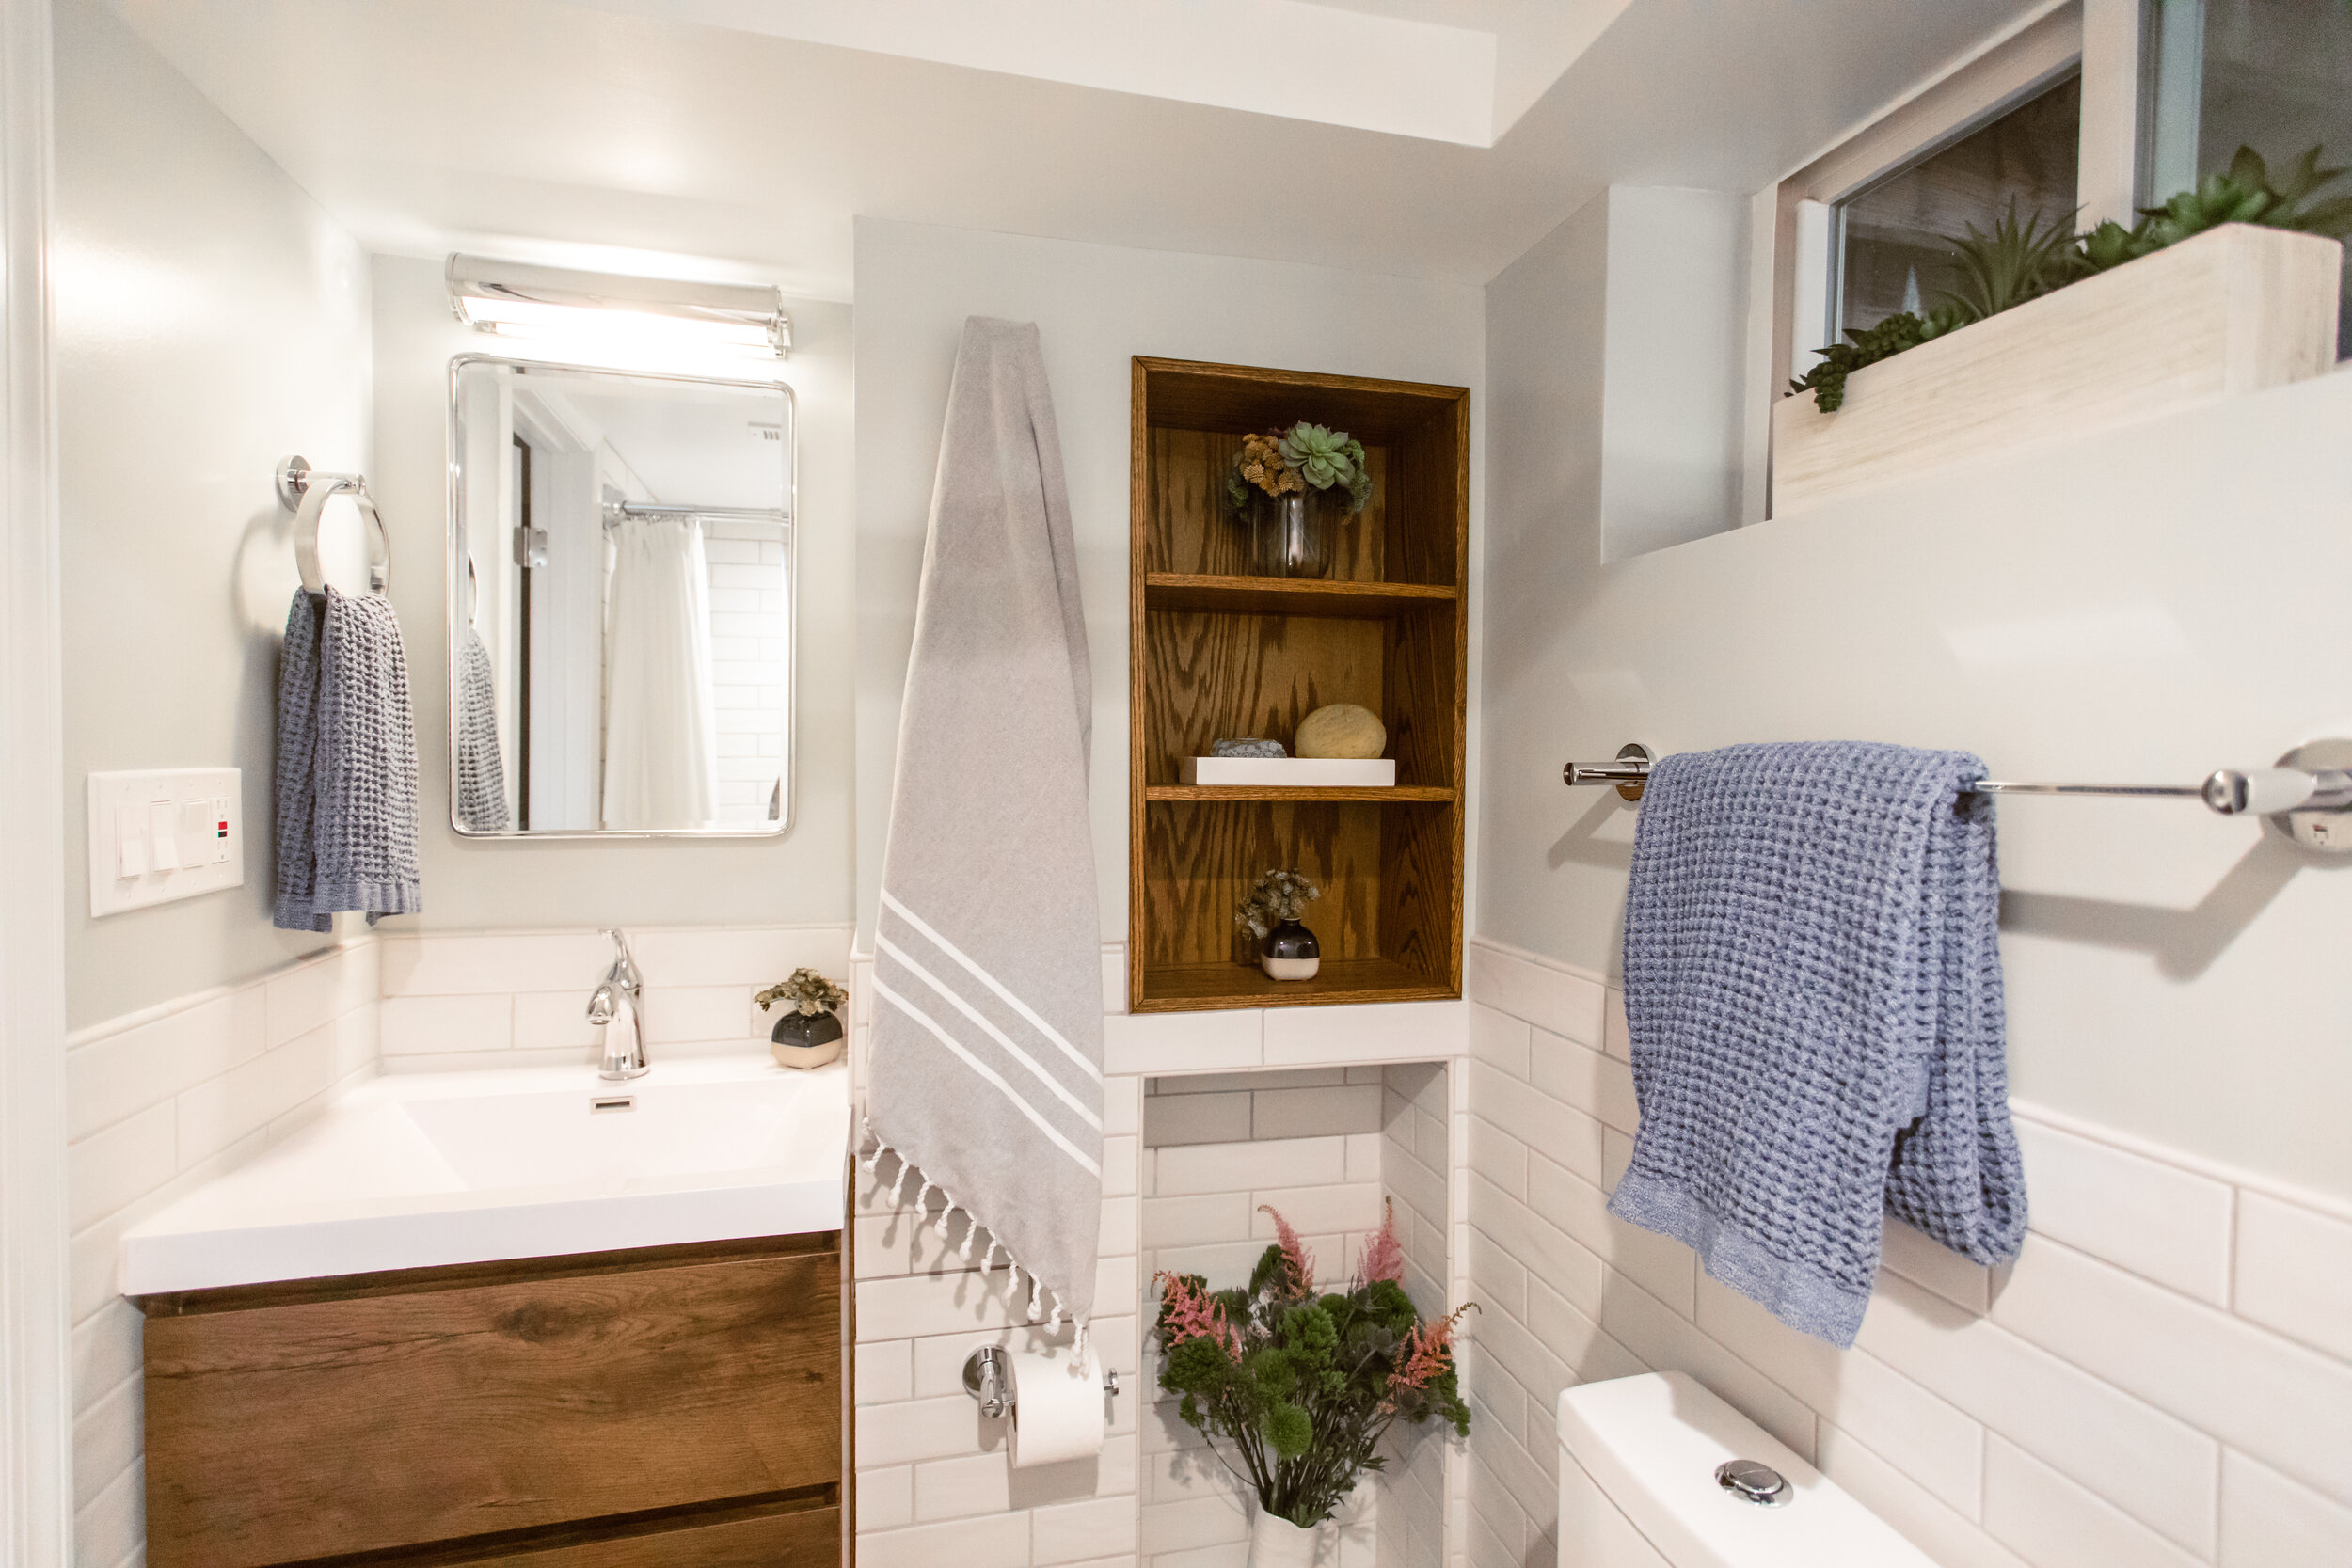
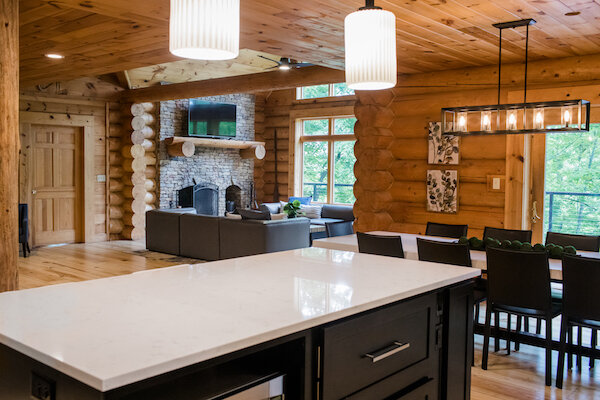
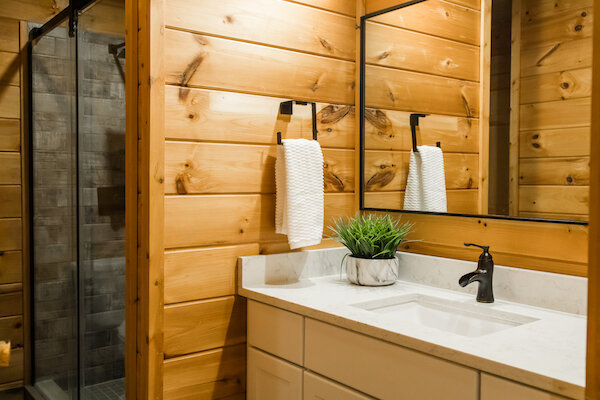
Form AND Function: As with all my projects, we focused on both form and function. The final product had to be a showstopper but we had to make sure it could comfortably welcome 12 guests — so we needed enough sleeping, dining and sitting spaces for them (and we were able to do that without the previous bunk beds). We also wanted surfaces that were easy to keep clean and fresh looking, like quartz and darker grouts (contrasting or not).
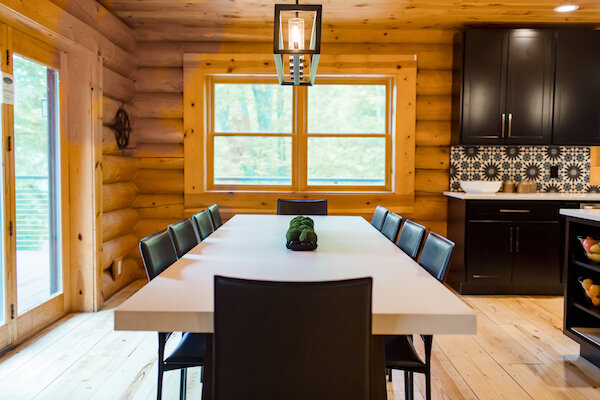
Mix High and Low: While a family vacation home, this is also a rental (scroll down to the end for a link to make your reservation!). As much as we may have wanted to splurge on furniture pieces and elevated design elements, we had to keep in mind the heavy use and eventual replacement. Most of our furniture pieces came from Ashley, Wayfair, HomeGoods, etc. (sourcing a new house of furniture during a time of supply chain issues when you had guests coming was a challenge). However, where it was warranted, bigger investments were made — like the custom concrete quartz dining table and quartz countertops throughout, beautiful KitchenAid gas range and custom cabinetry and the large vegan-leather sofas.

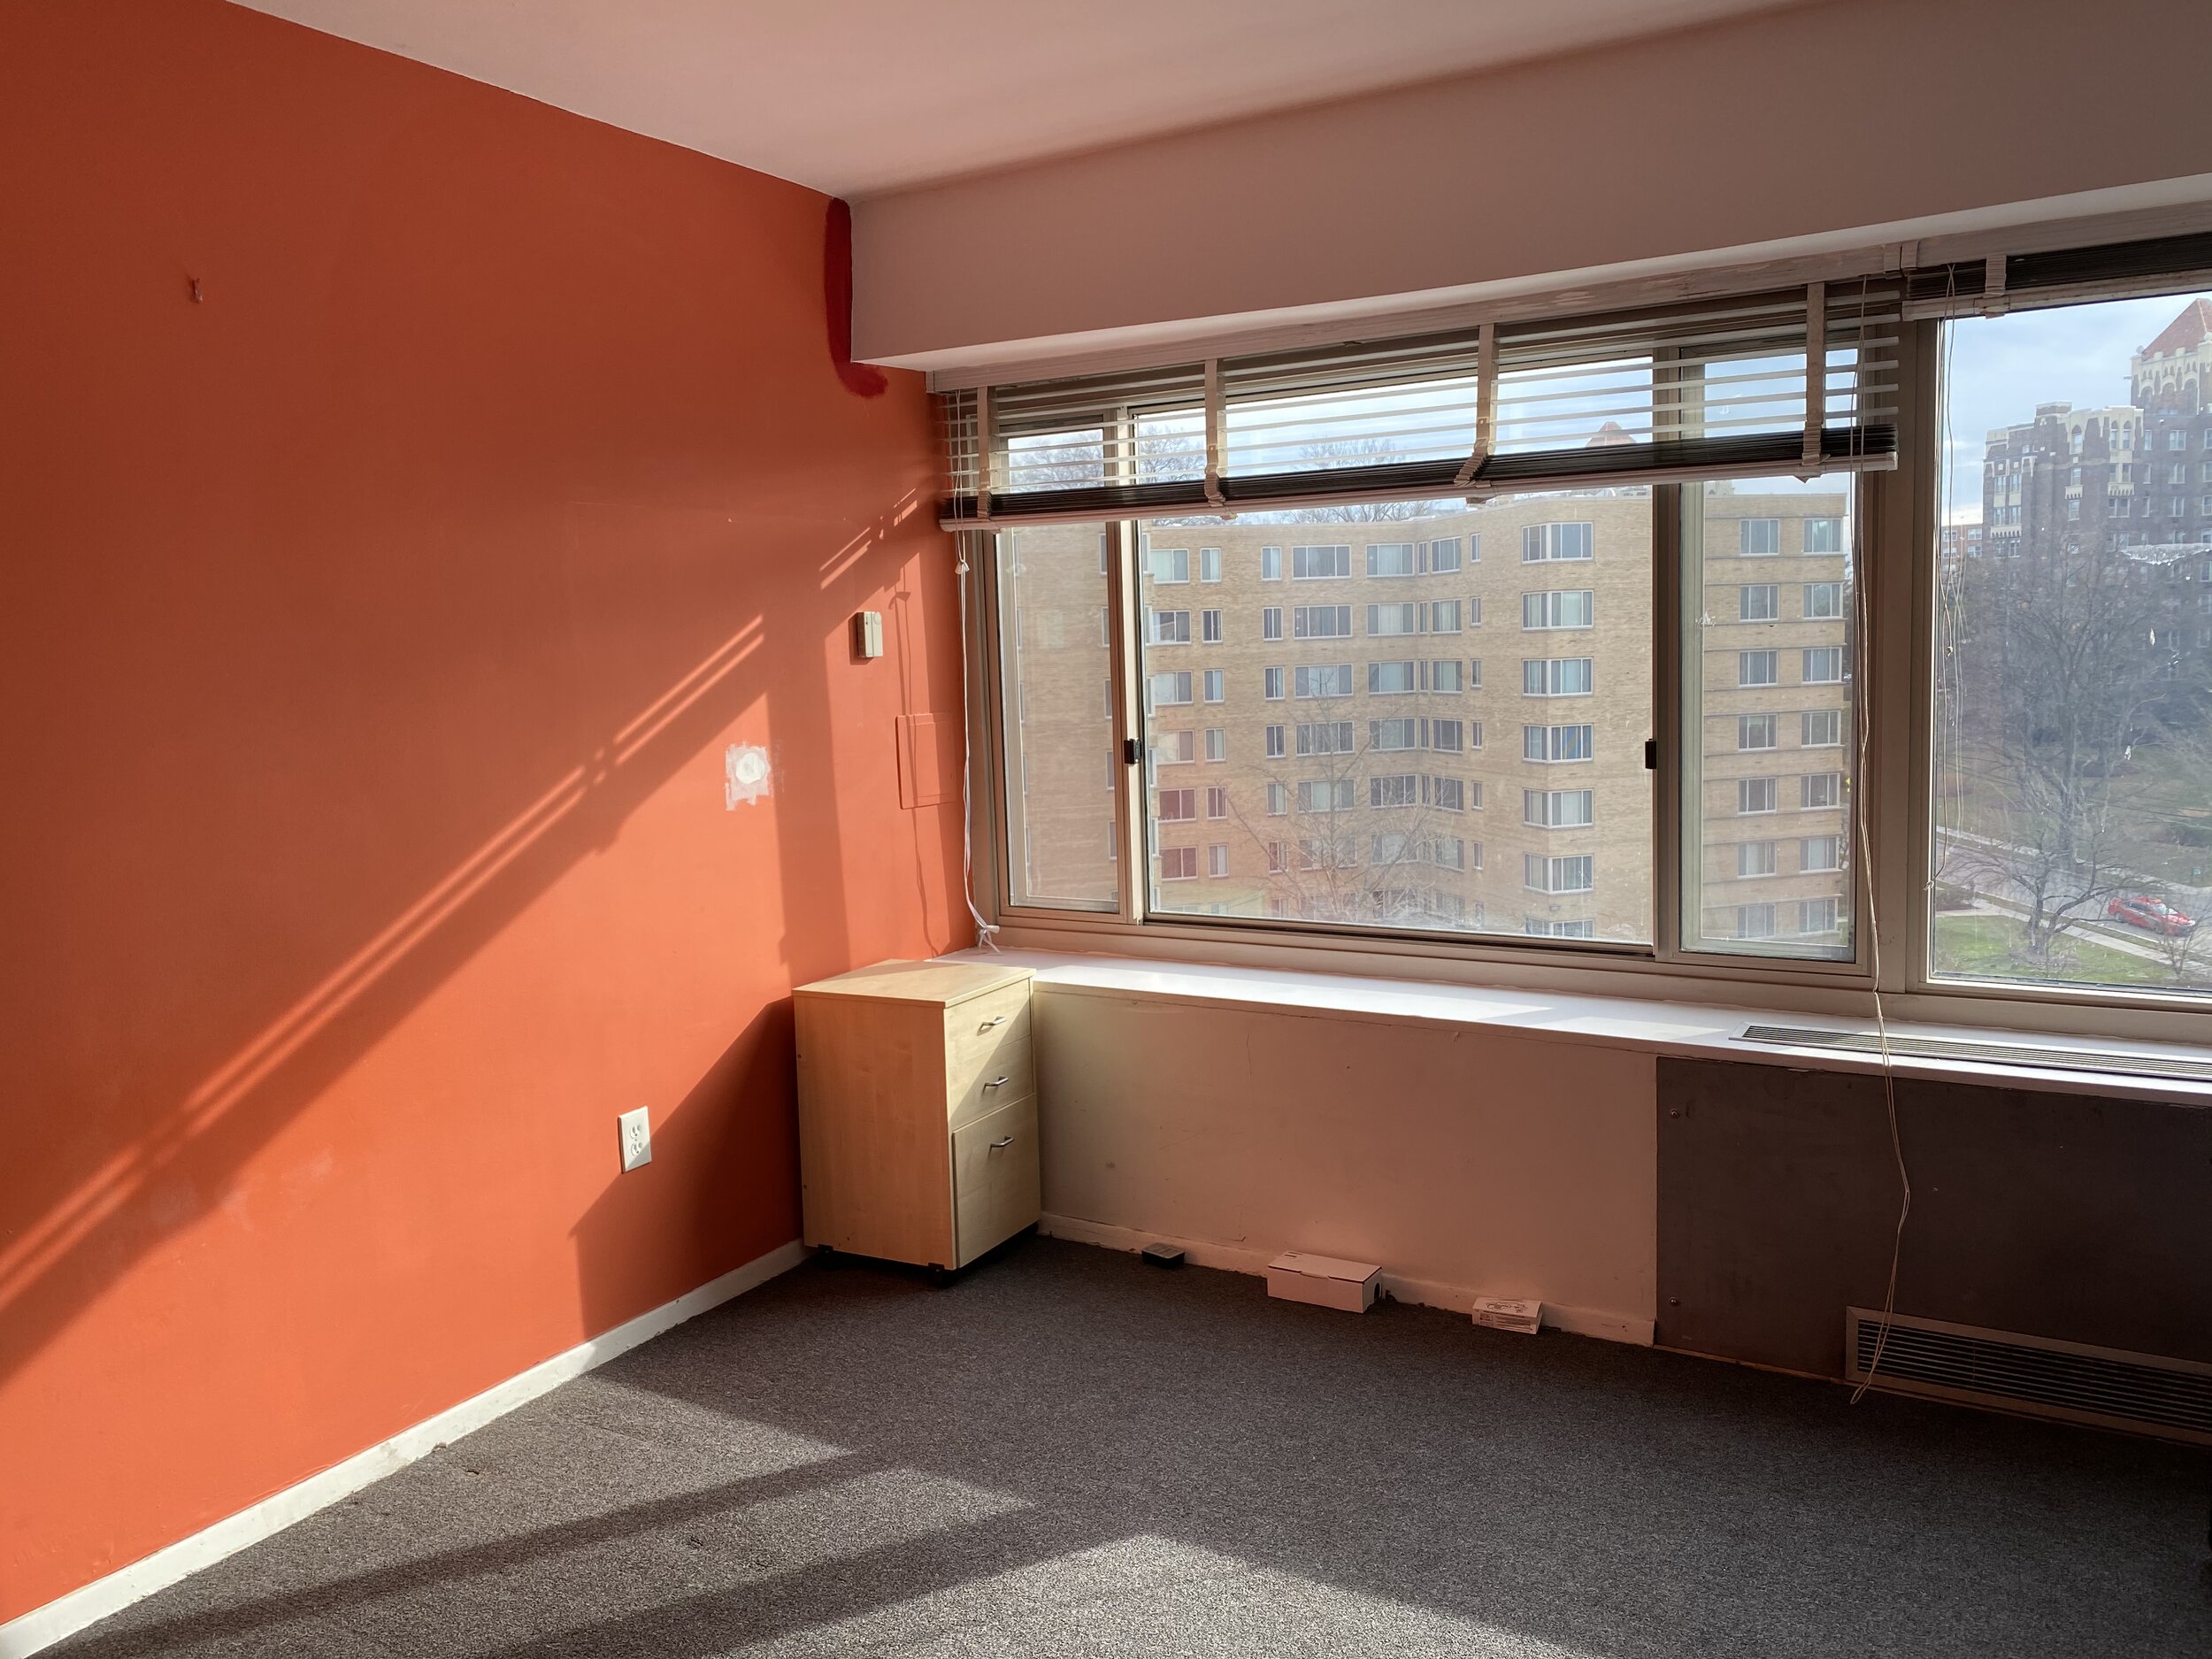
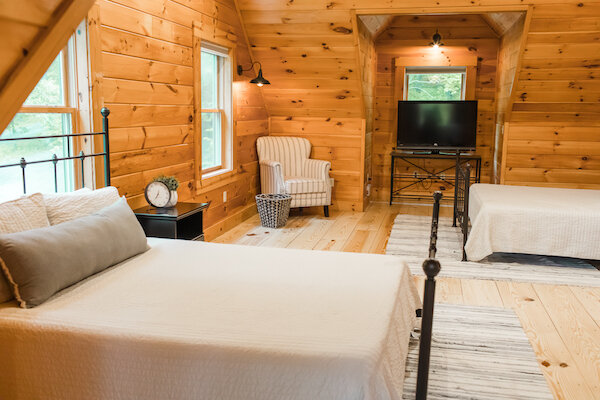
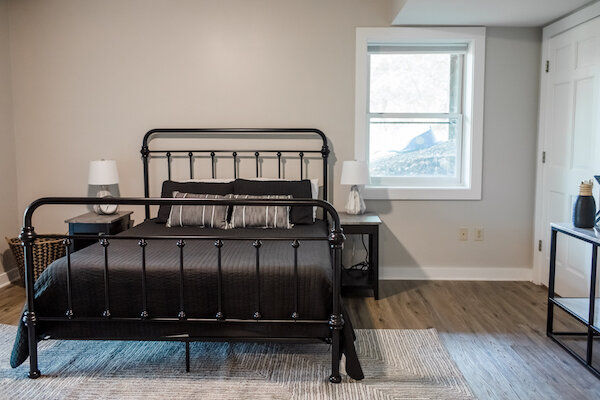
BEFORE: The largest bedroom featured built-in bunk beds… (Photo Courtesy of Taylor-Made Deep Creek Vacations & Rentals)

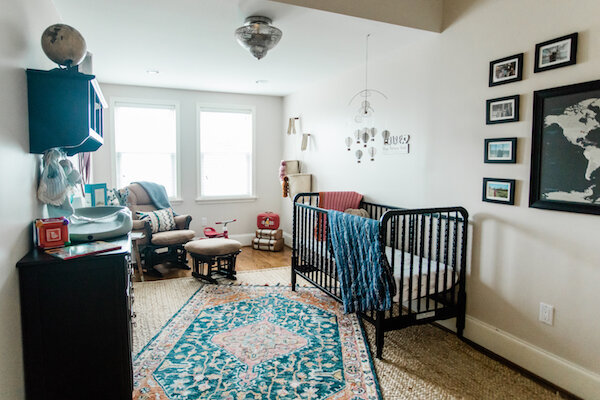
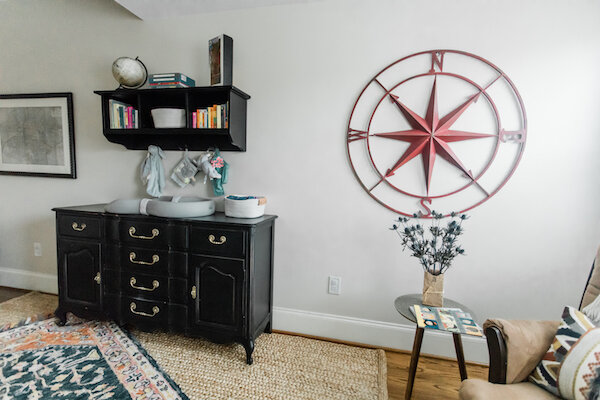
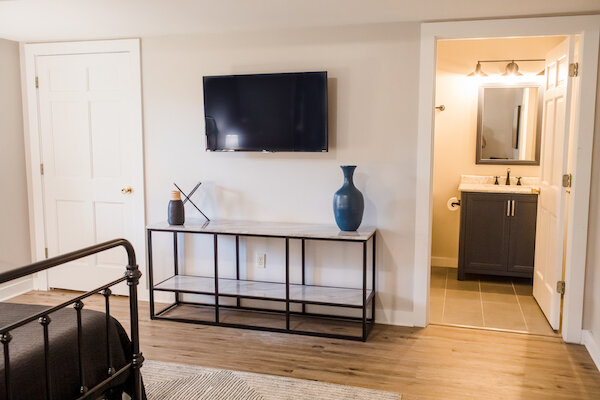
AFTER: The re-decorated bedroom uses black accents in the bed frames and other furniture pieces to create a fresh look when paired with cream linens, and soft rugs, pillows and cozy accent chairs (Photo: Beth Caldwell)
Rather than try to recount every detail, let’s look at a few pics of the project below with more detail in the captions. We ran out of time to capture every space (including the fun mudroom with a big pop of color and the primary bedroom — awaiting a final piece) but you get the gist! Special thanks to Beth Caldwell for visiting and capturing the stunning “afters”.


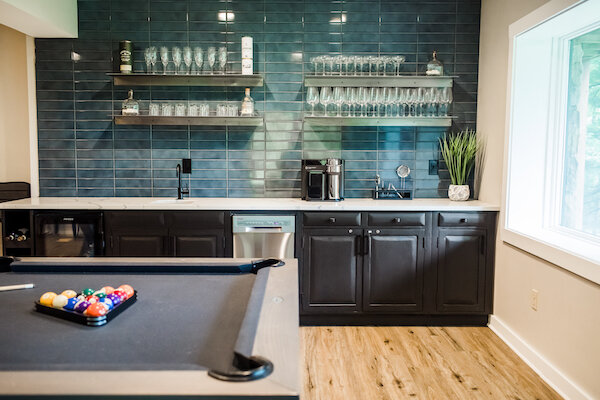
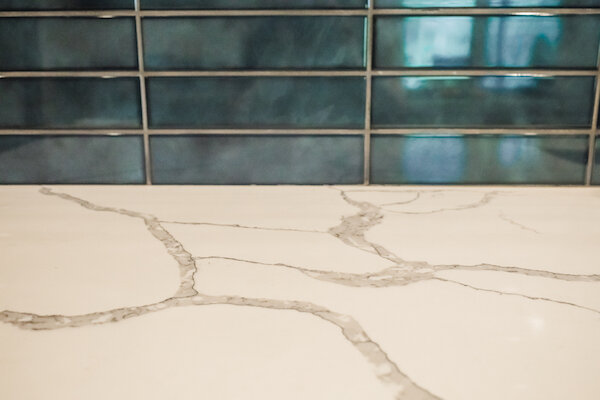


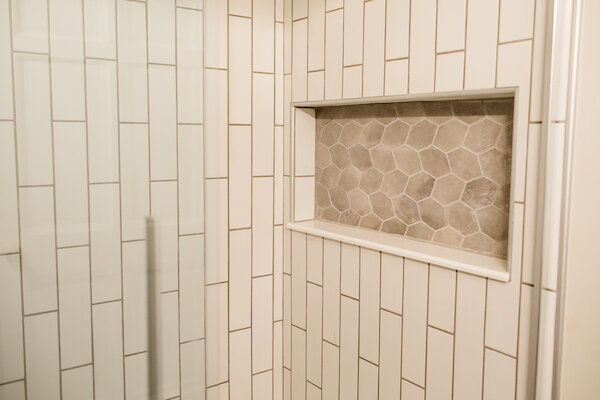

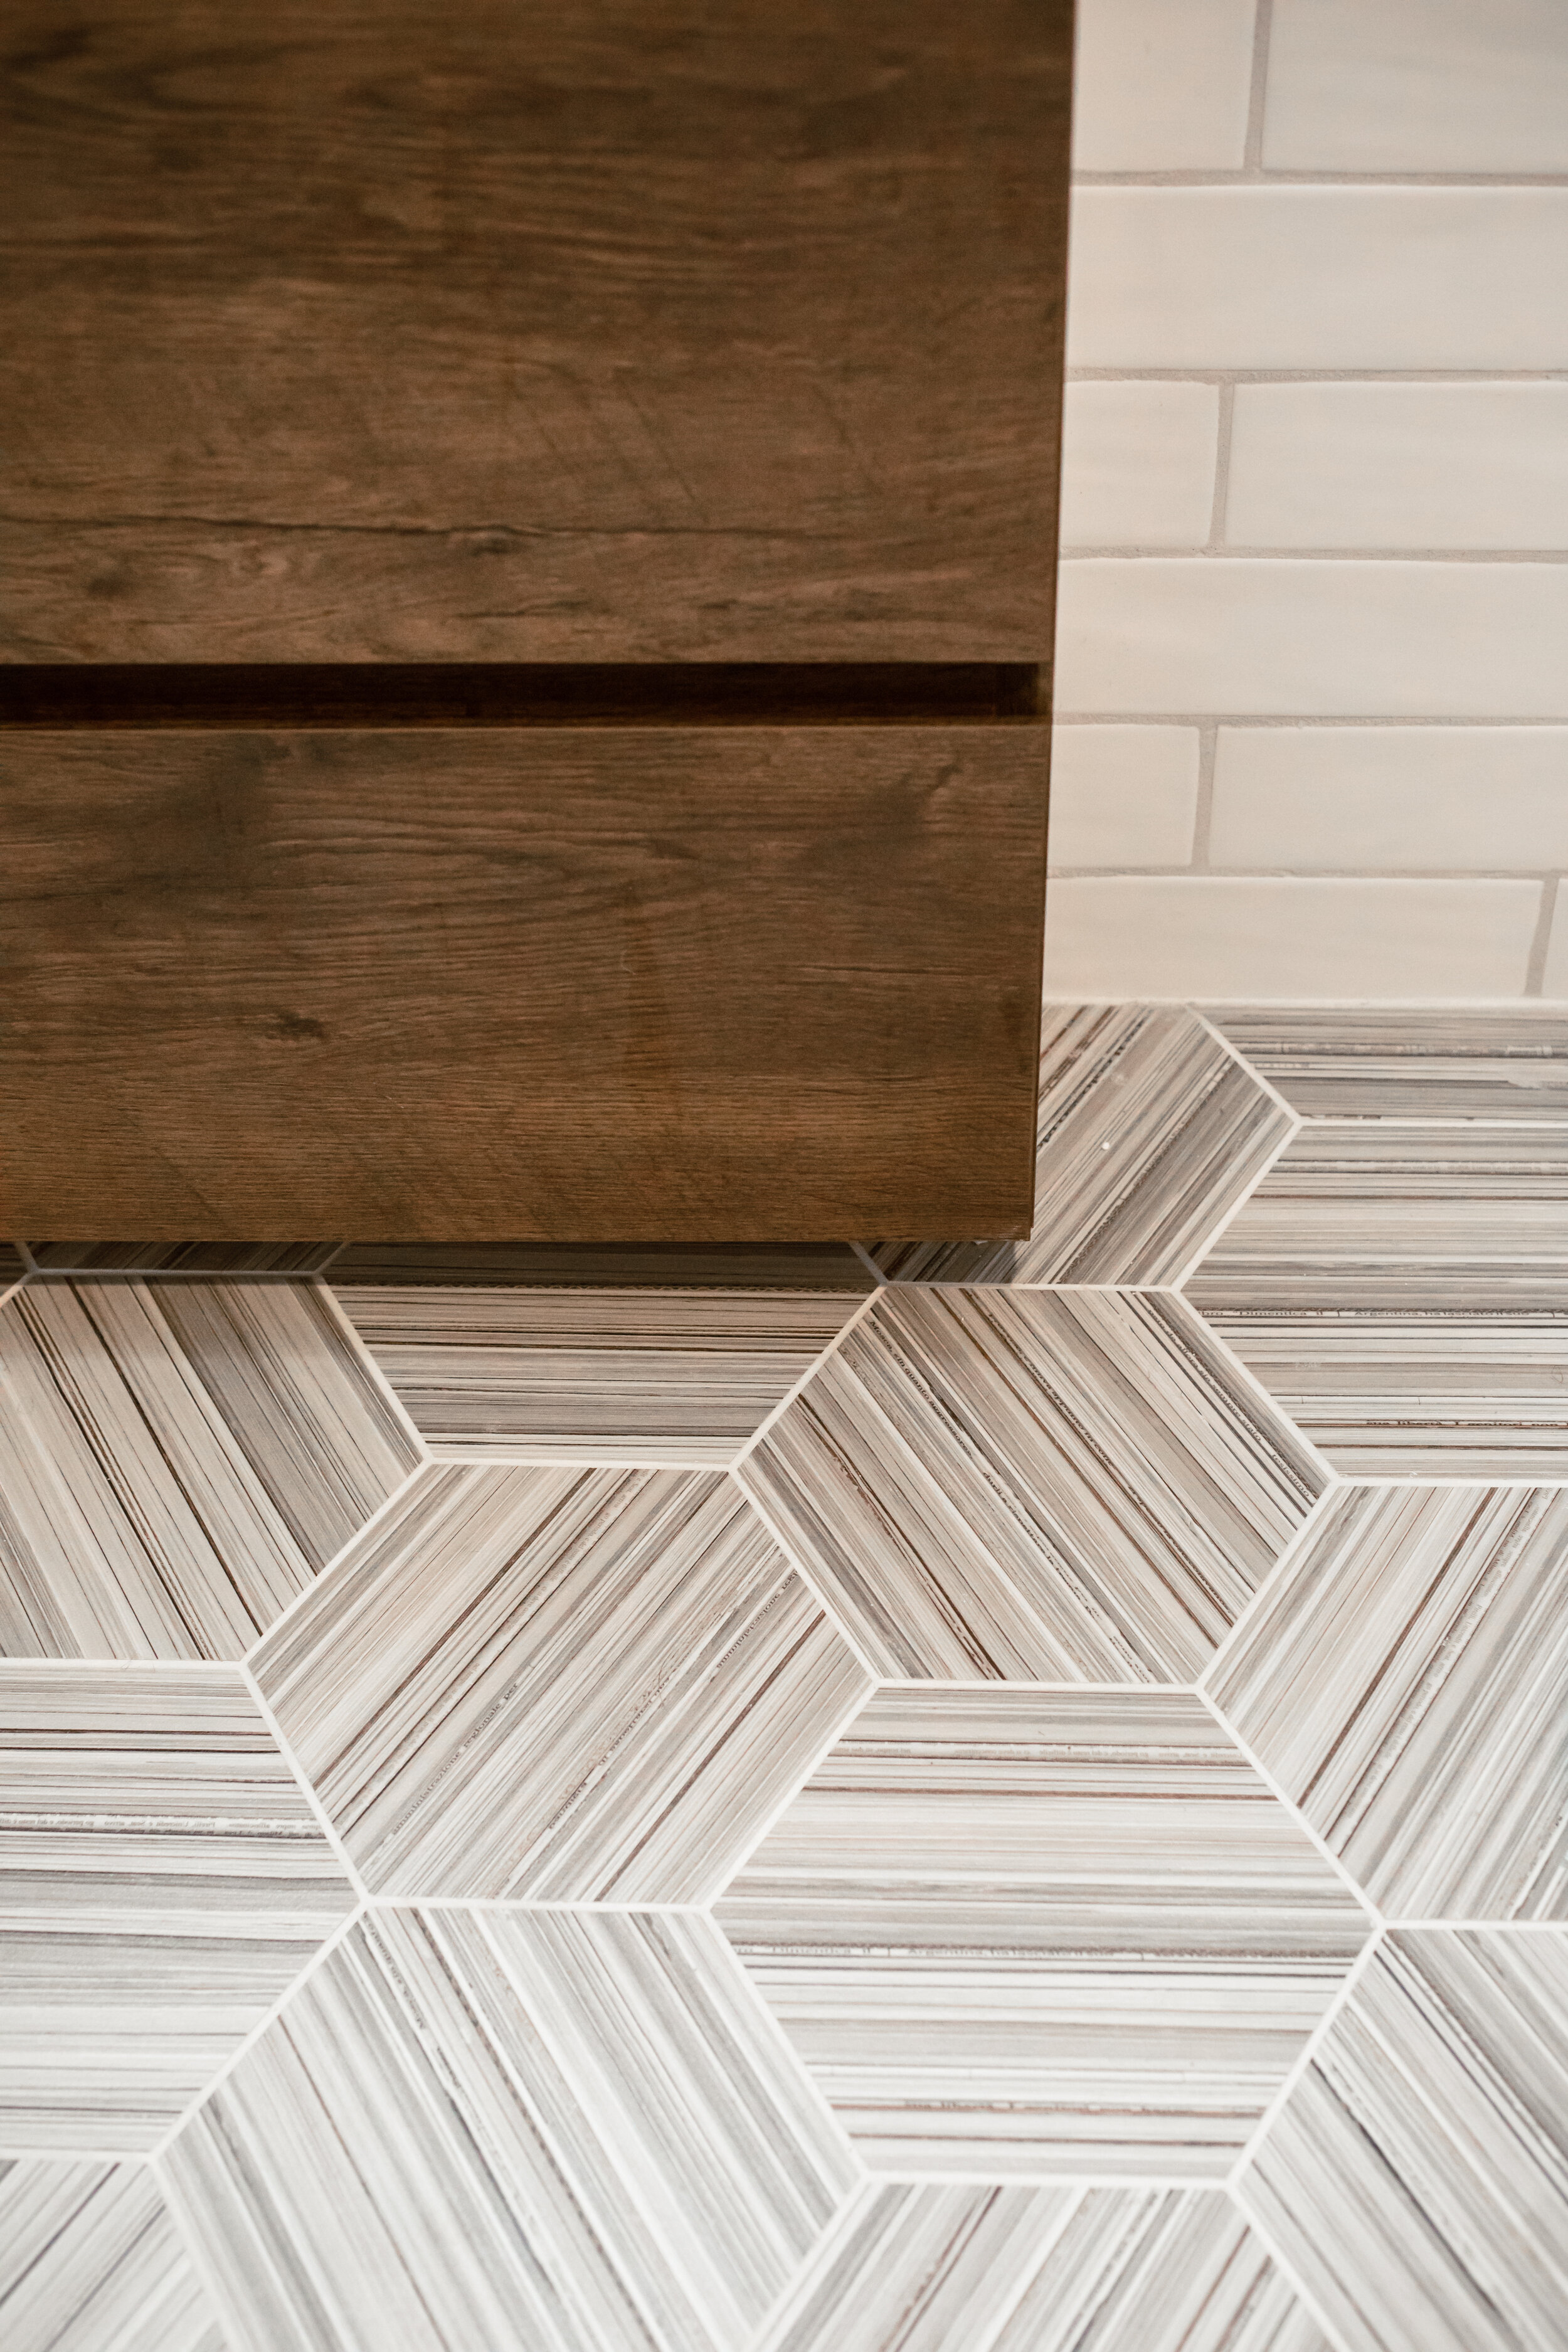
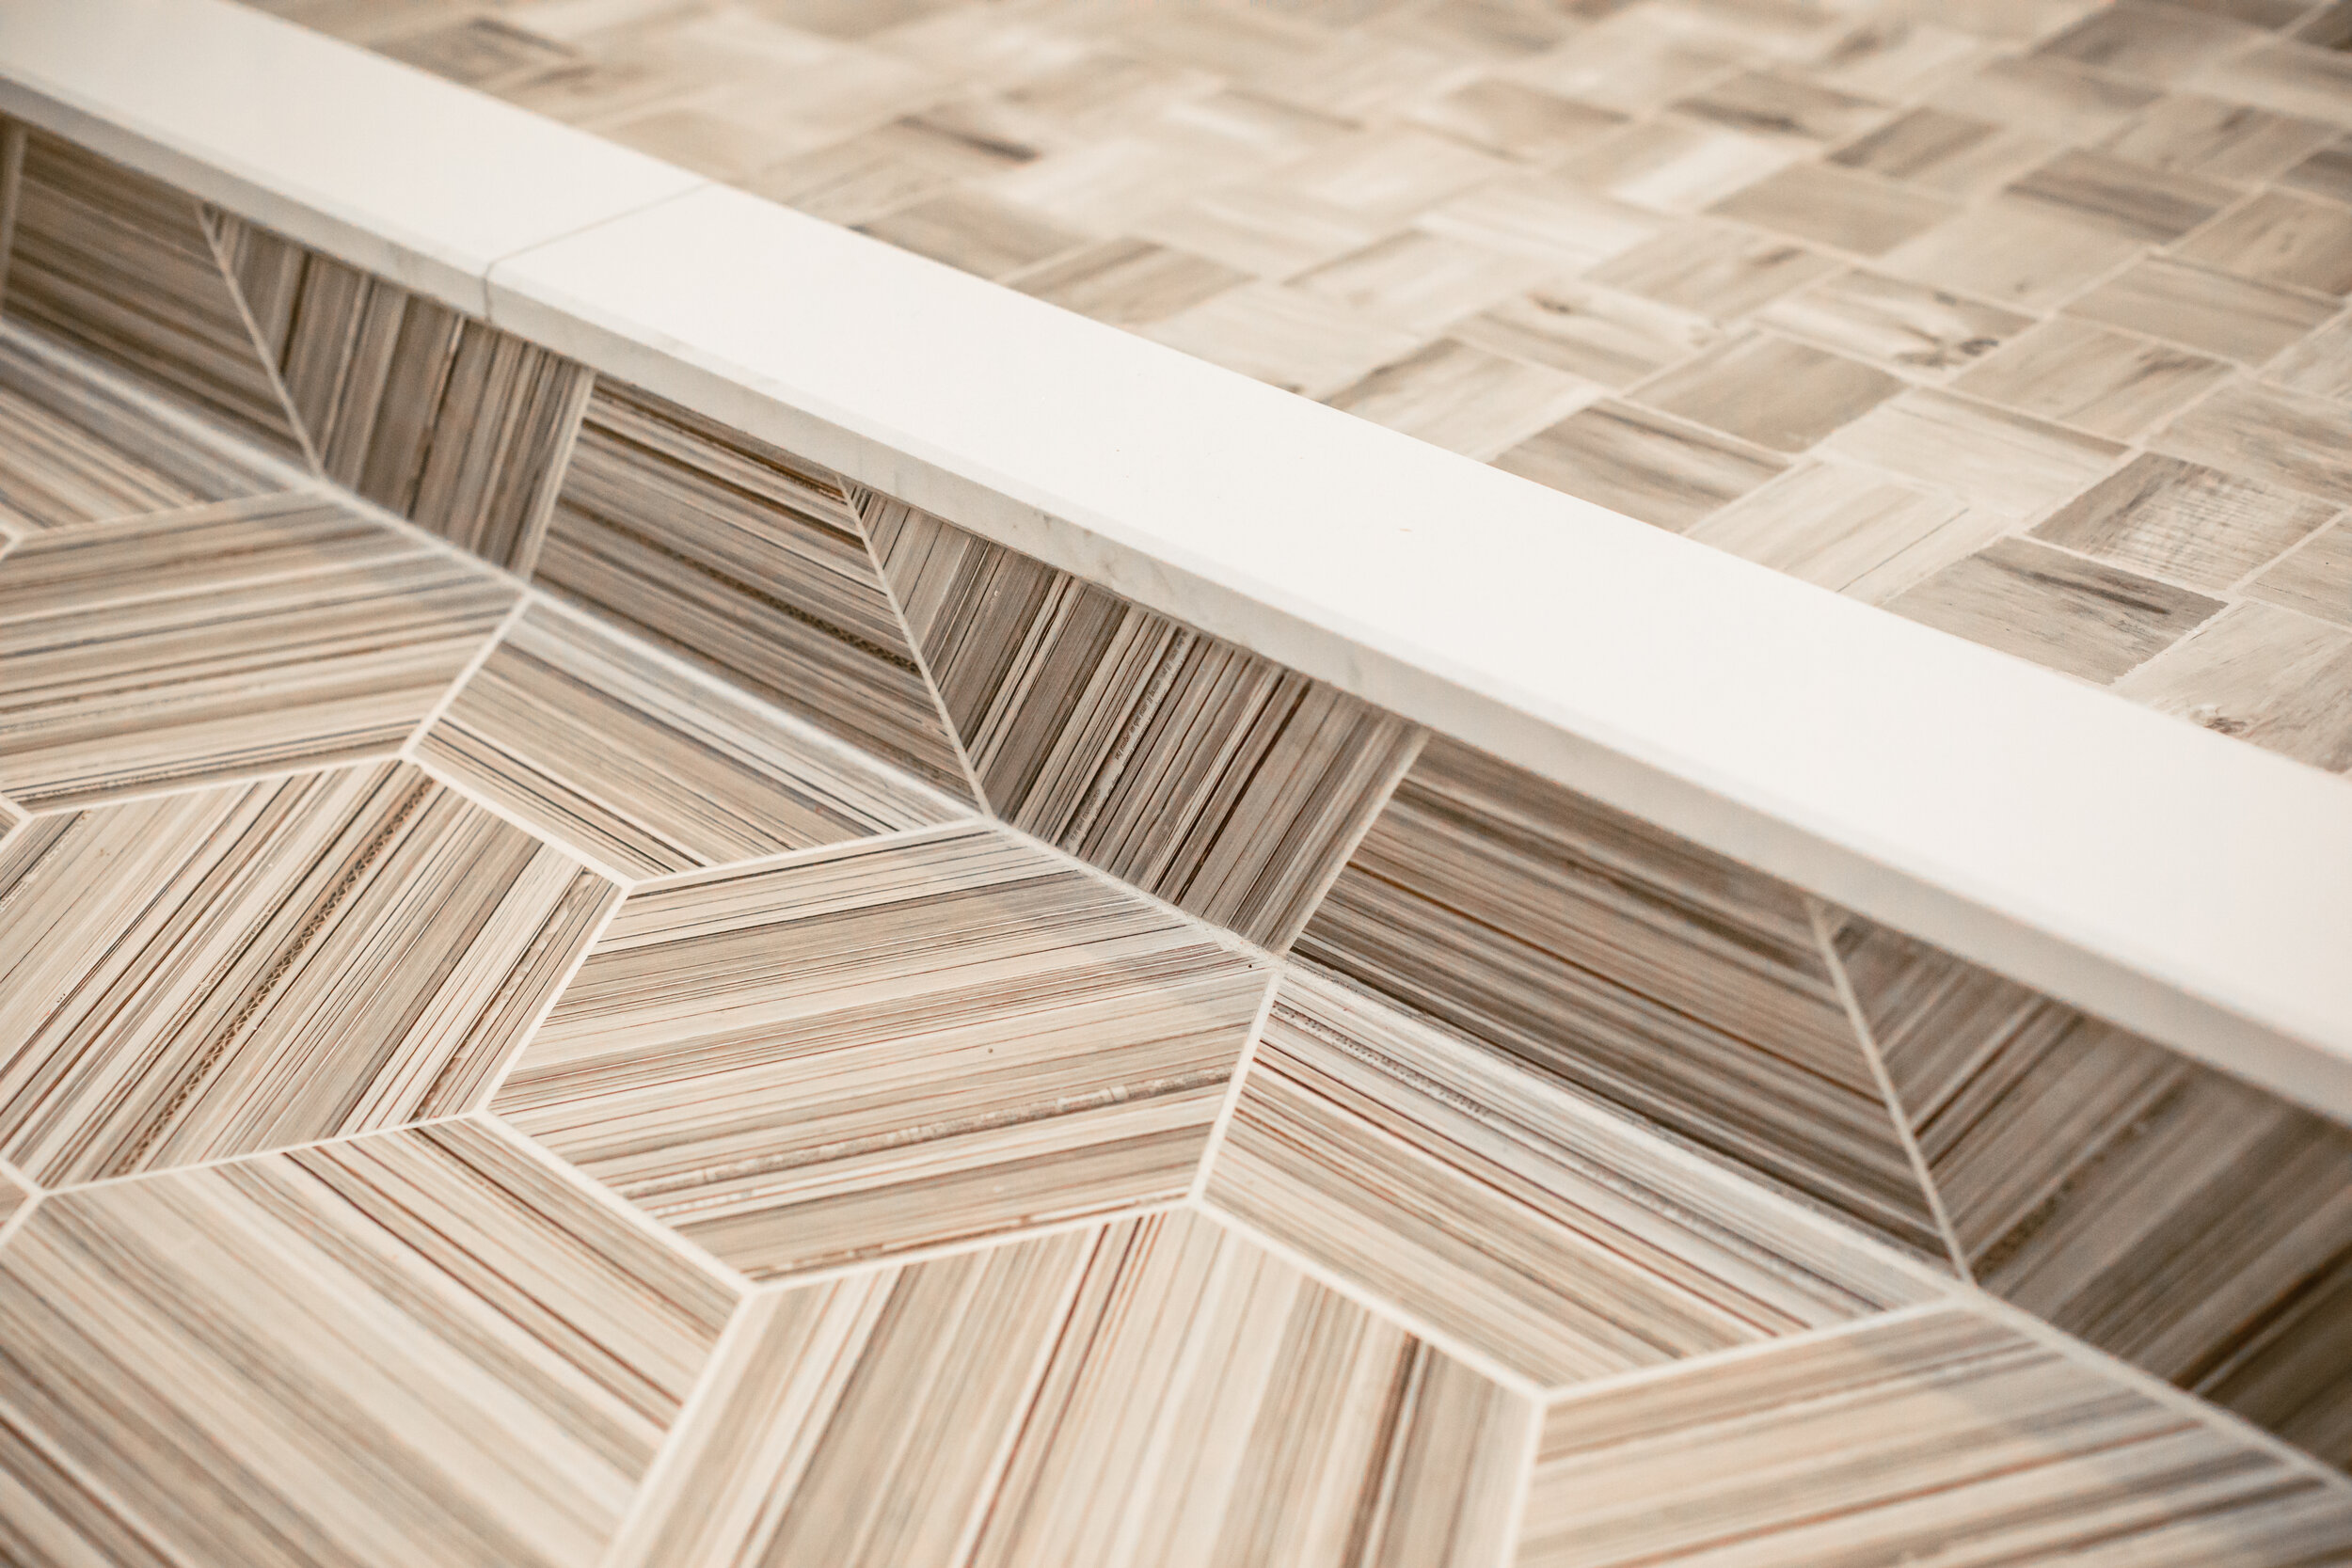
There are too many fixtures and finishes to list out (although I have noted some in the captions) but I will add that all the tile all is from Floor & Decor and the beautiful pool and shuffleboard tables are from West Penn Billiards in Pittsburgh. Finally, let me give a big shout out to my clients, Alpa & Dave, Tim Reed and his team at BILT Construction, UPS and FedEx for all the deliveries, and the namesake of the home, Arya, who kept every Zoom consultation interesting and personally re-set every stone on the front face of the island (as she’ll tell you)!
If you’re intrigued by this project, want to know more about a fixture or finish or are contemplating a renovation and/or redecoration of your own, reach out! And if you want to escape to this beautiful home…
Amber Harris is the owner of At Home DC, an interior decorator and a licensed real estate agent with Keller Williams Capital Properties working with clients in DC, Maryland and Virginia.