
Old Meets New in This Beautiful Bathroom Upgrade (Photo: Beth Caldwell)
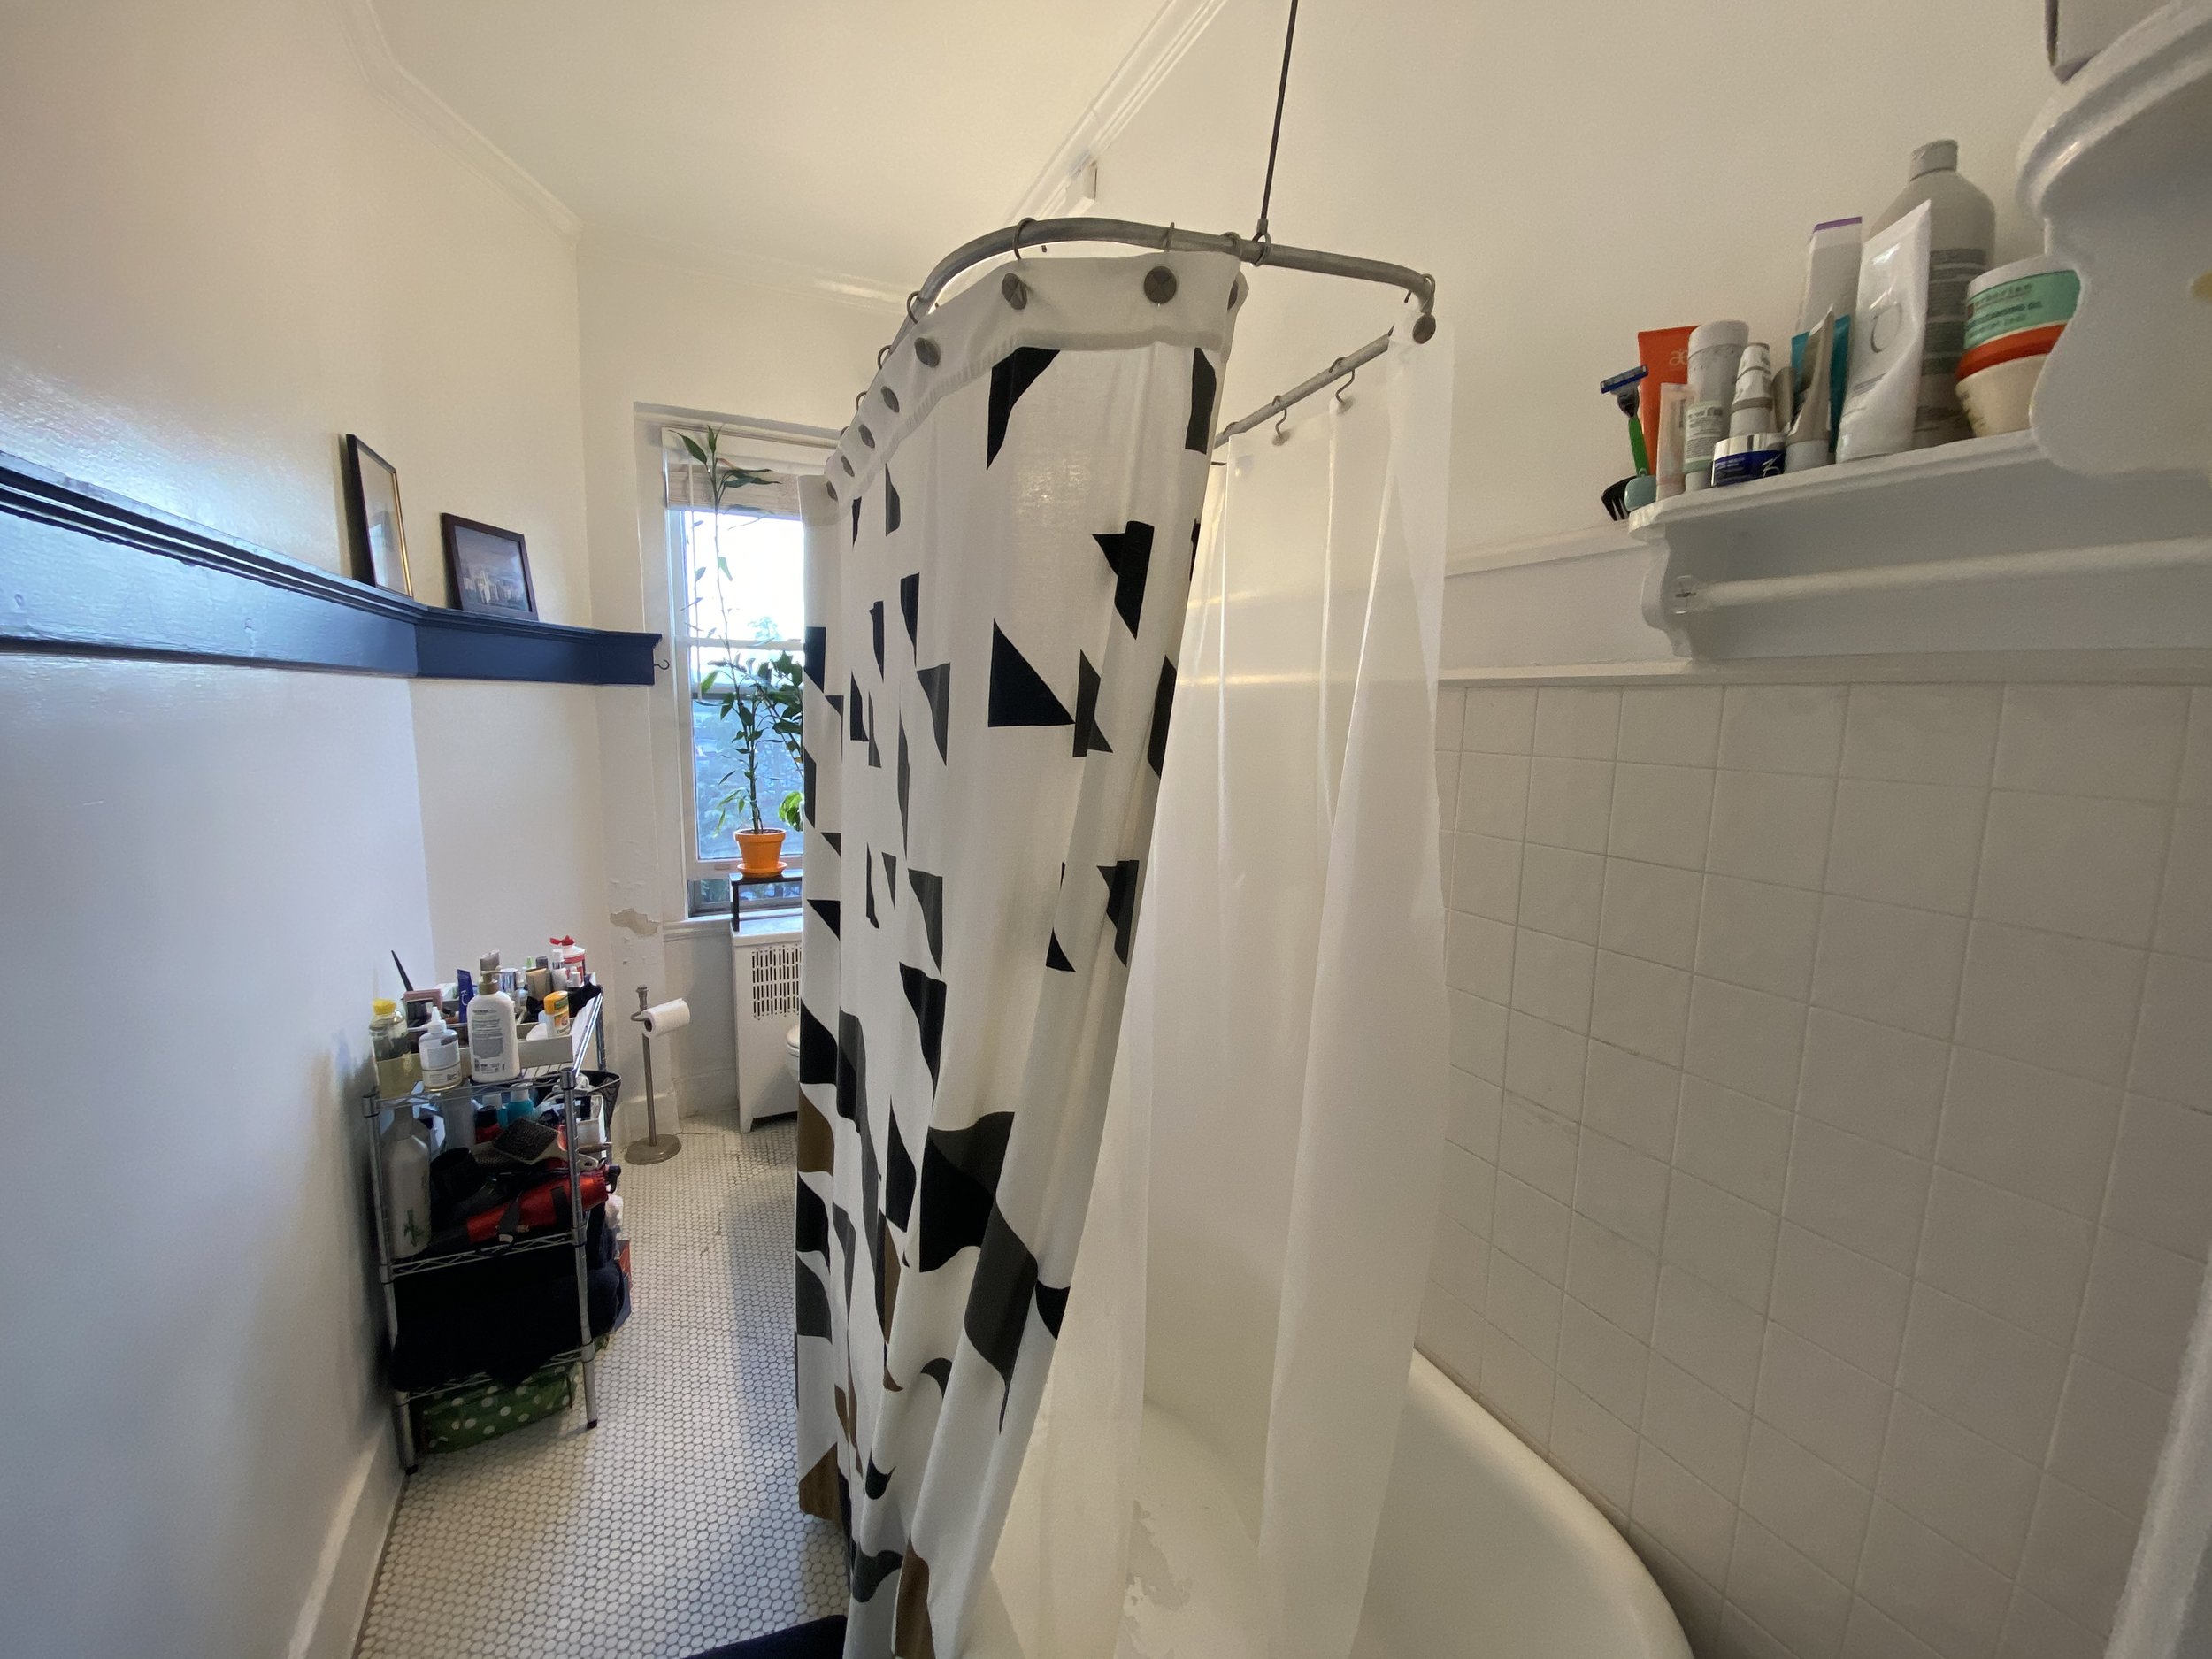
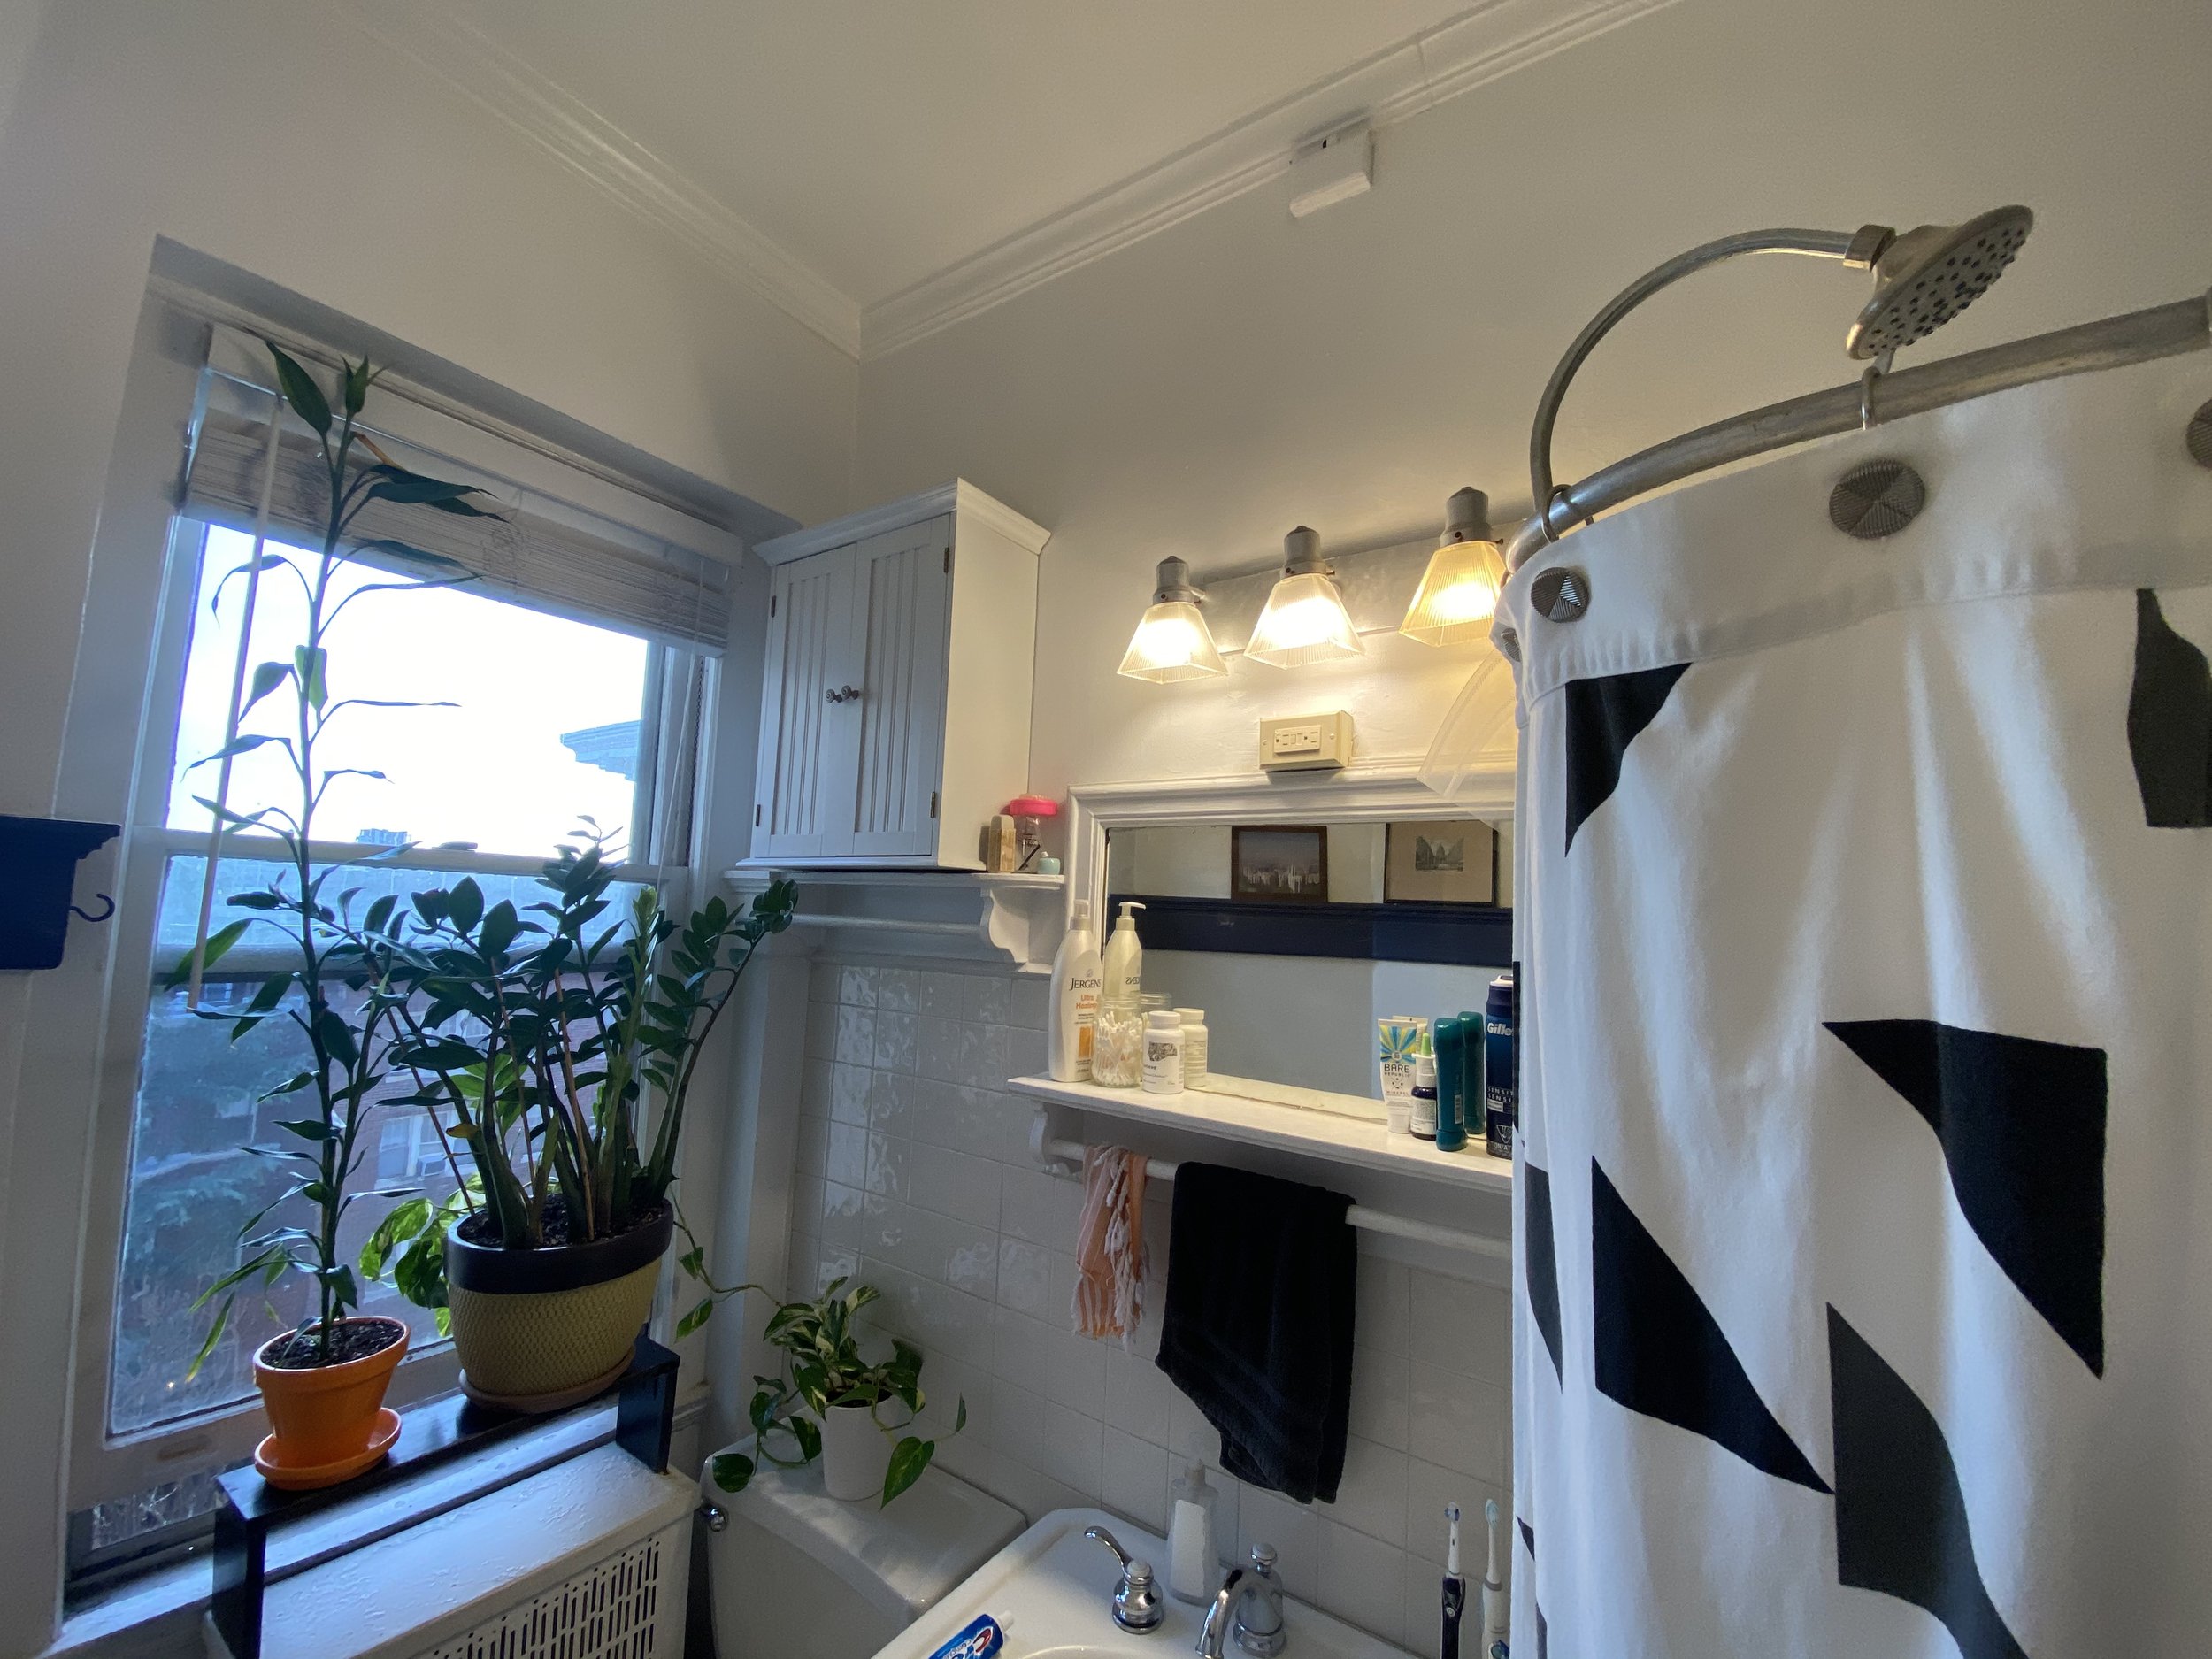
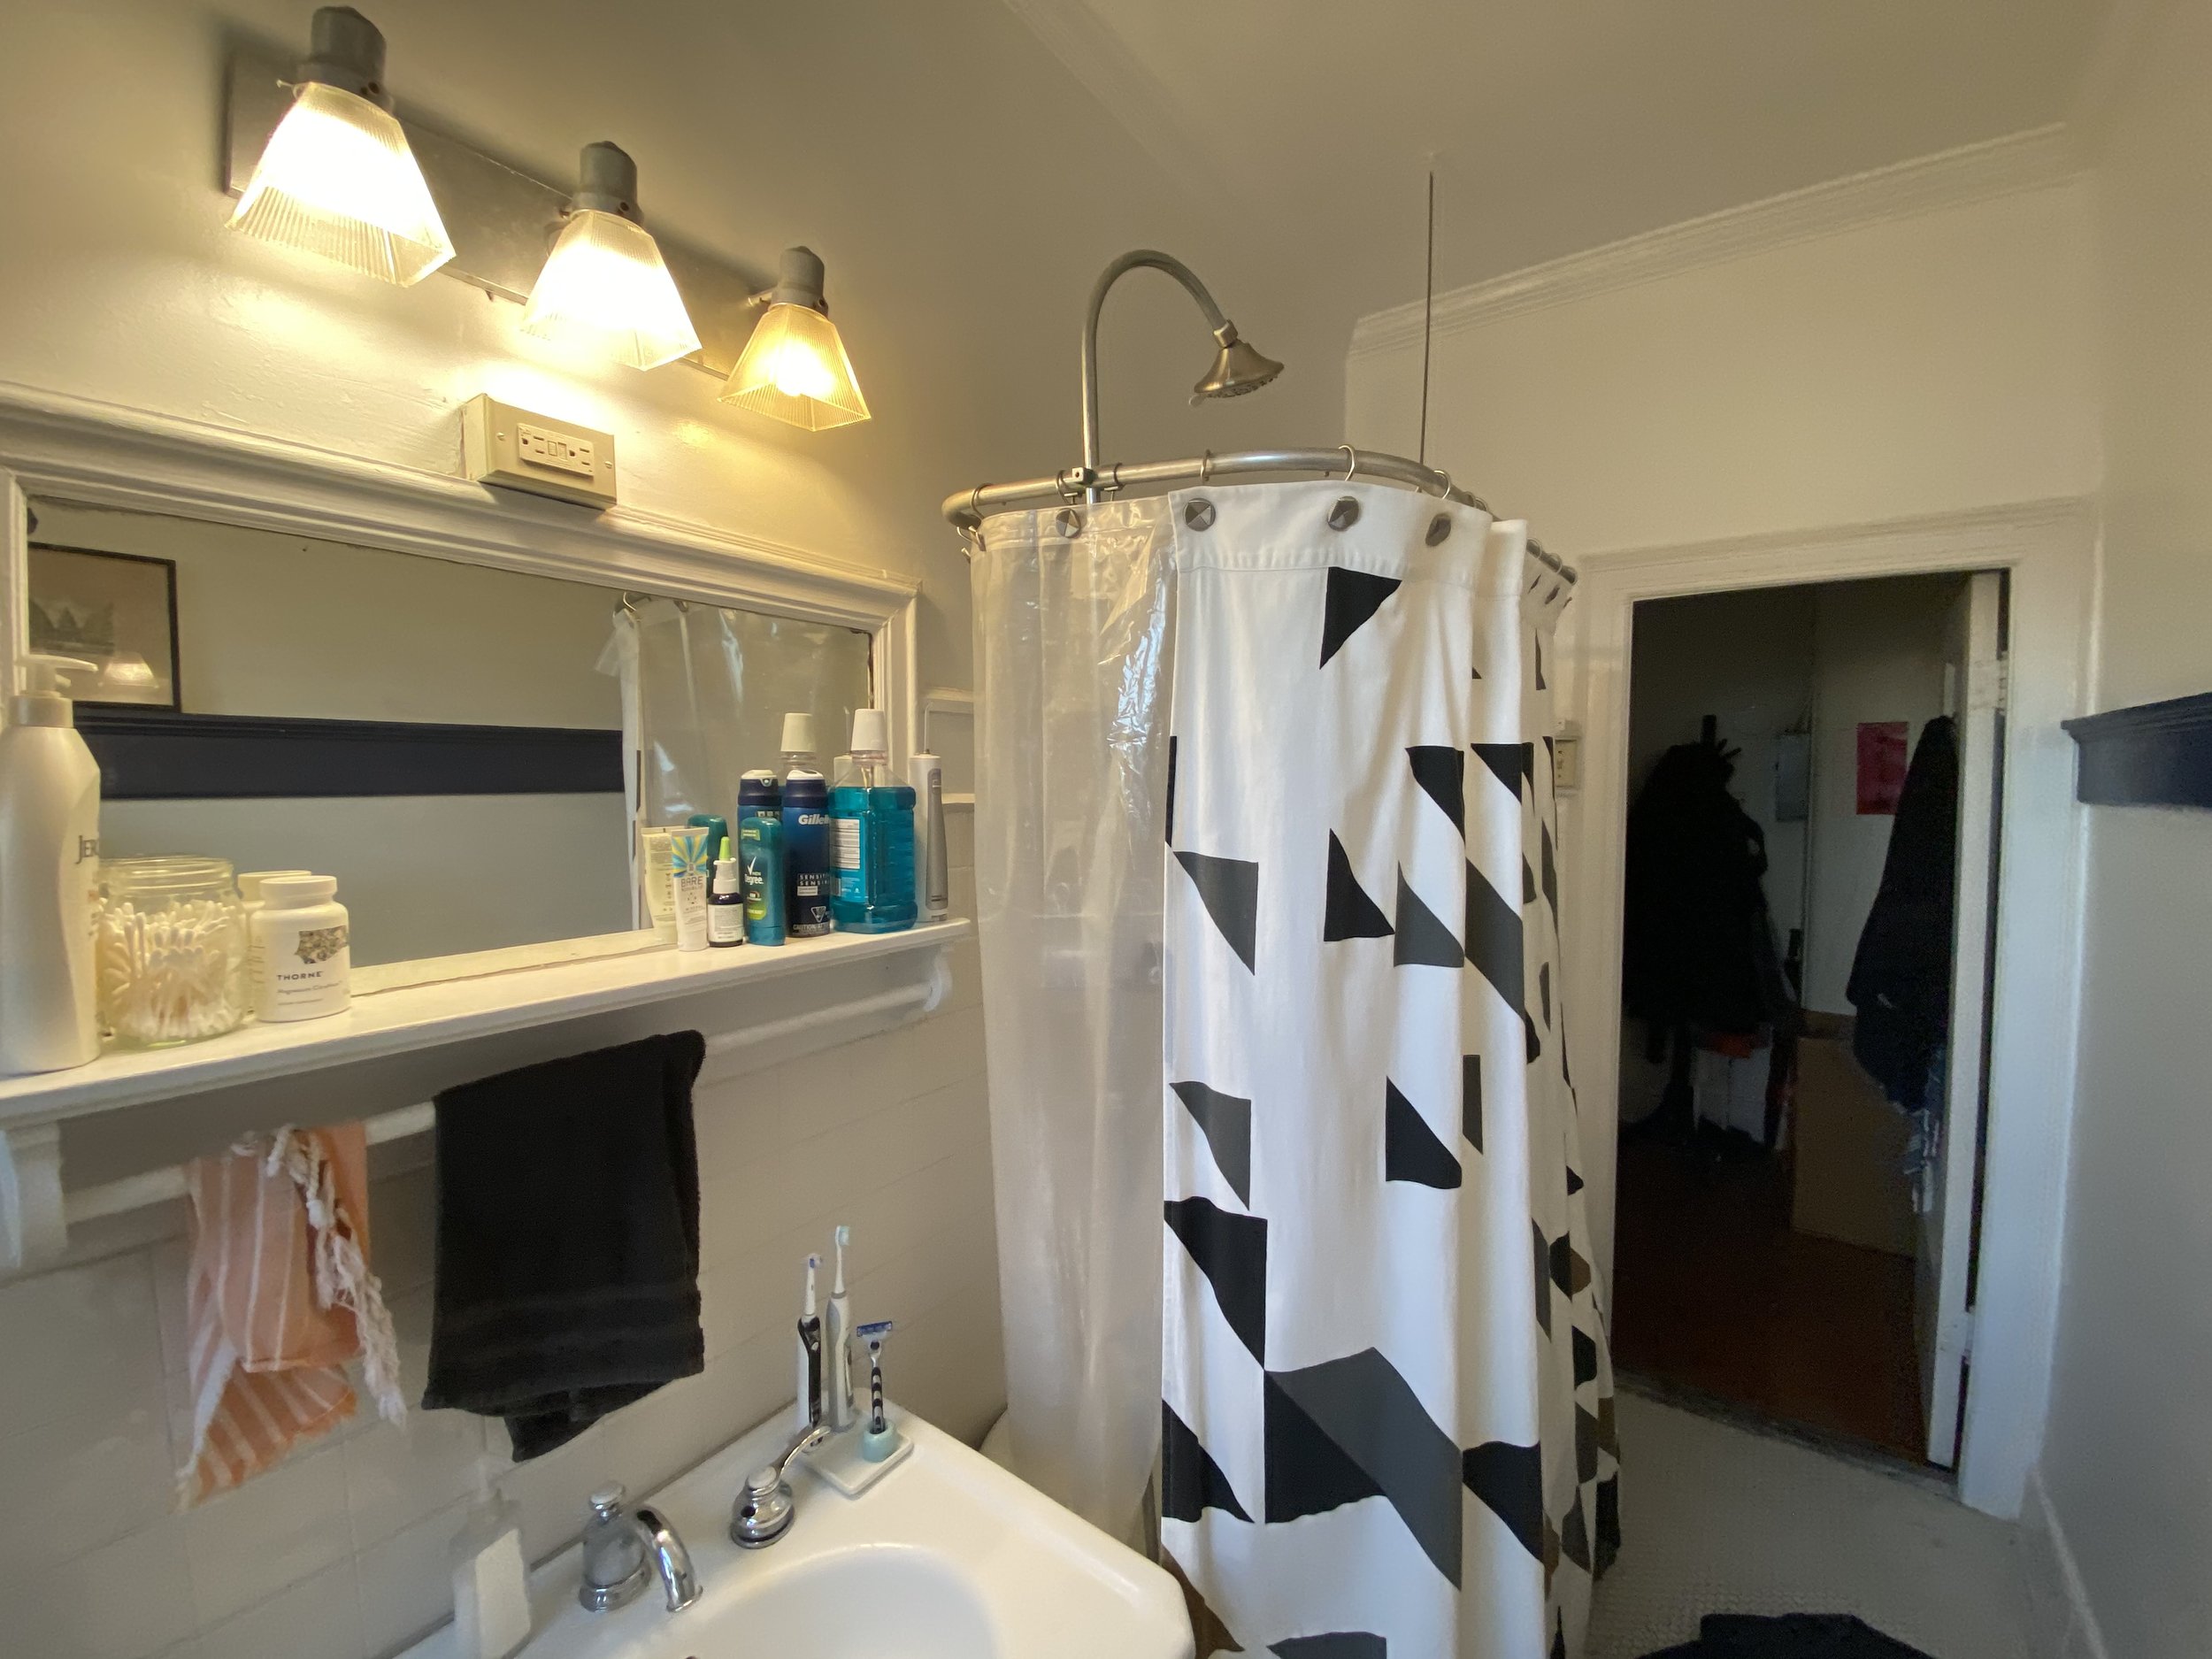
Small bathrooms are not uncommon in DC rowhomes and condos but one of my latest bathroom renovation partnerships presented some new challenges…and opportunities! Molly & Sam reached out last winter as they were planning ahead for a summer remodel of the bathroom in their historic Wardman-built 1917 DC coop near Dupont Circle. Long and narrow with soaring ceilings and wonderful natural light, the bones were there but smaller spaces, especially in older buildings, require some creativity and willingness to roll with surprises (like penny tile held in place not by grout but by cement).
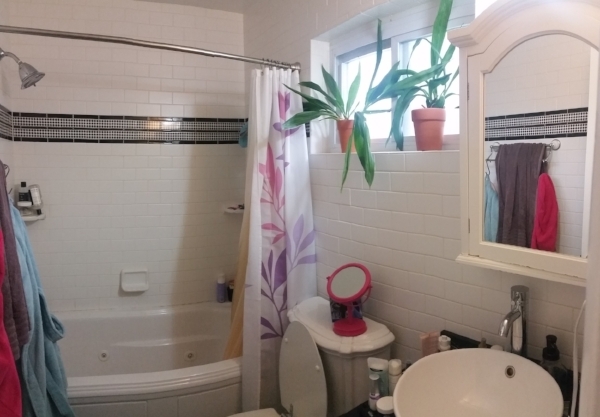
The Before
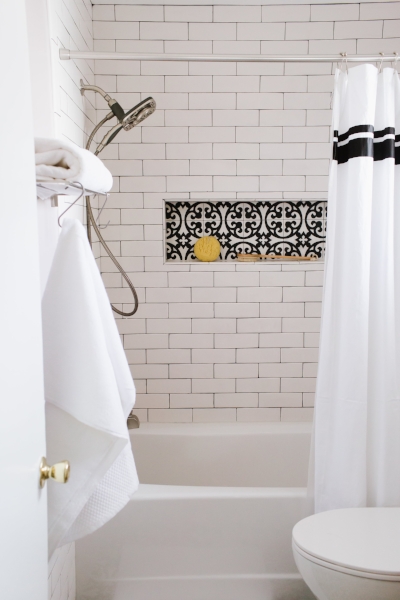
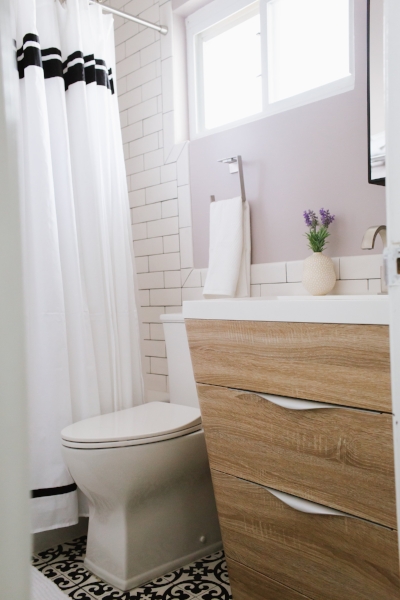
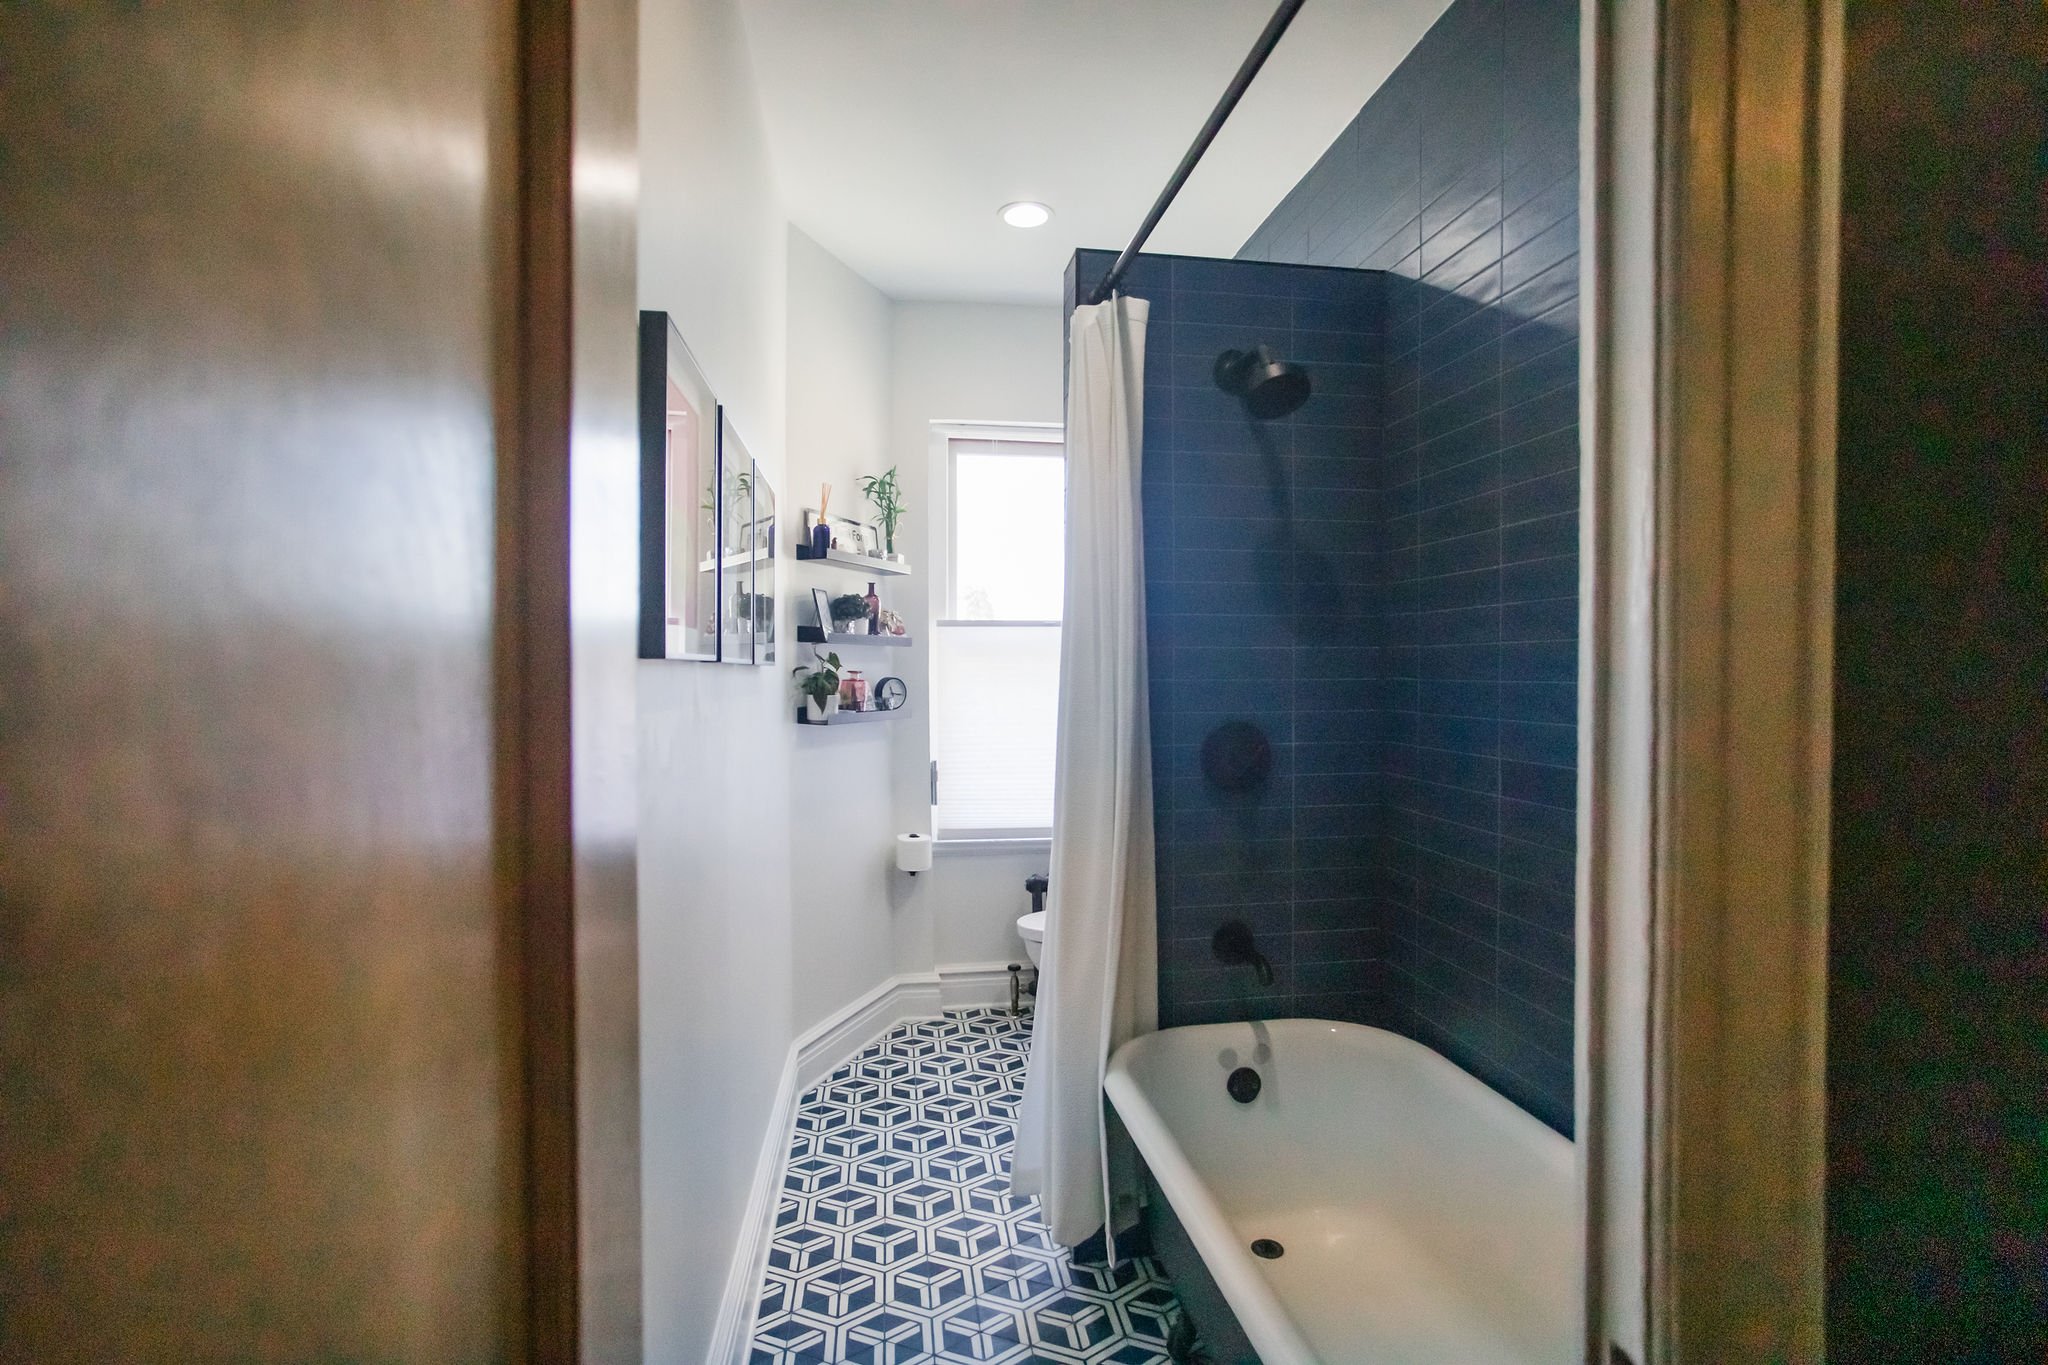
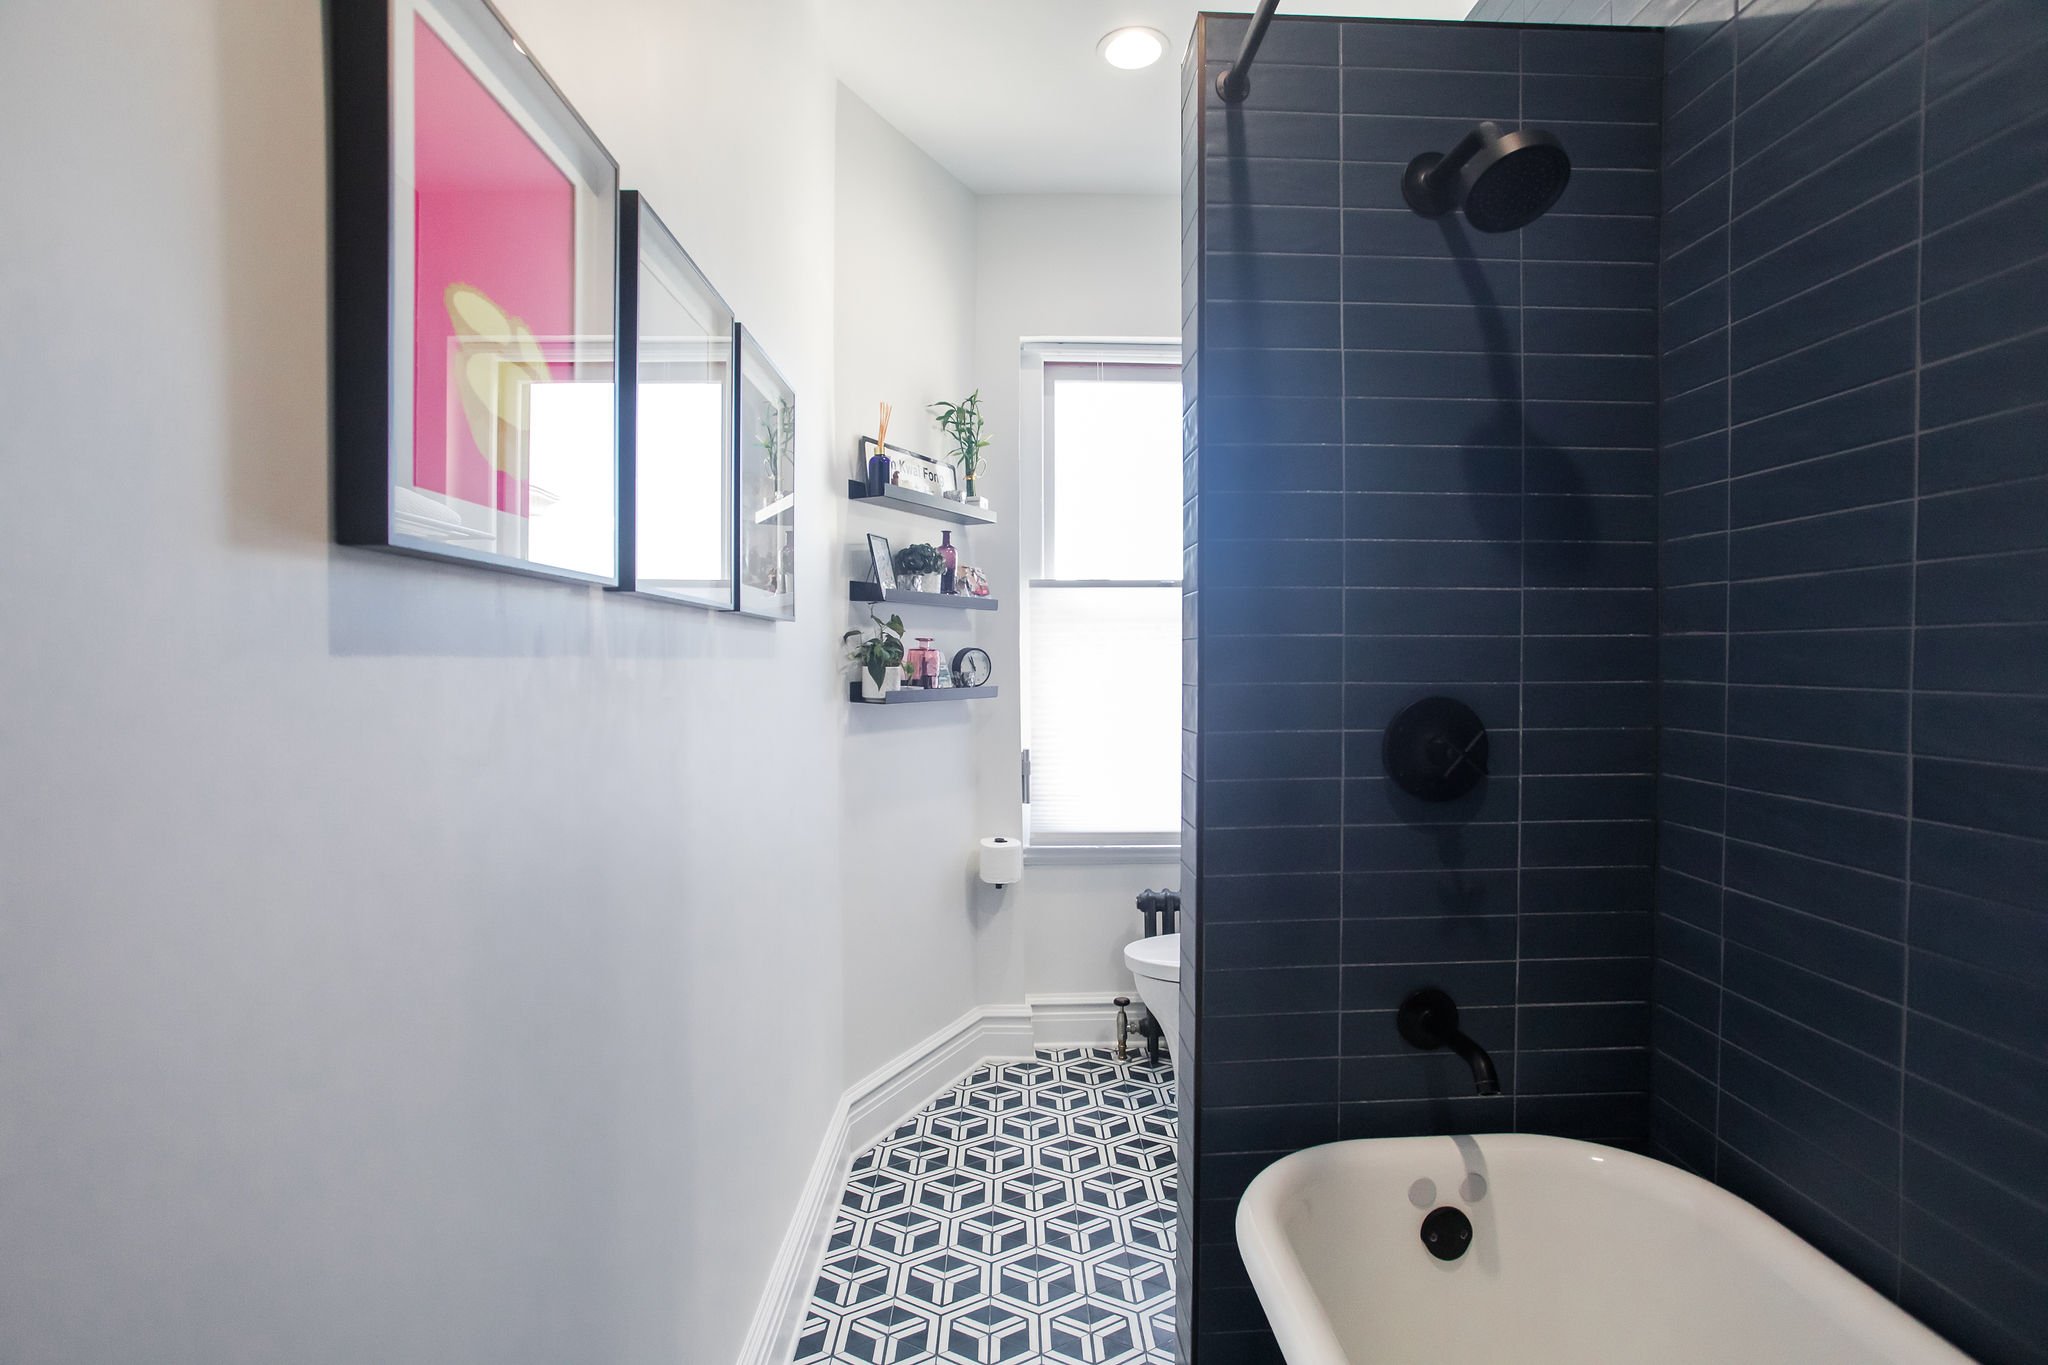
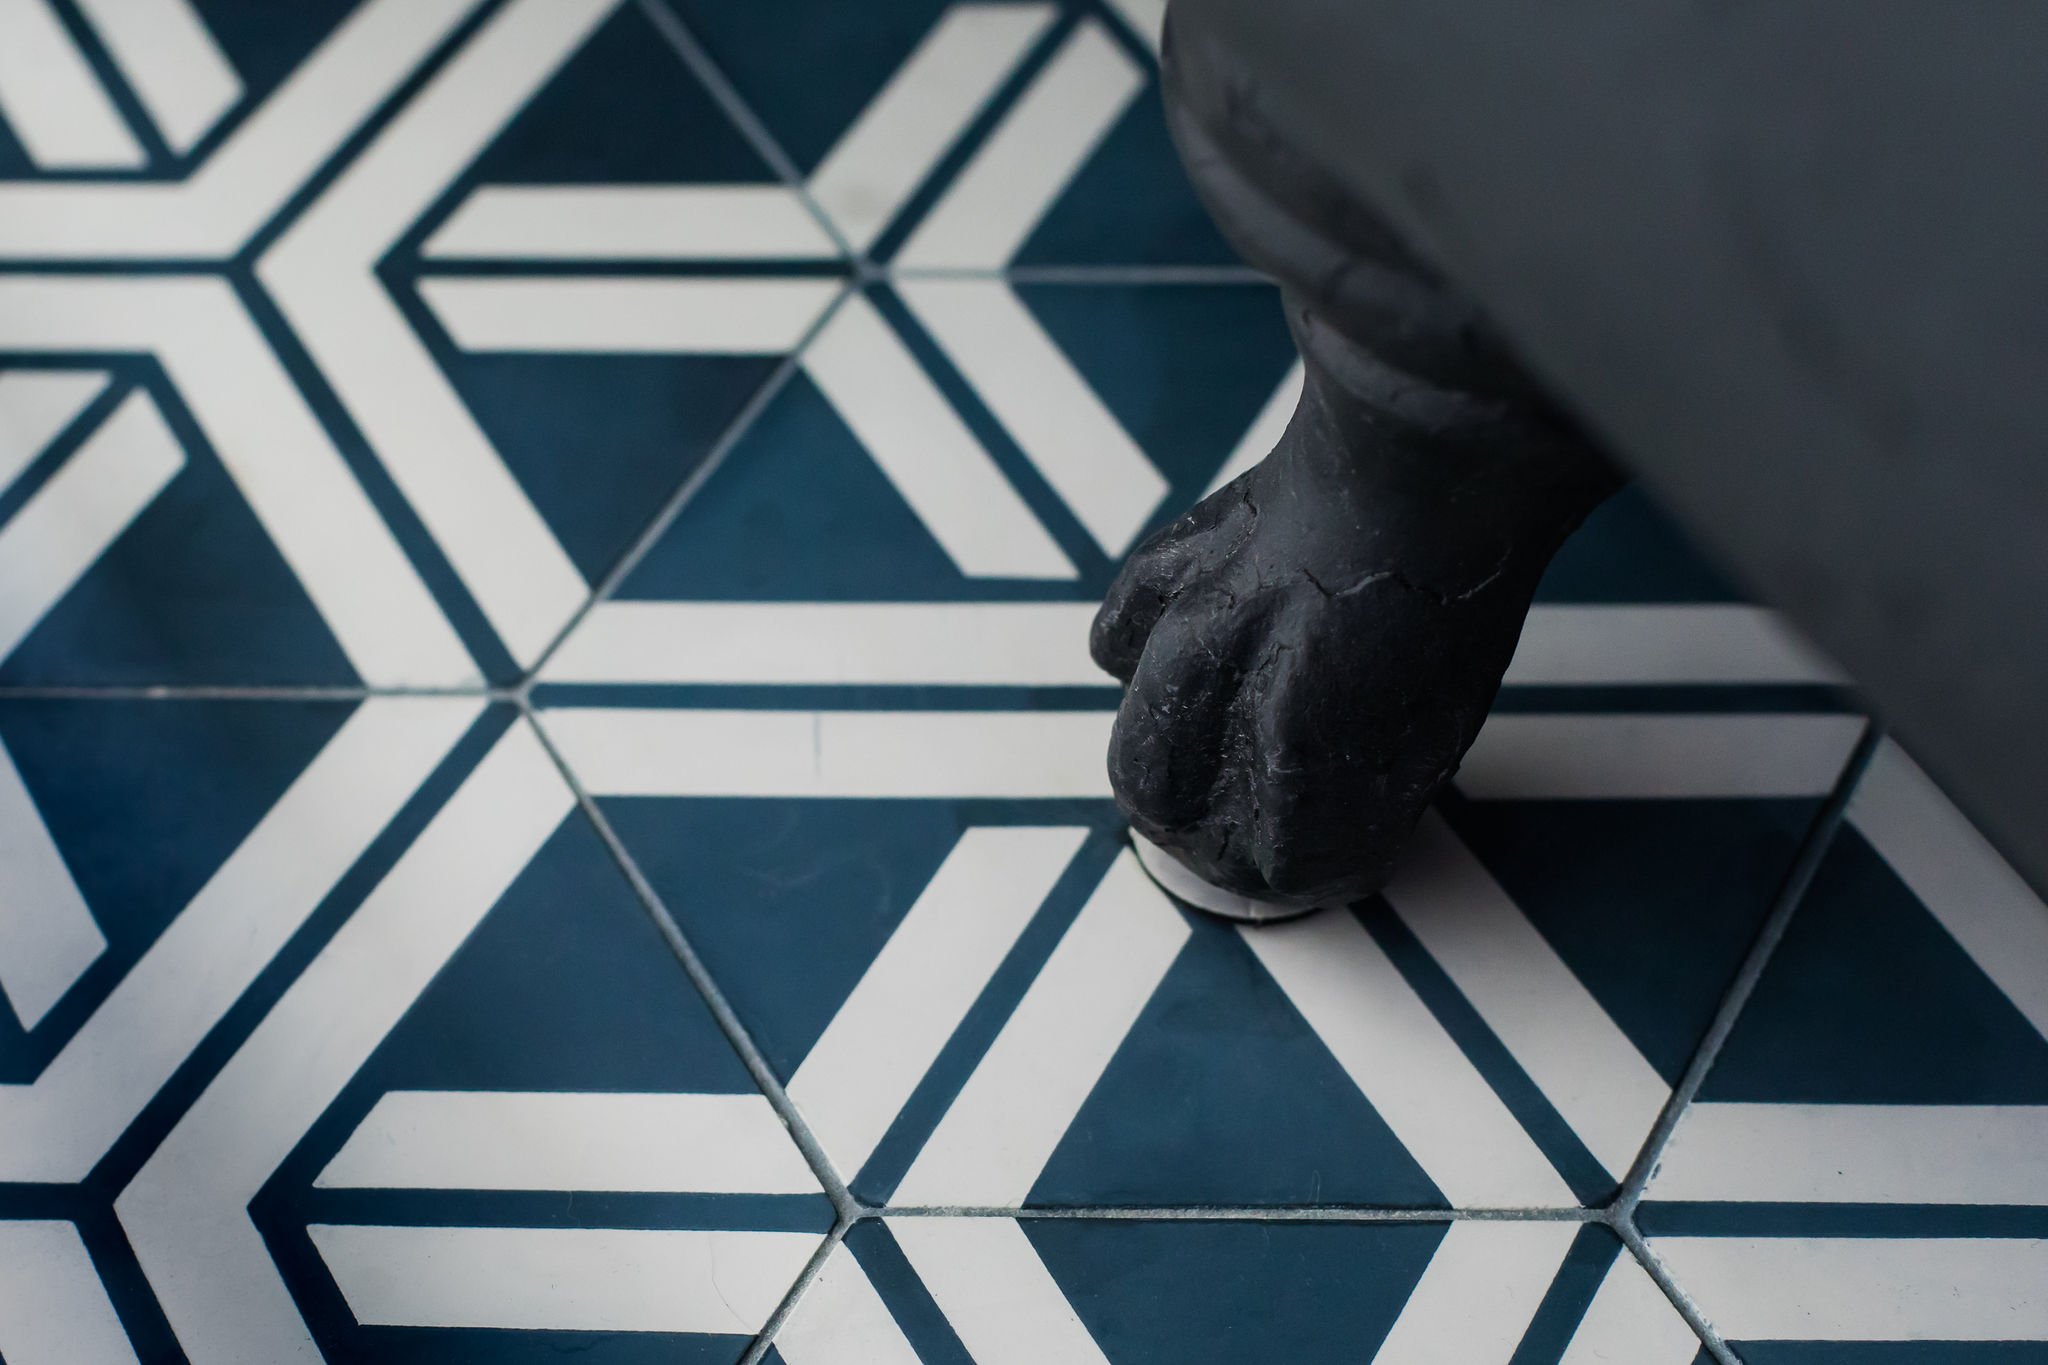
With a beautiful clawfoot tub in place and staying (after being refinished), we had little room to modify the layout, so we made a series of little changes (and one big one) to modernize and make the most of the space:
Inch by Inch: With limited ability to change positioning of plumbing, we worked with H&C Construction to identify small modifications to gain space, including shifting the tub a few inches closer to the wall opposite the window to gain vanity space (and room to add the pony wall).
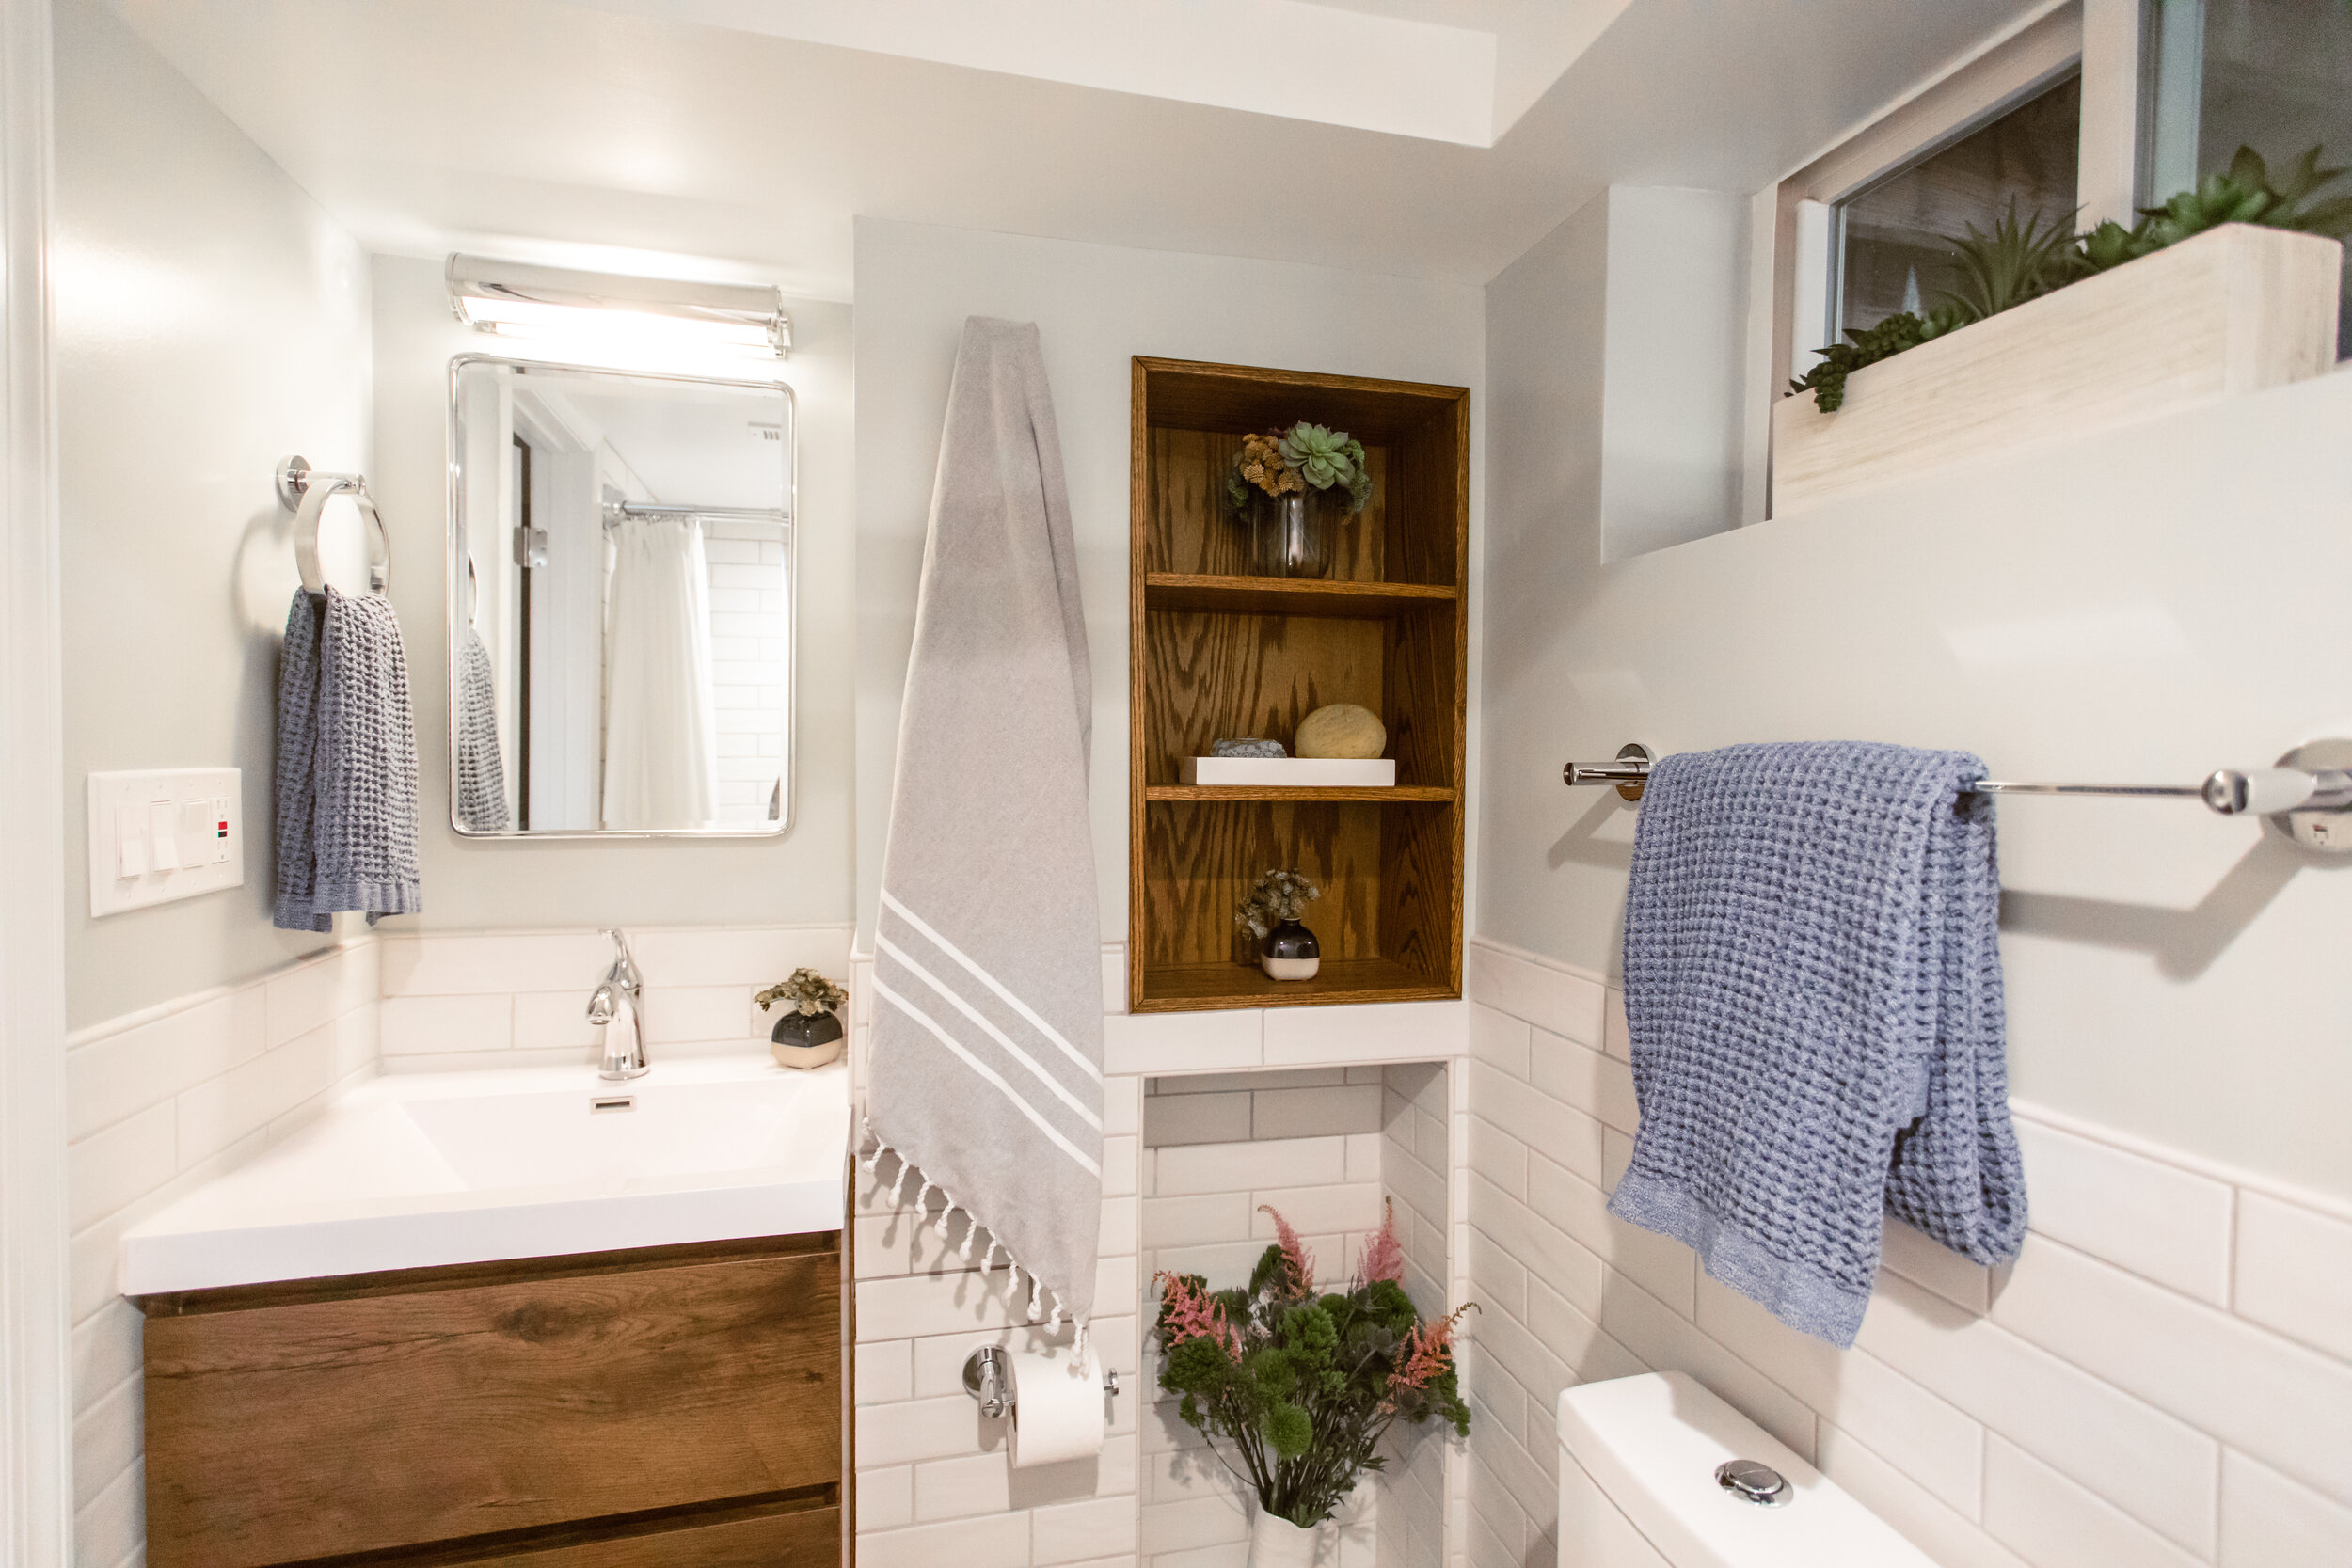
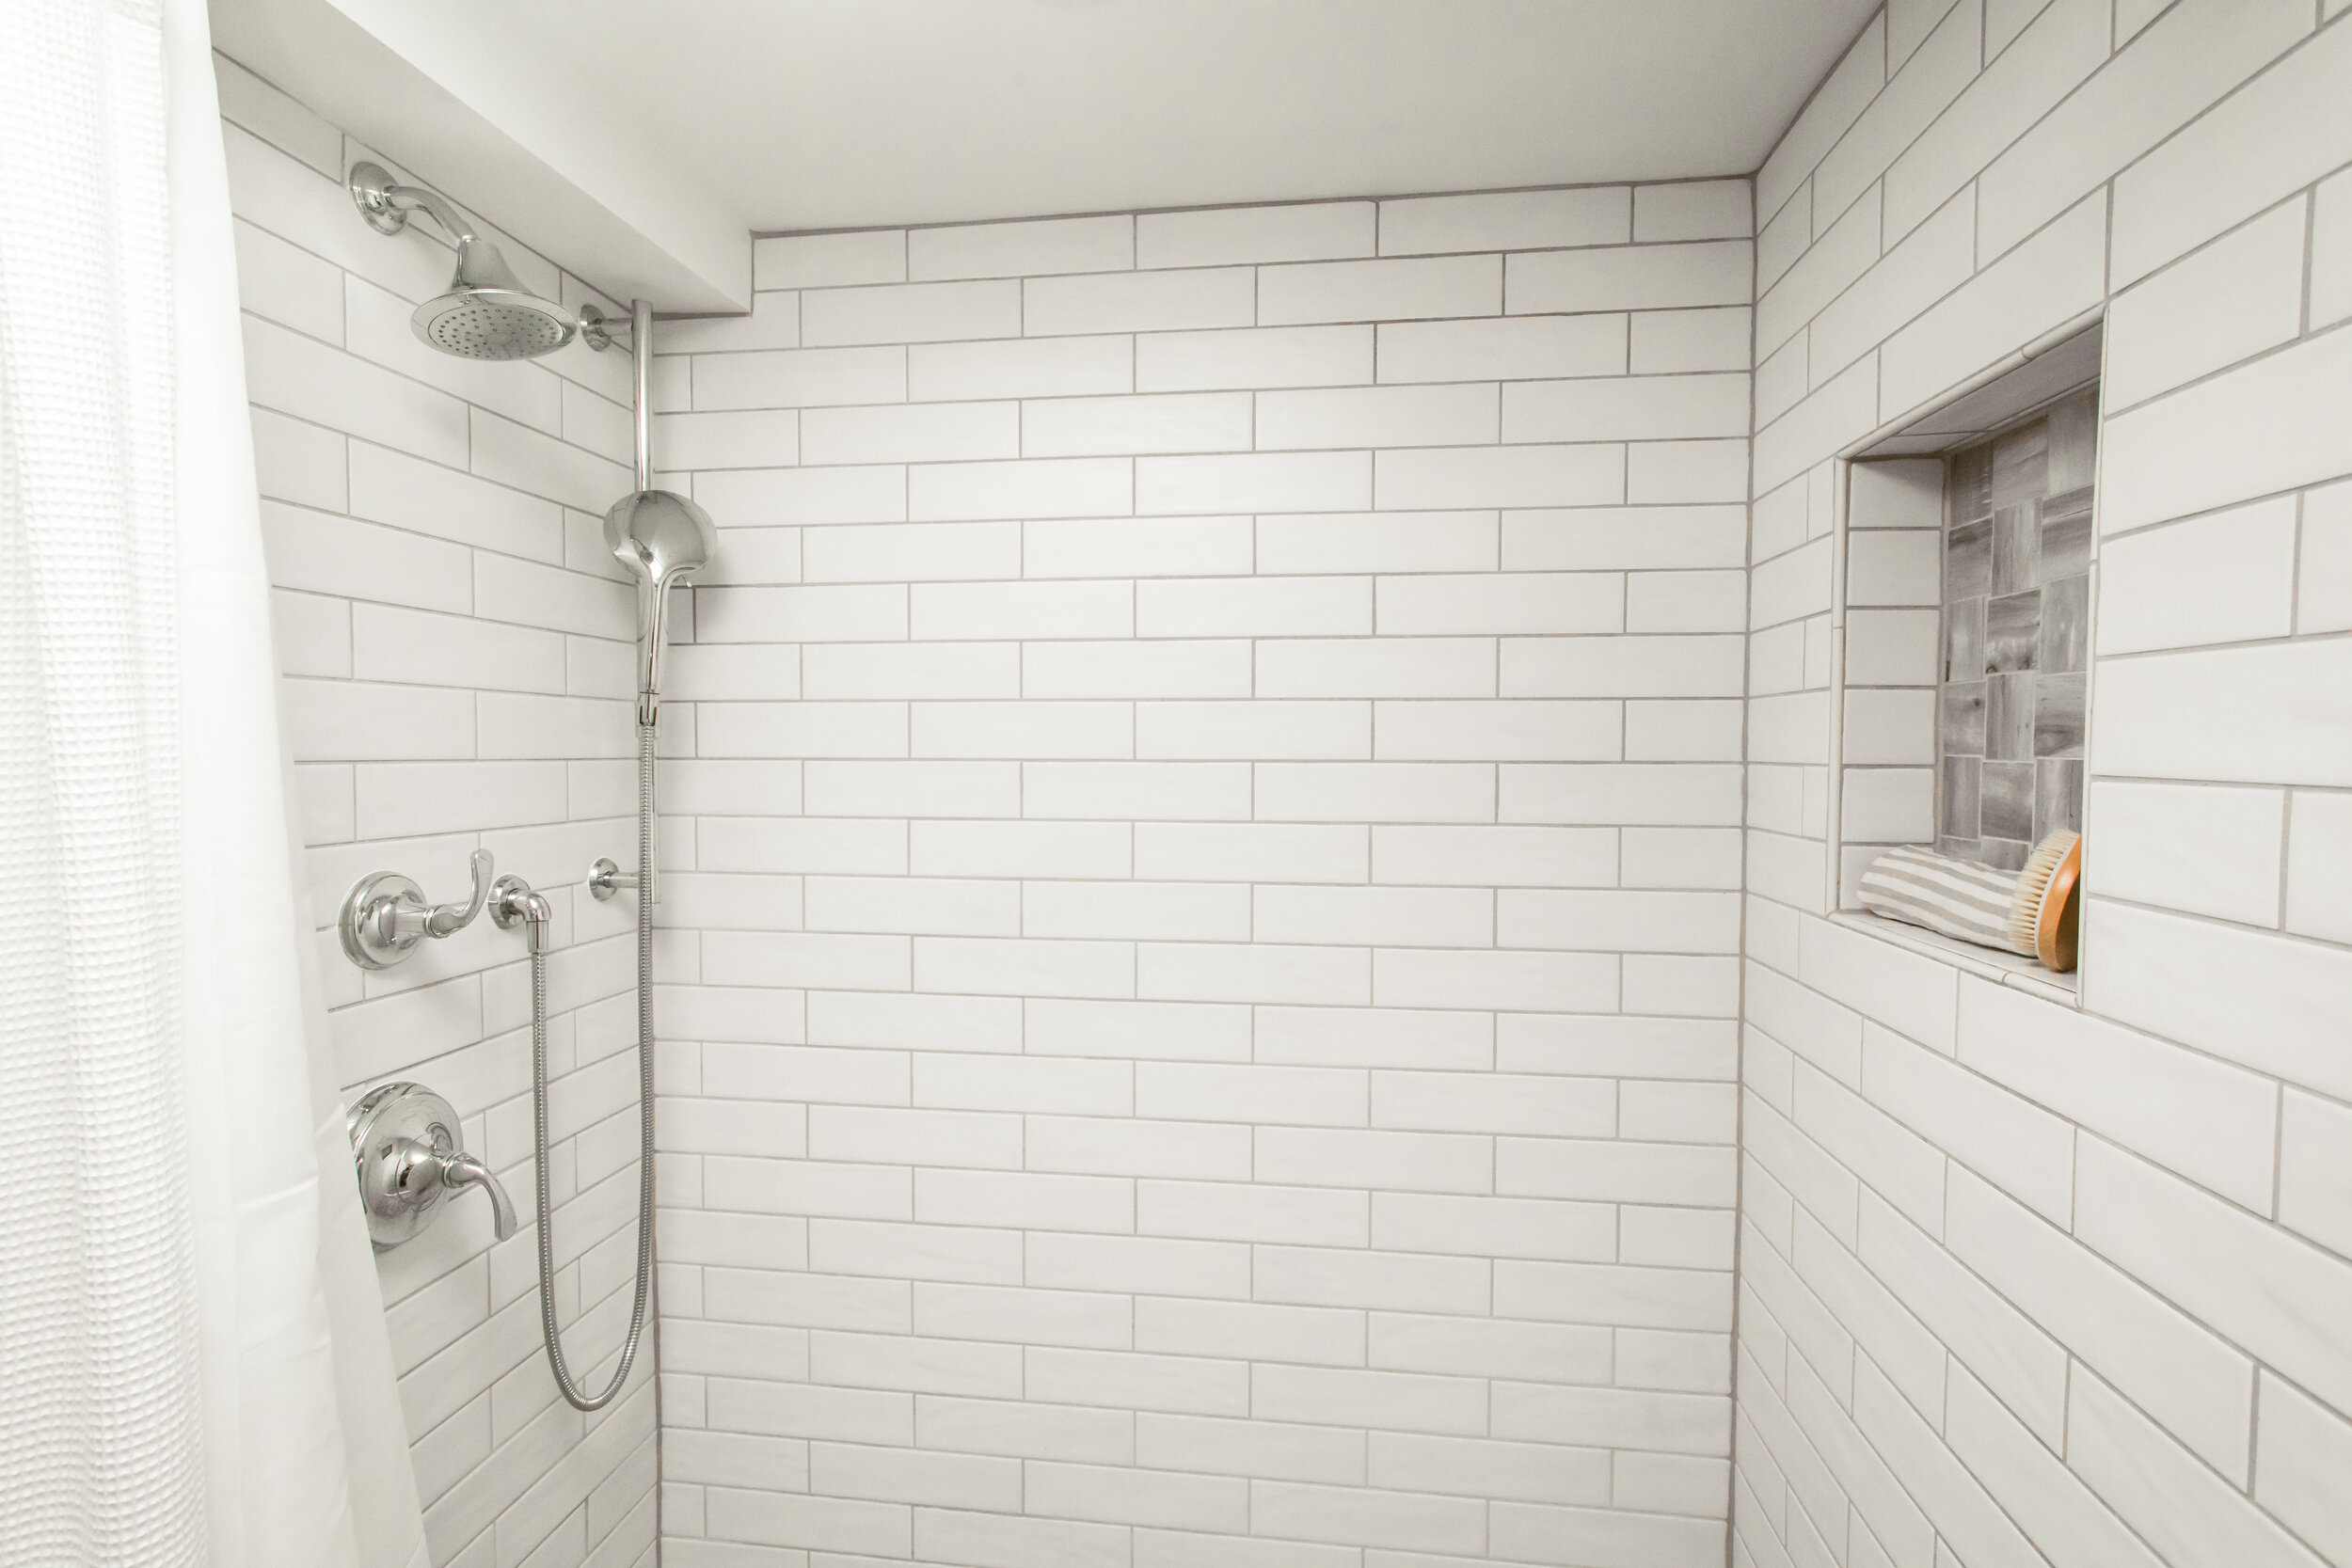
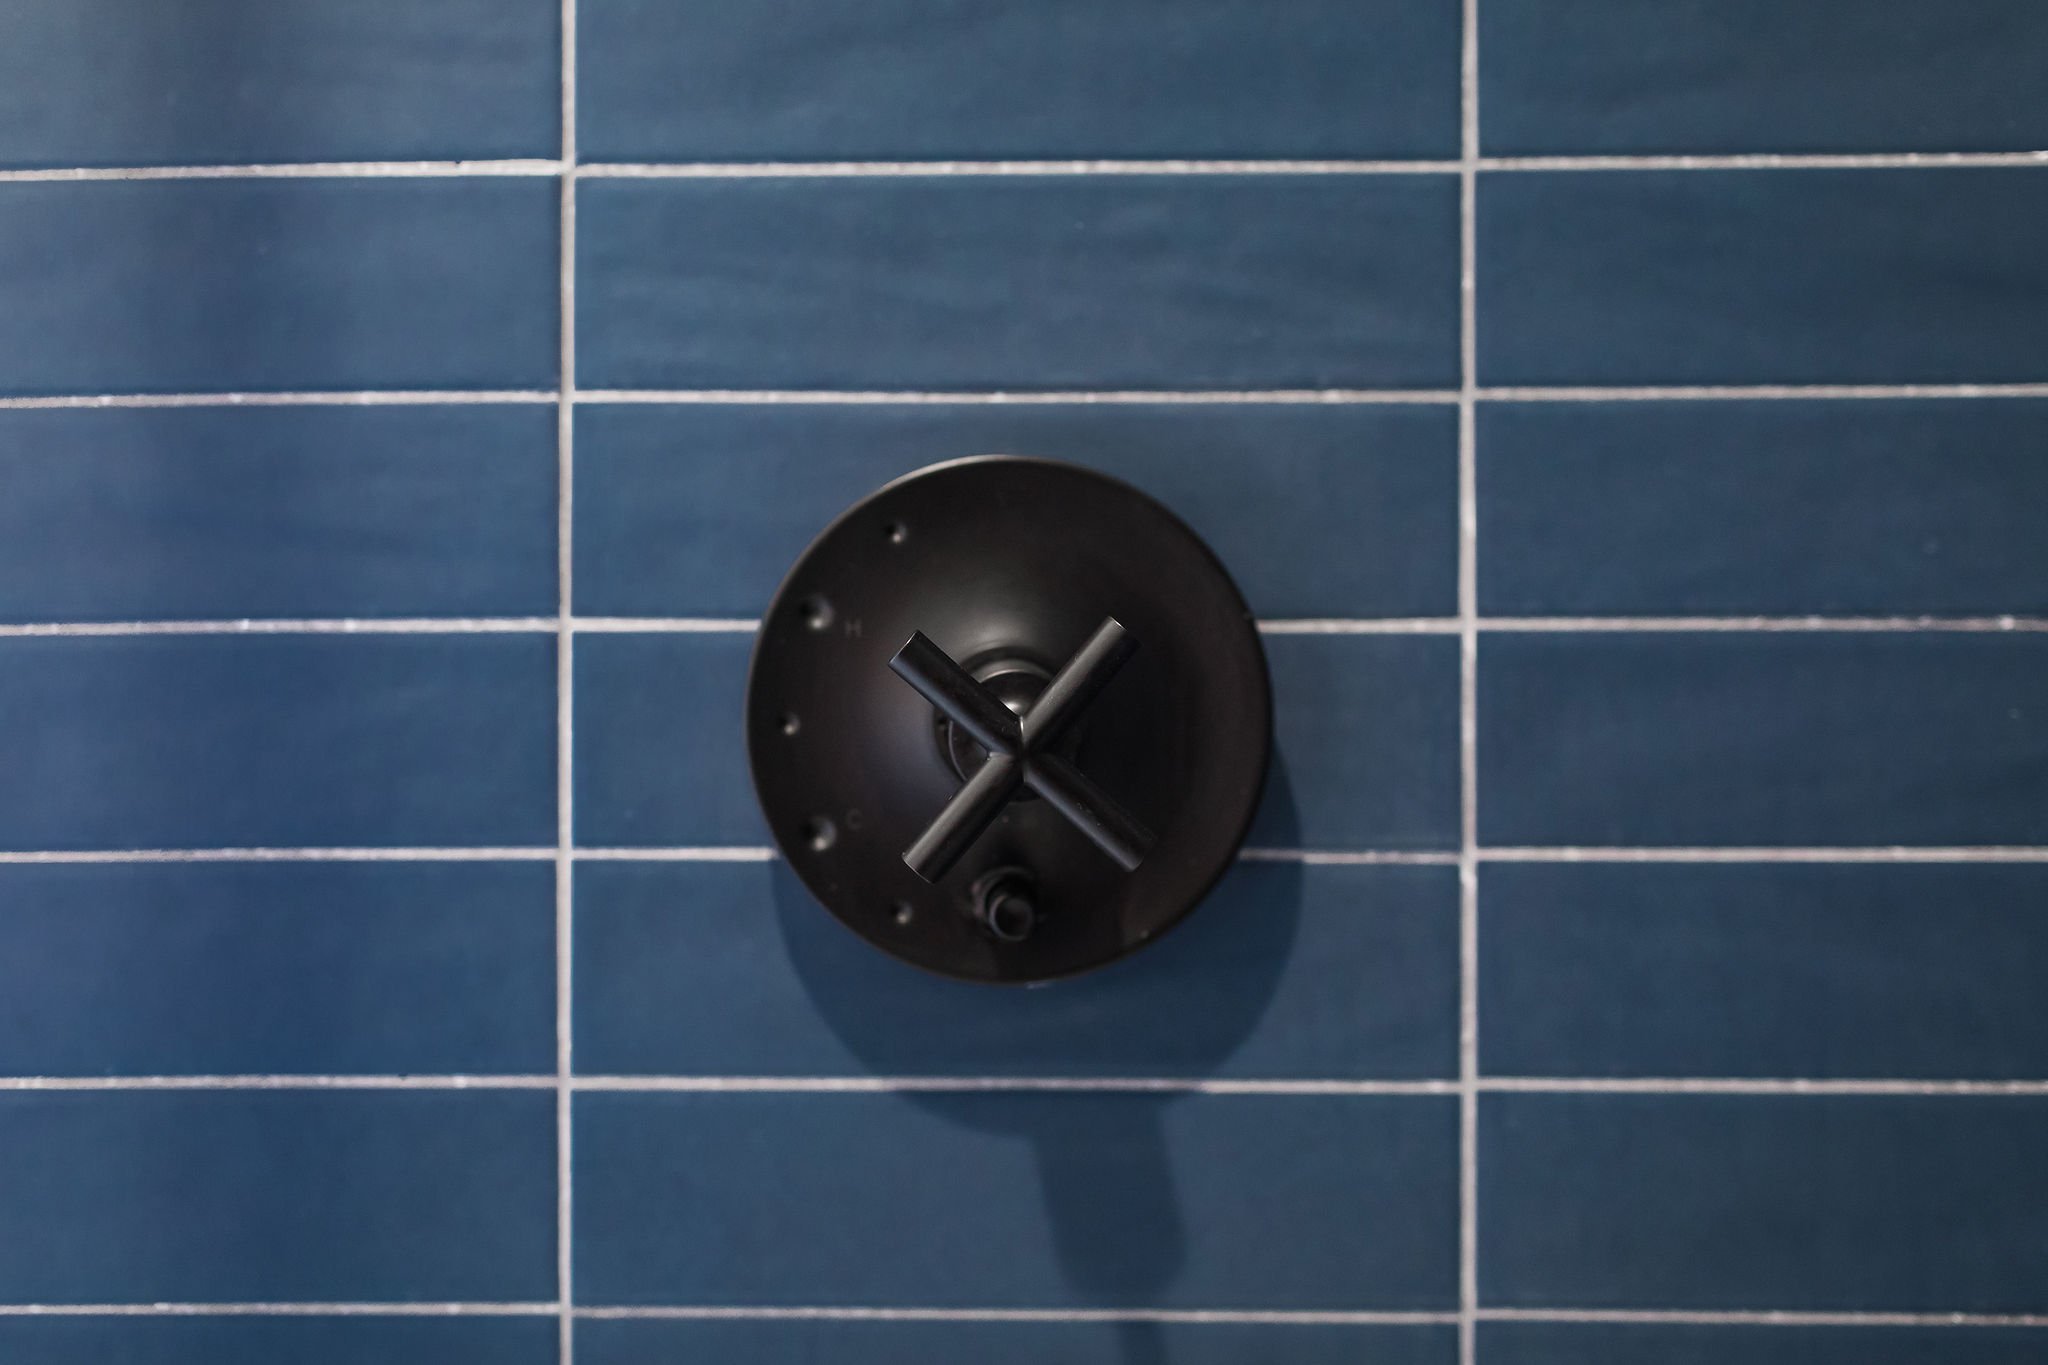
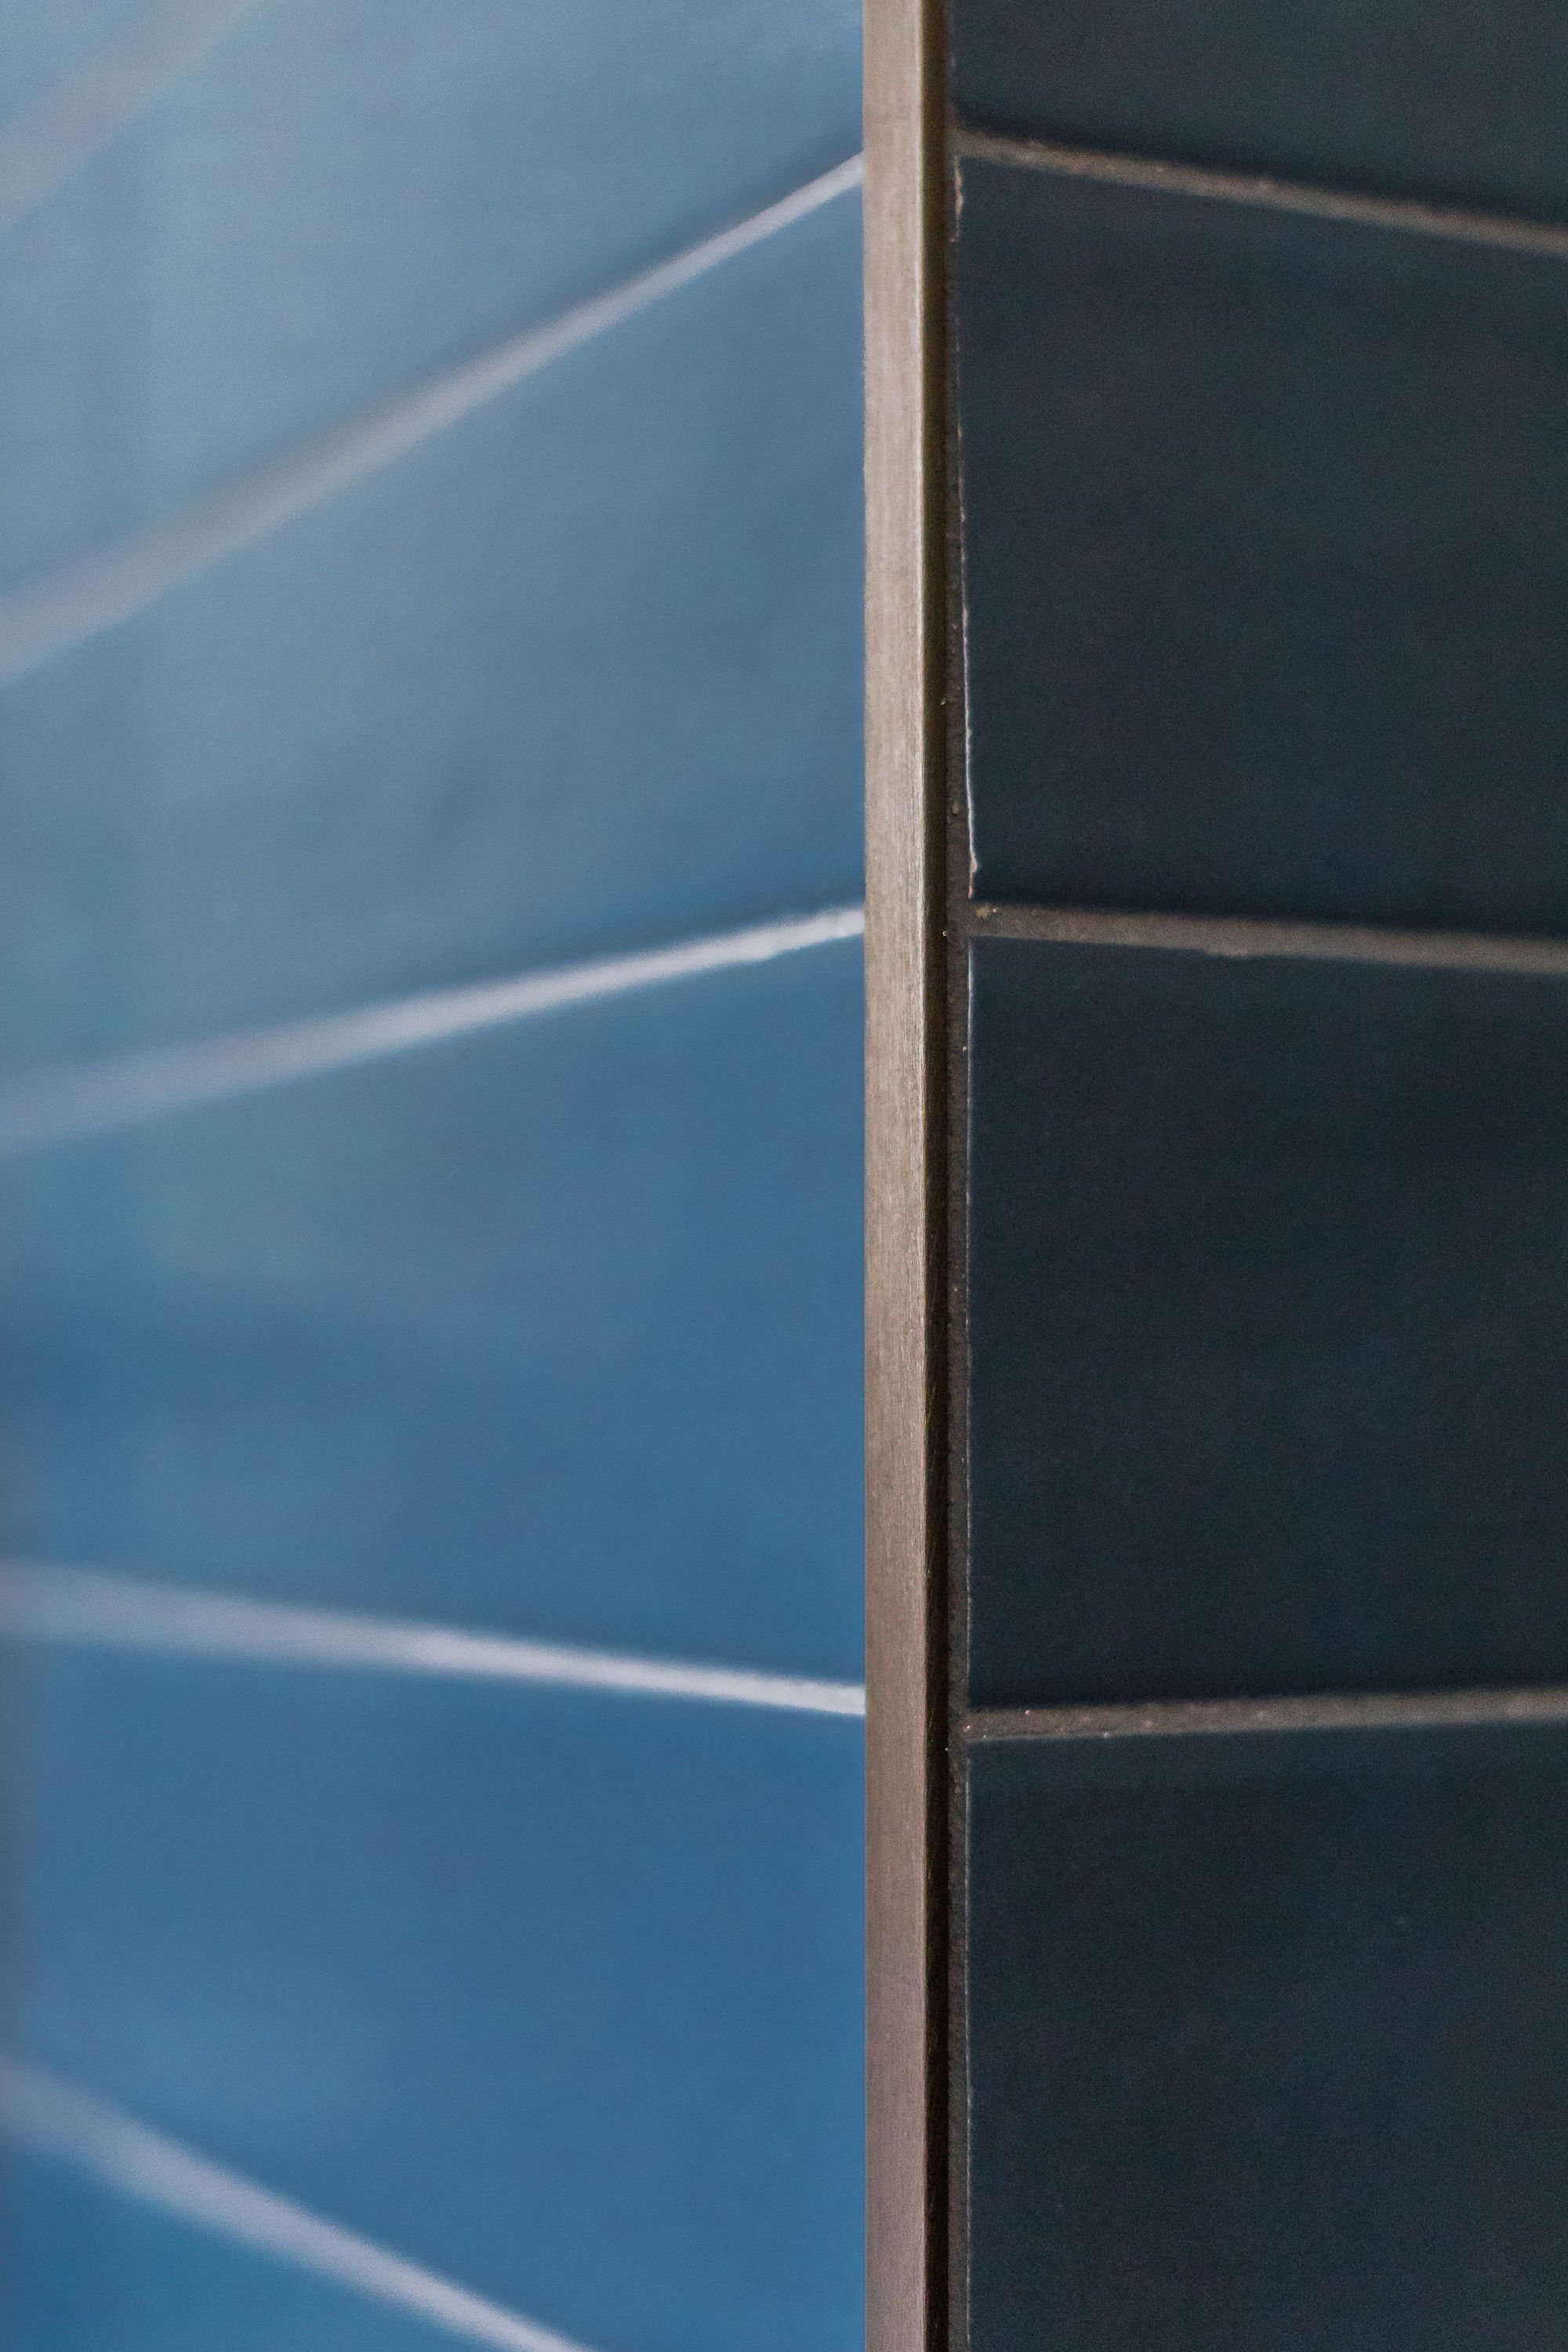
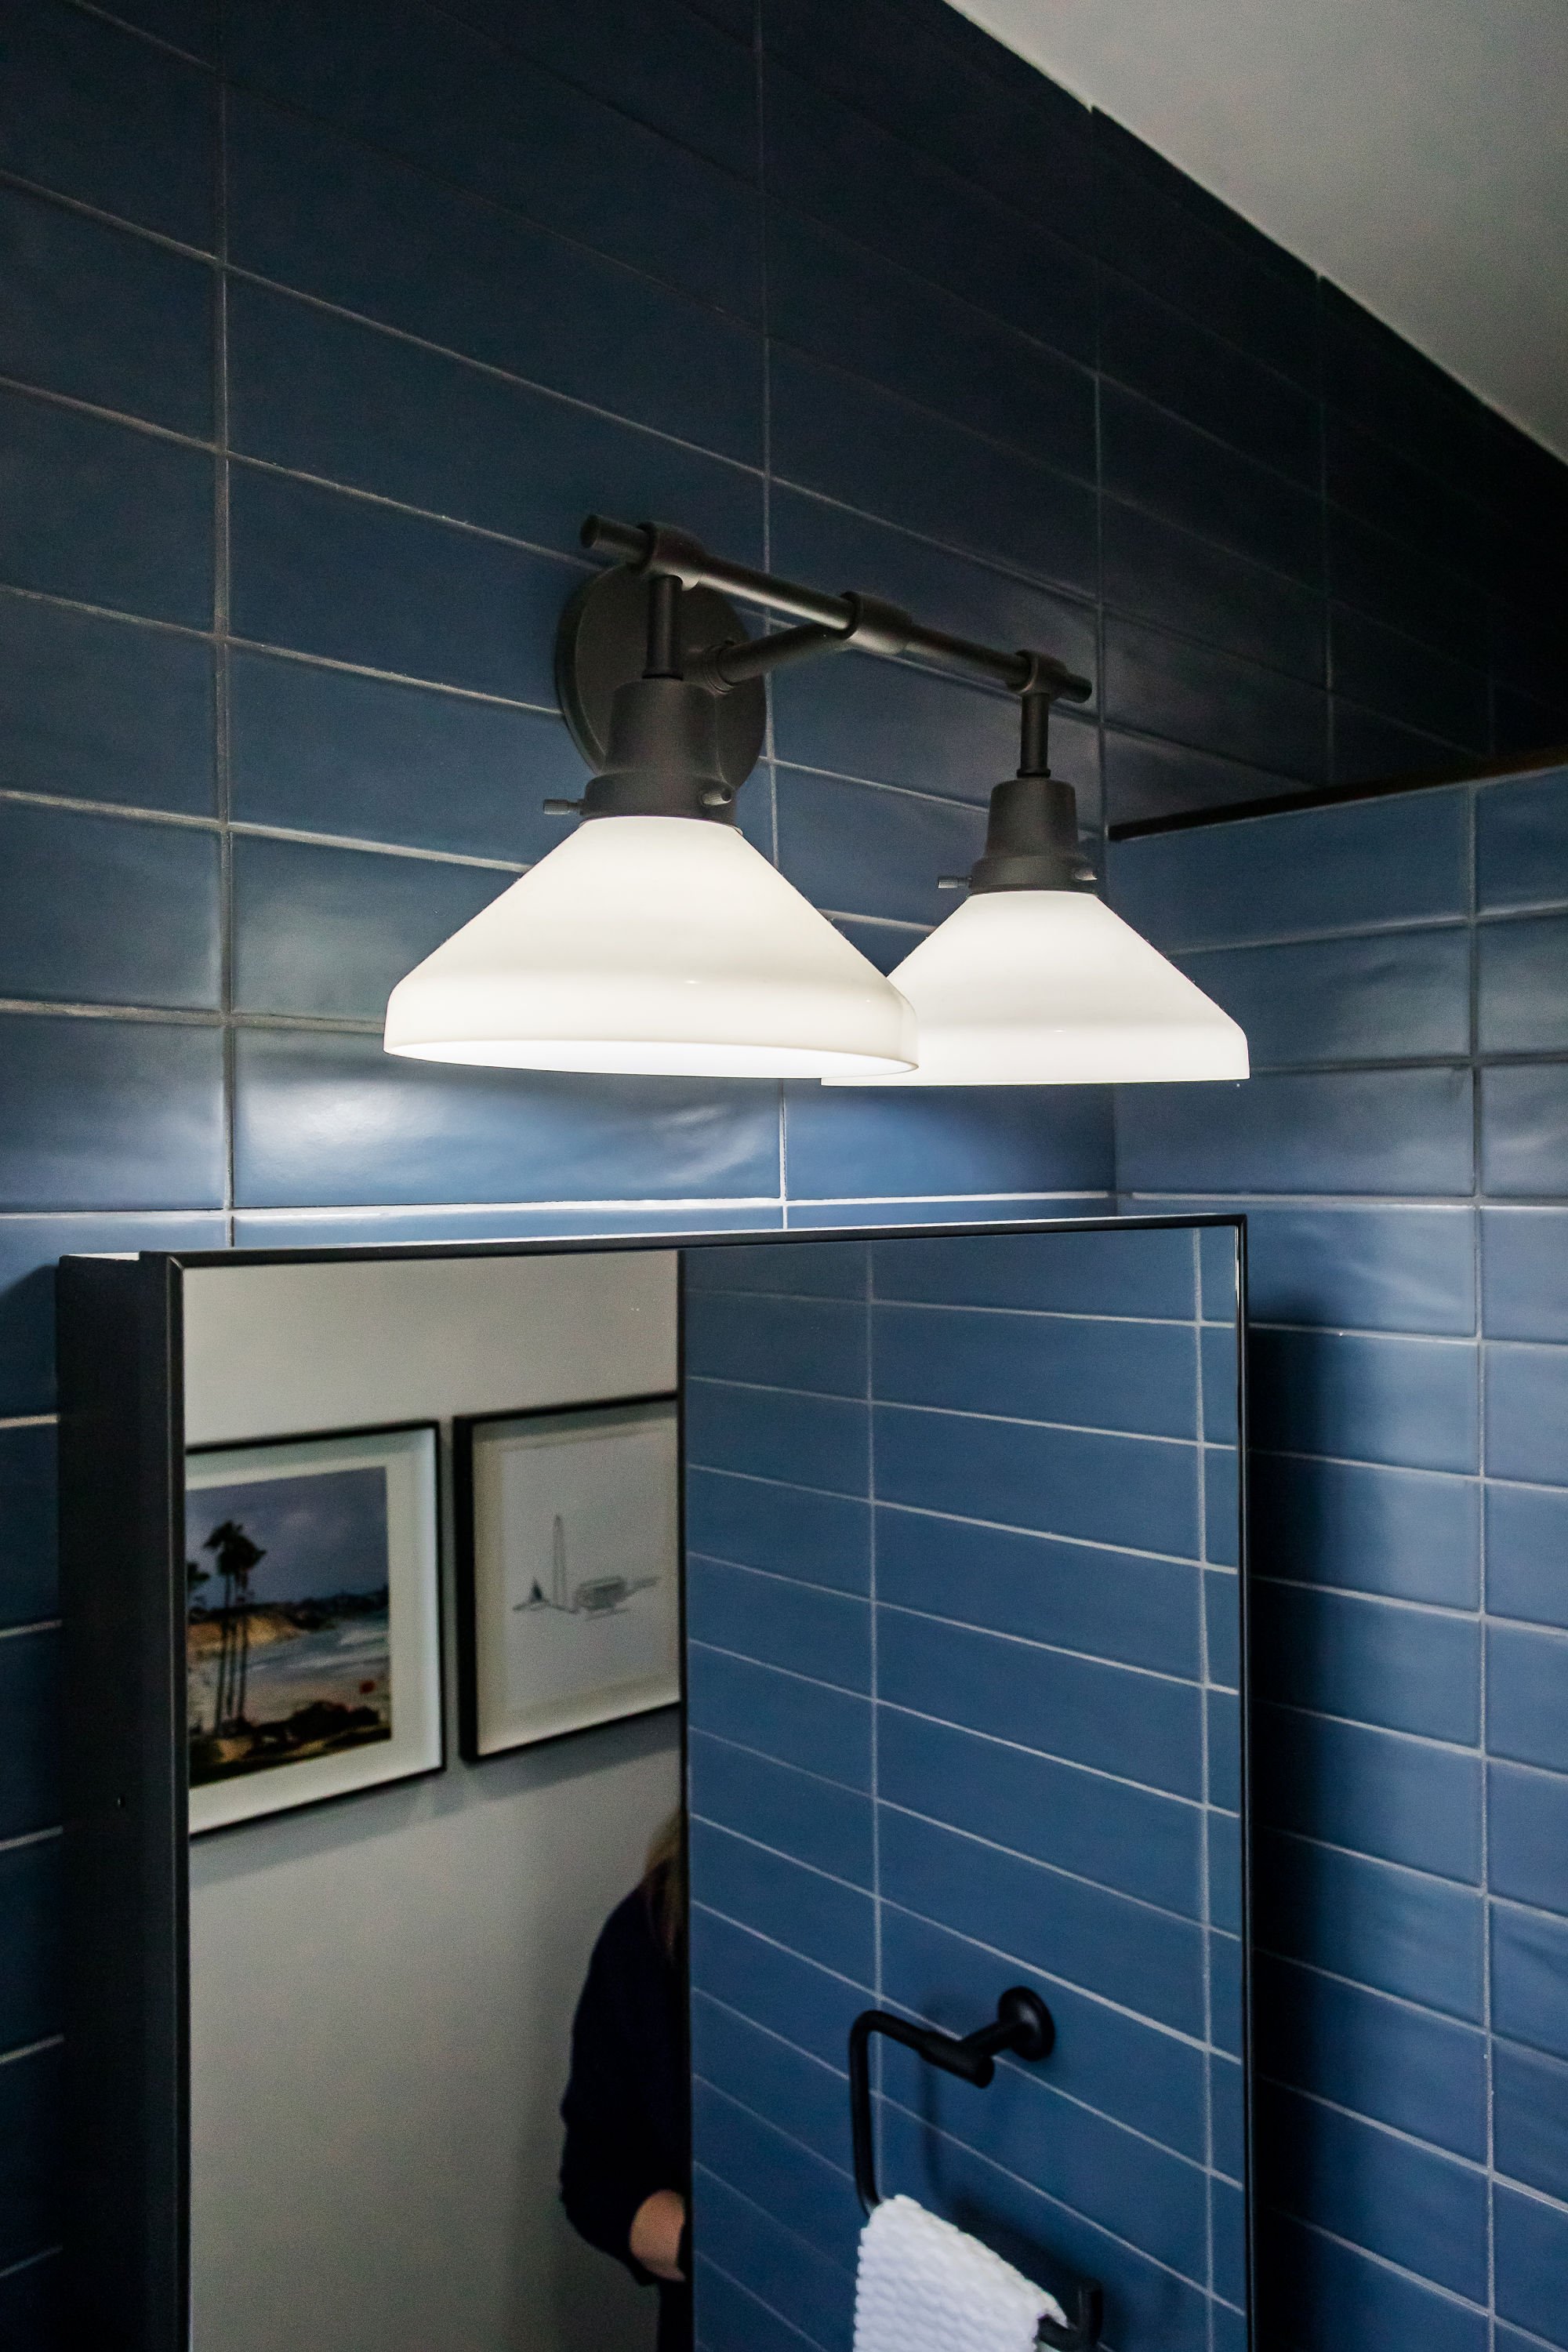
Height and Light: By removing molding and shelves that interrupted the vertical planes and adding recessed lighting, the space feels grander. To further emphasize this, we took the rich blue wall tile all the way to the ceiling on the side of the room that hosts all our fixtures.
Wonderwall: In tight spaces, most often the best approach is to remove walls and other separations that make it feel more cramped. However, in this case, I proposed adding a tall pony wall to create an enclosure around the clawfoot tub, house the shower/tub plumbing and further define the vanity space. I knew with the ceiling height and added recessed light, the space could support this…and Molly & Sam trusted the vision thankfully!
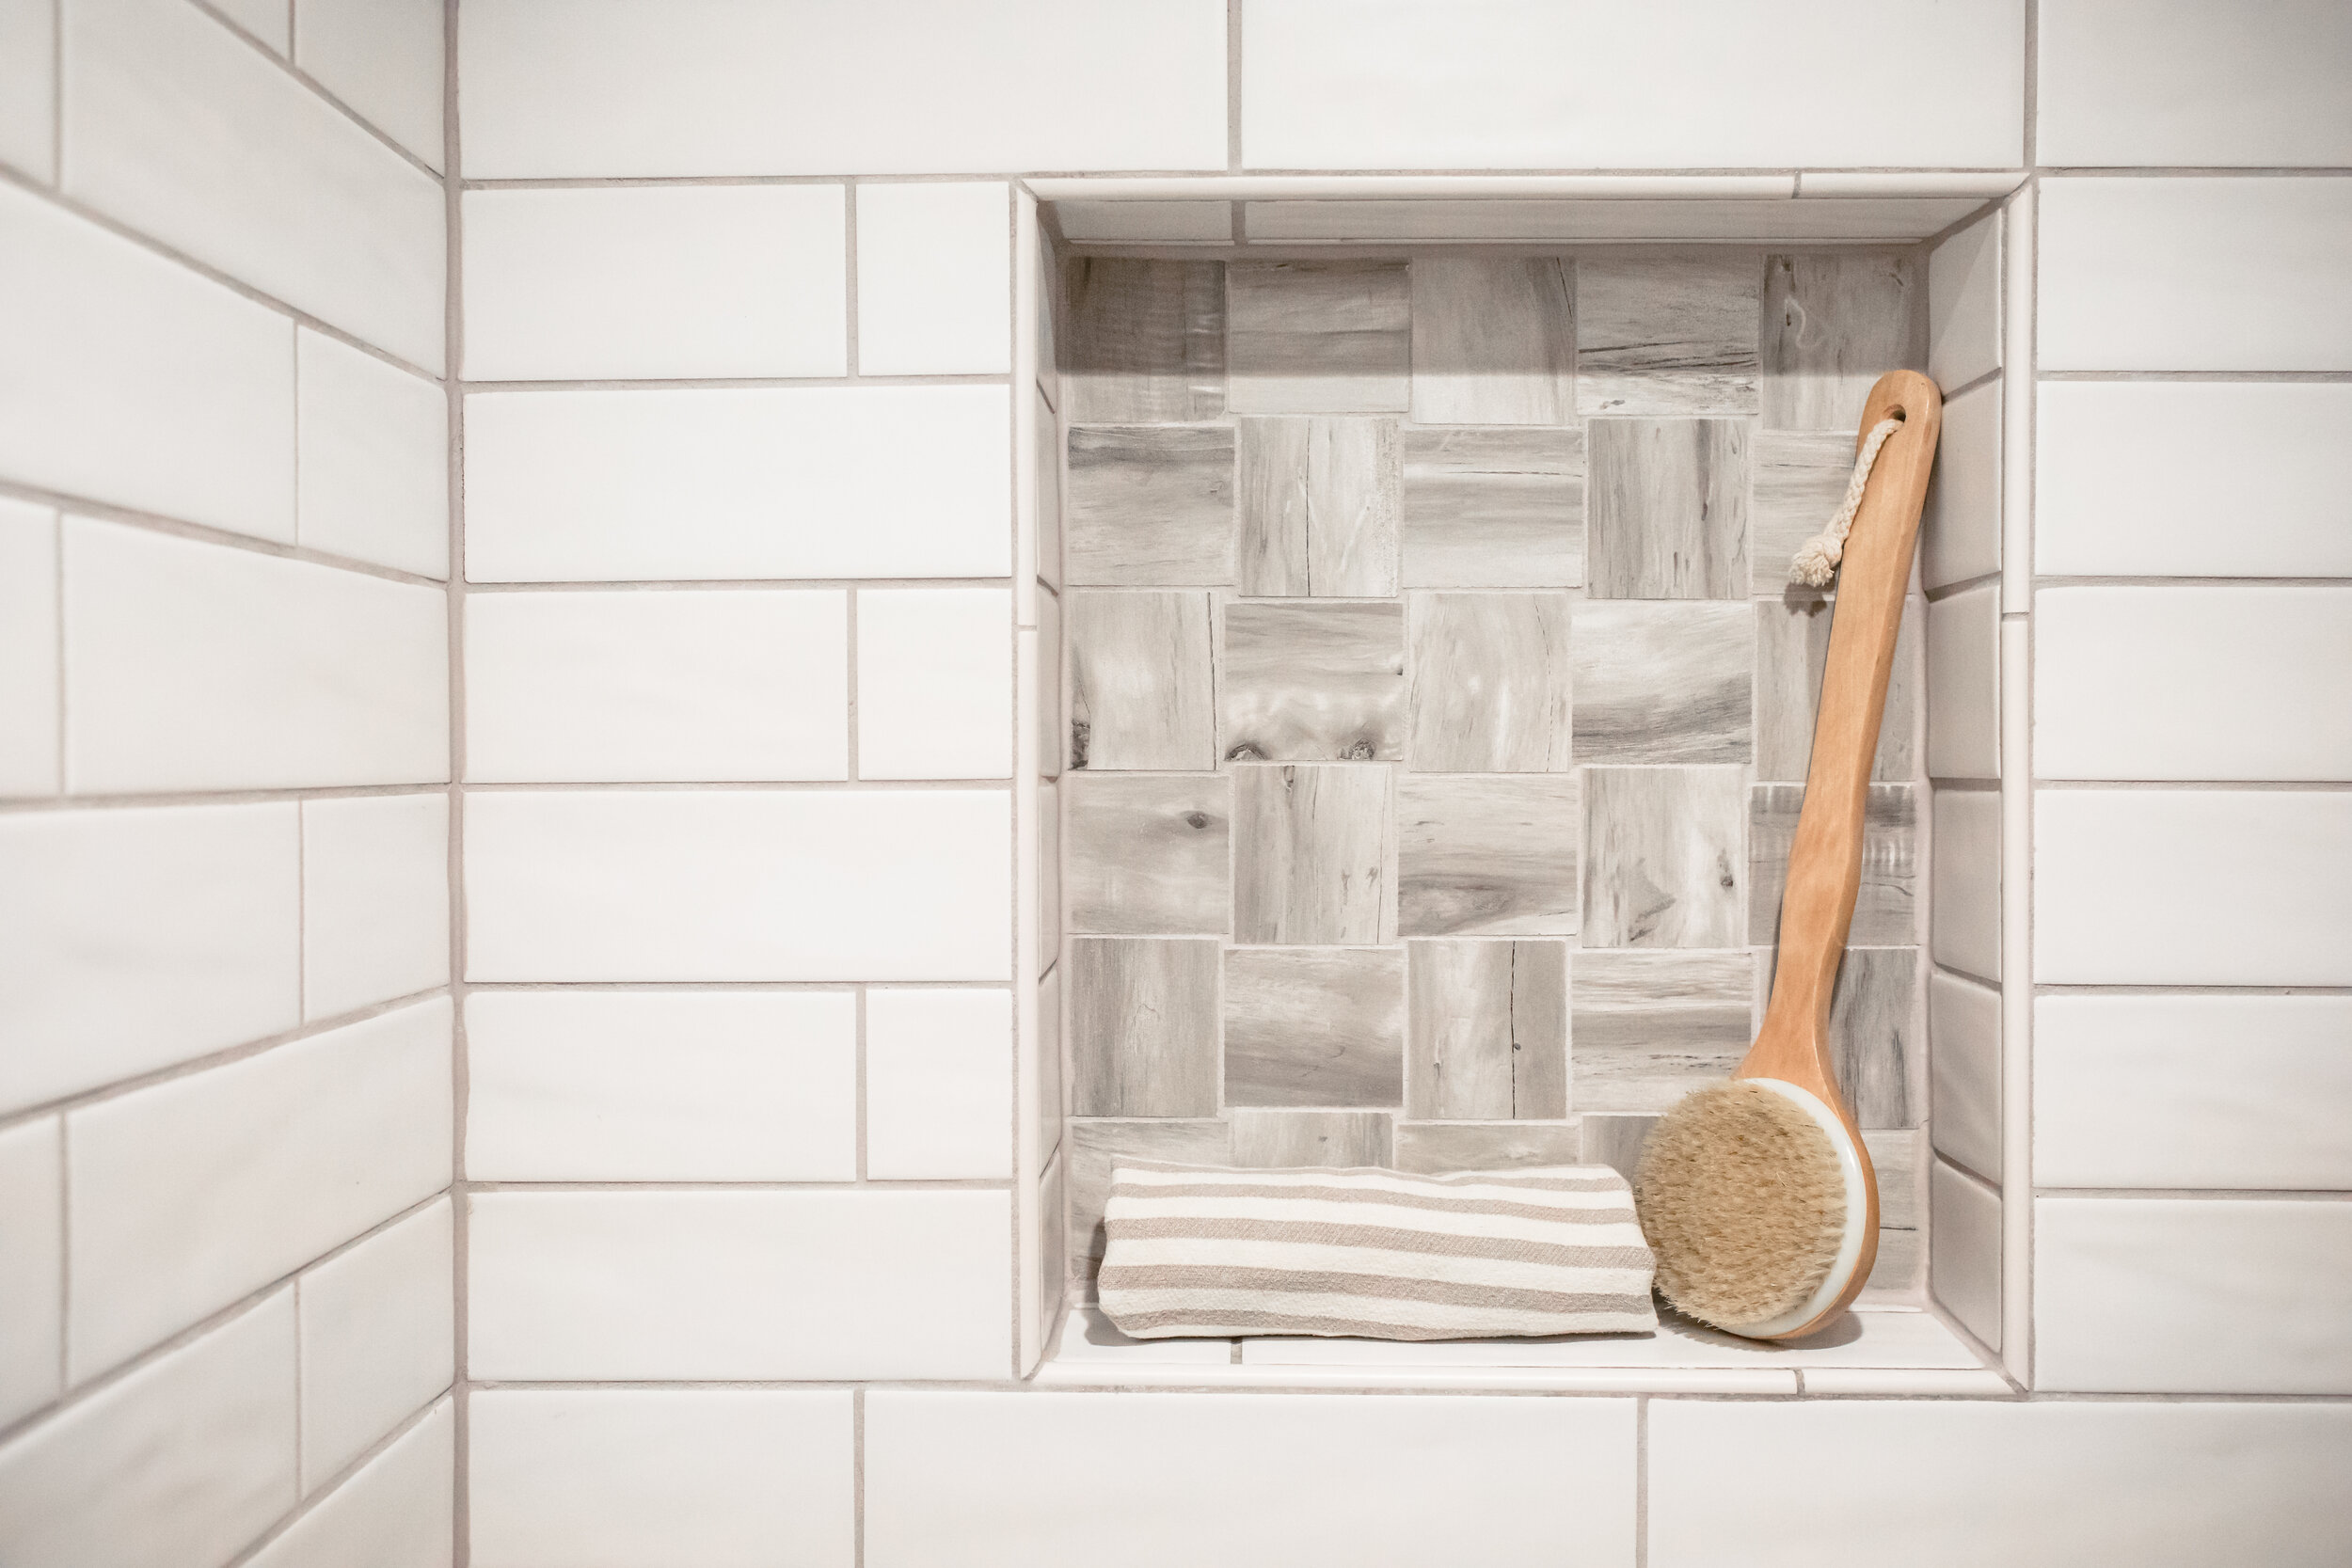
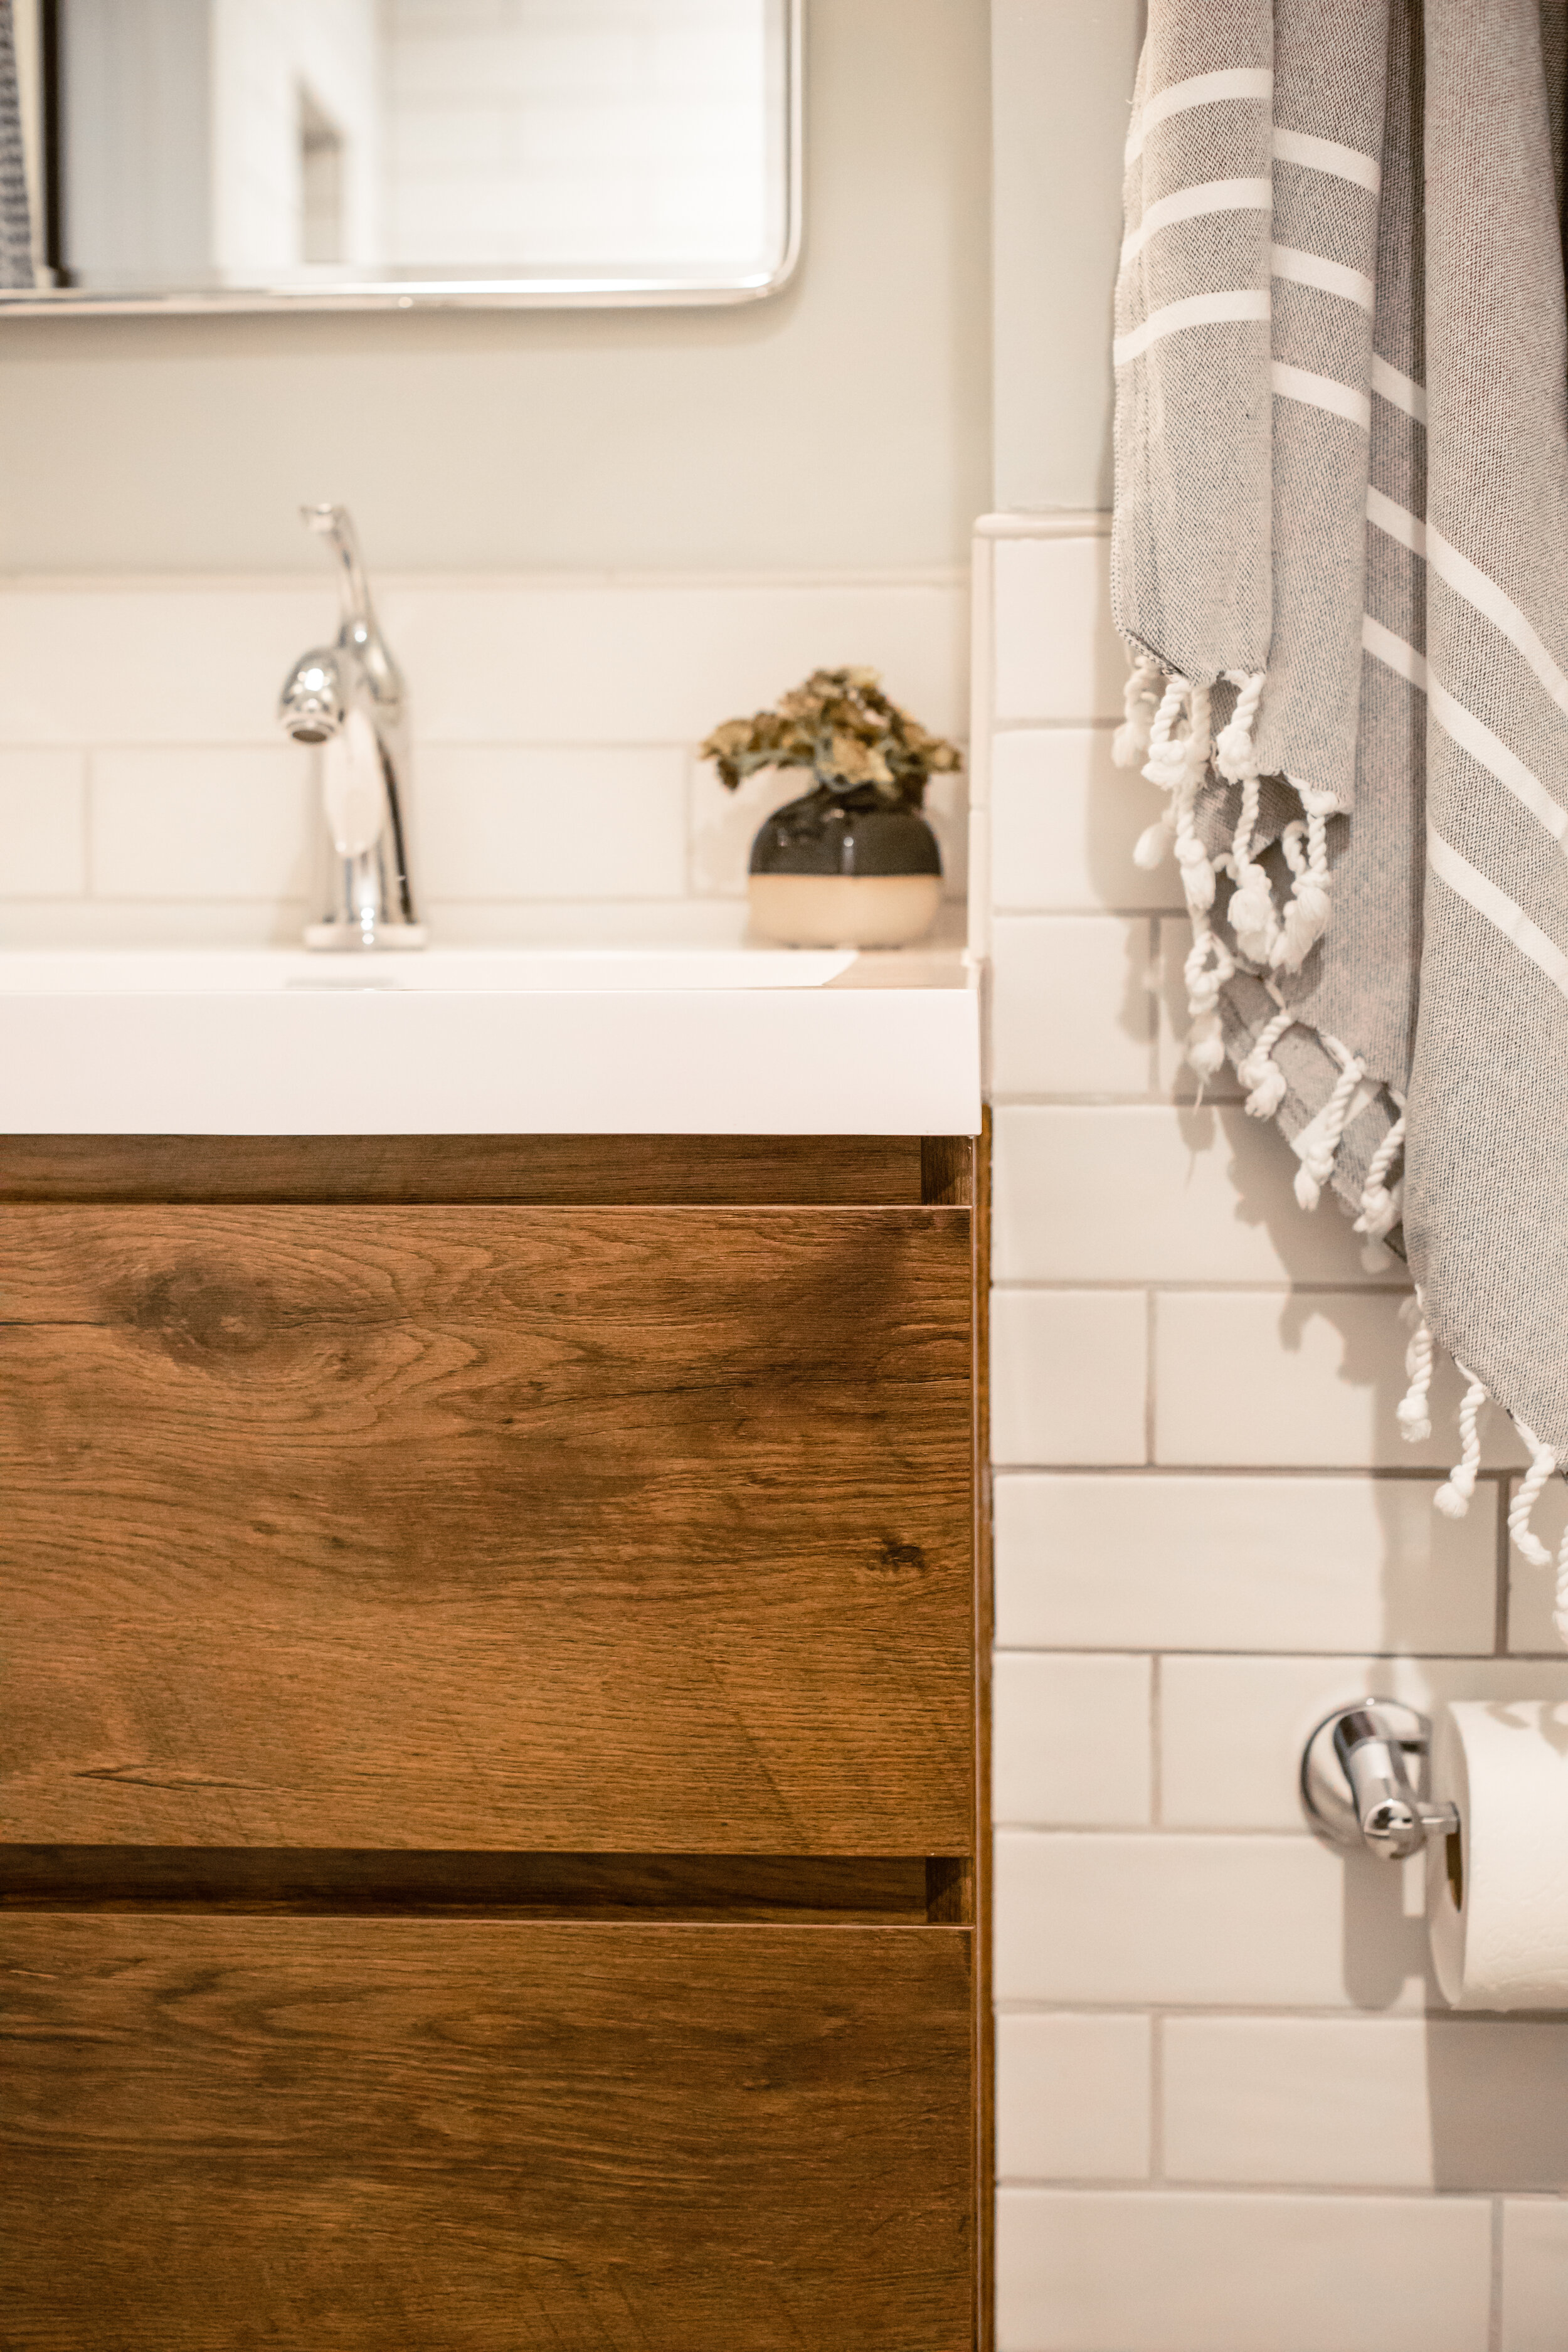
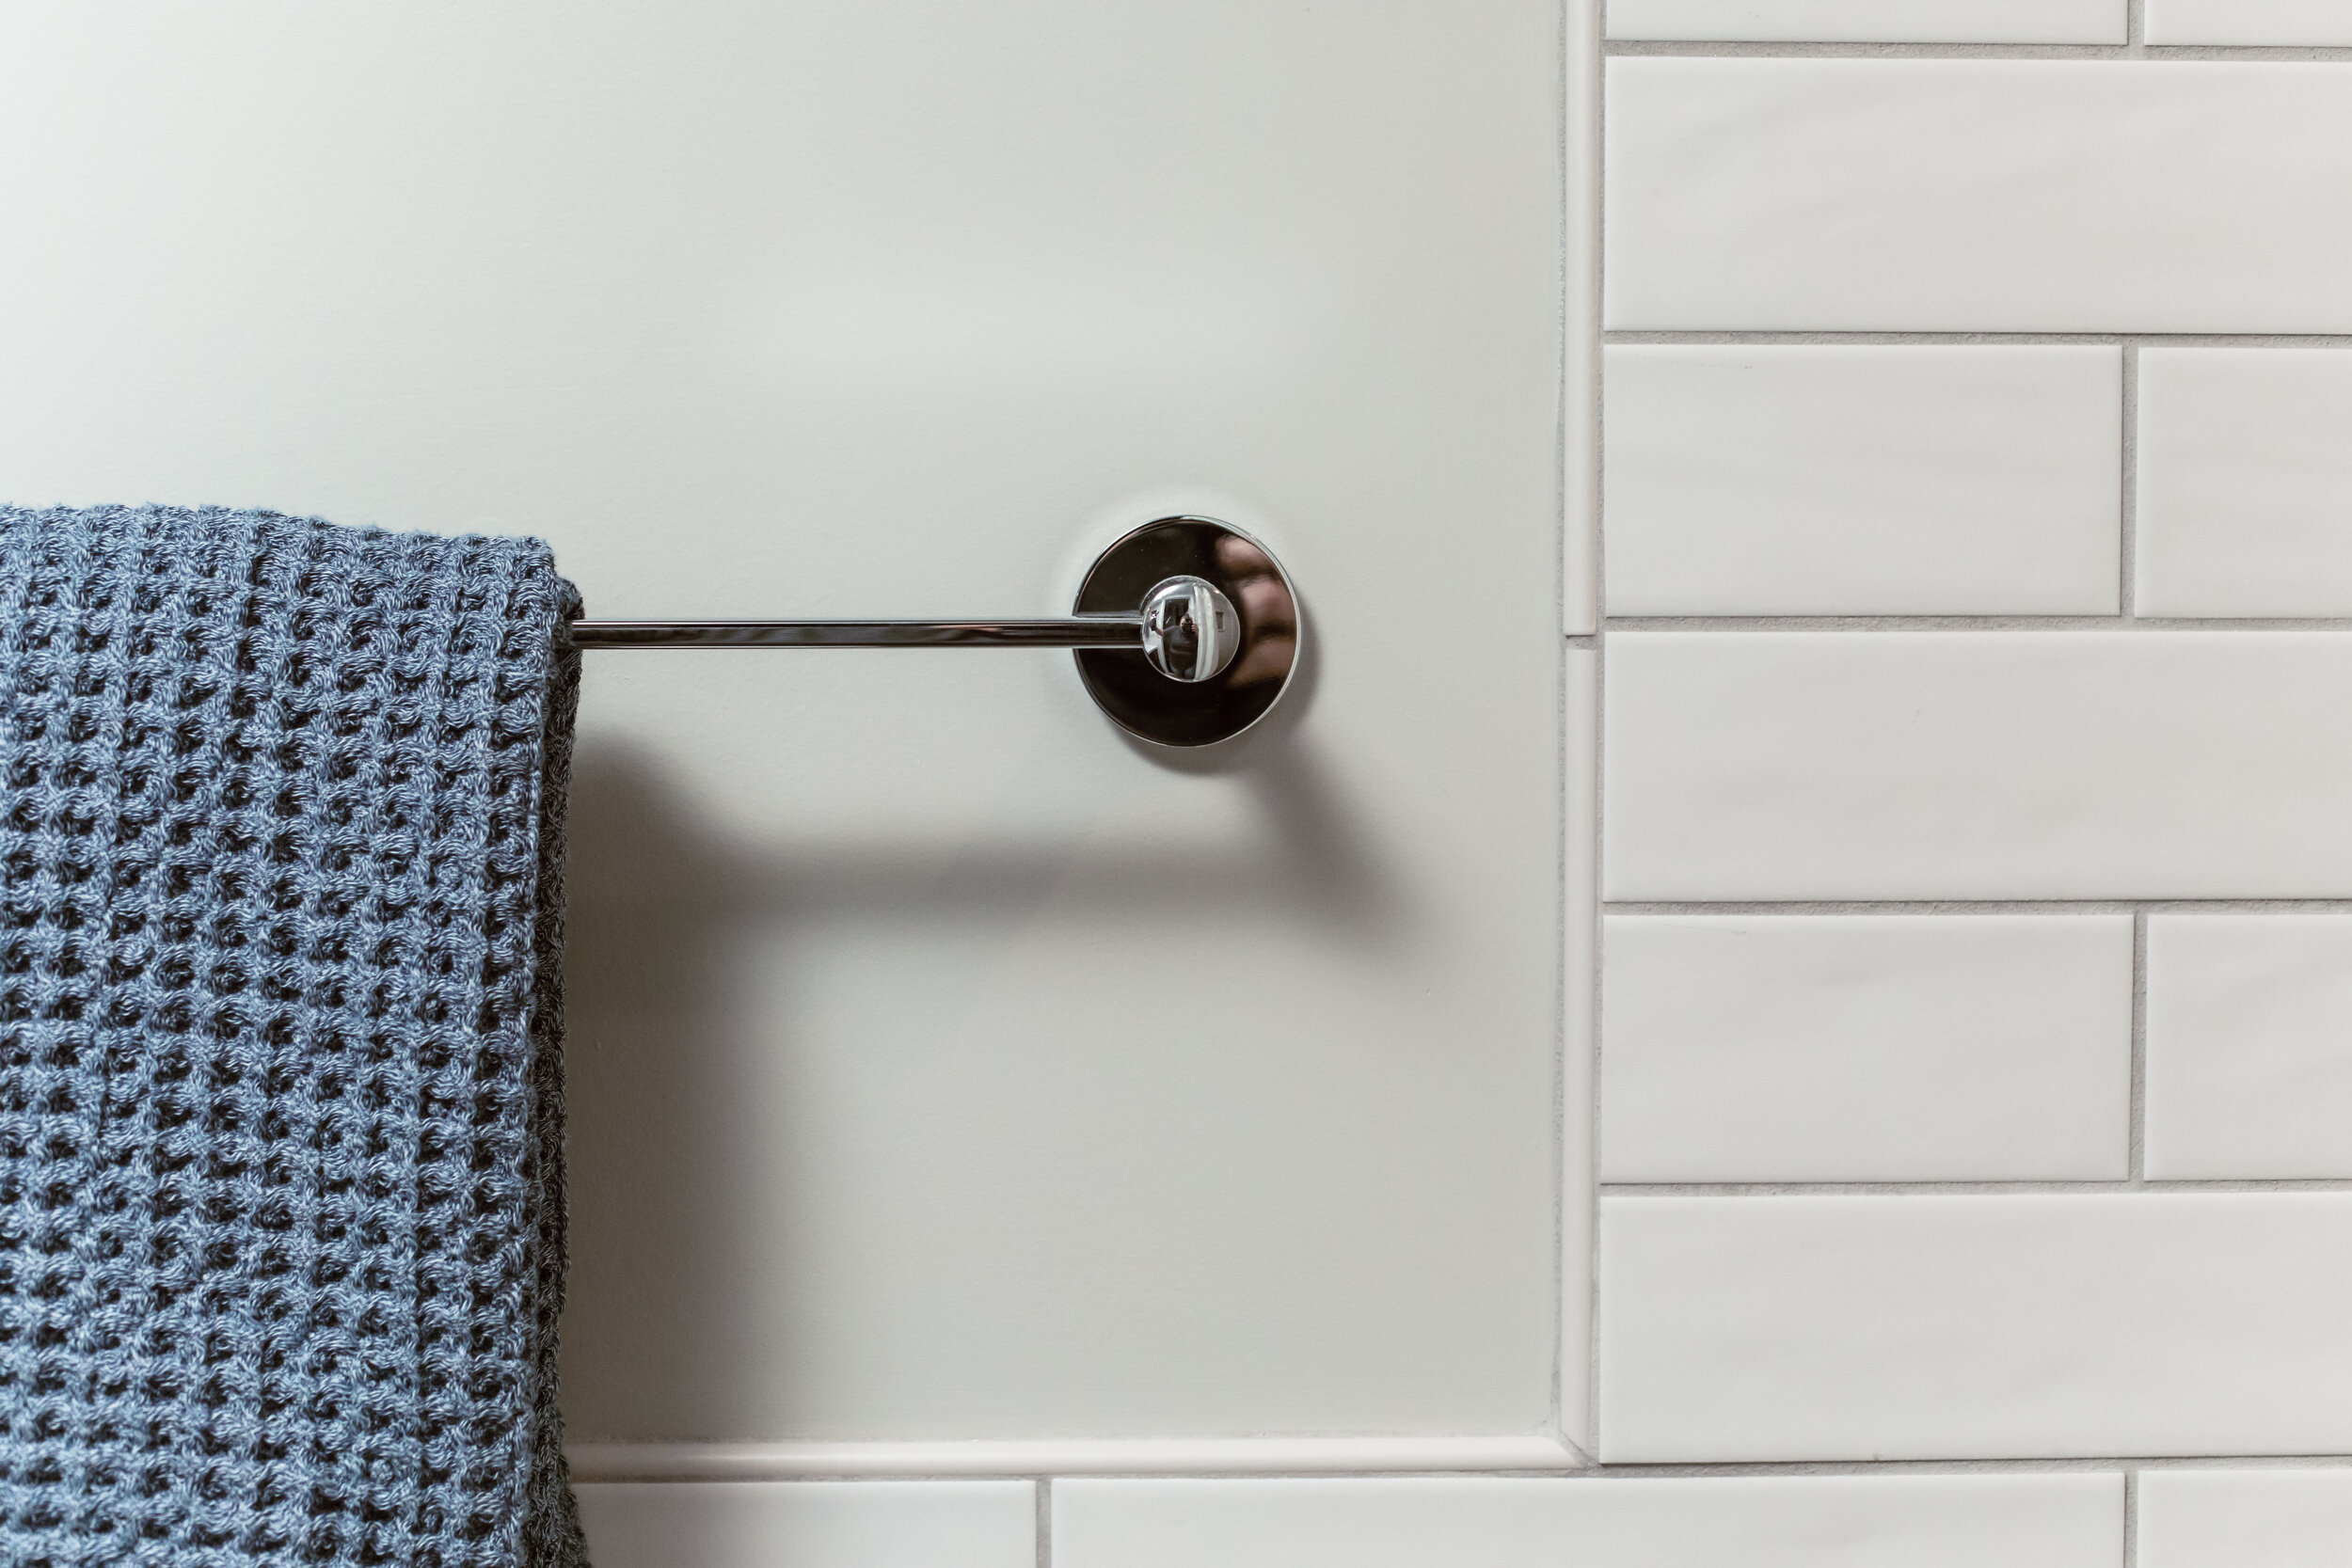
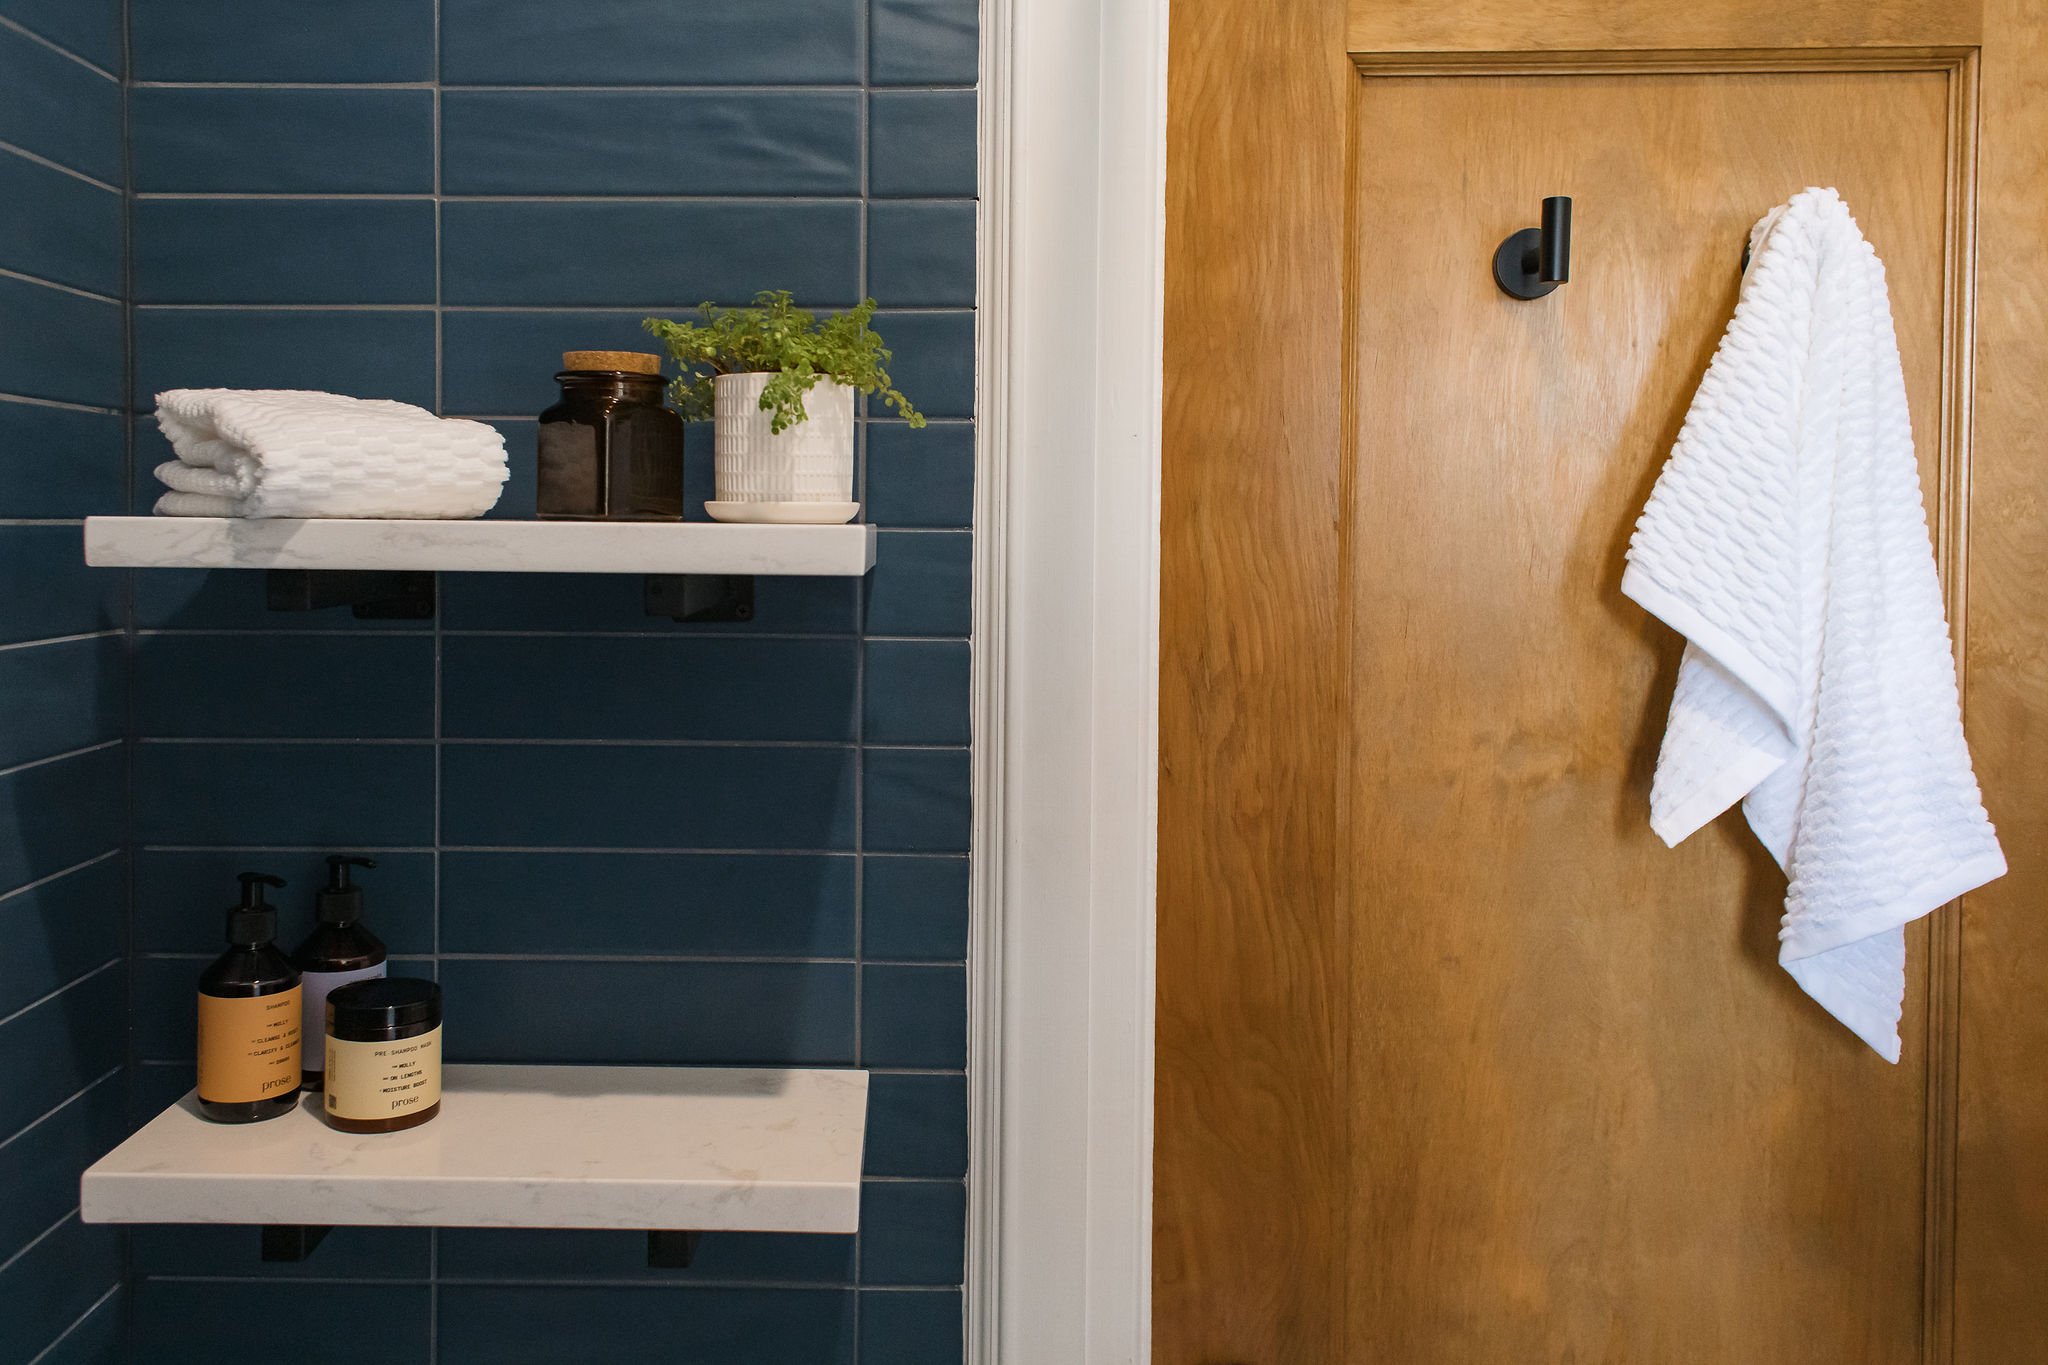
Smart Storage: Since the depth of the walls didn’t allow us to add shower niches or recess the medicine cabinet, we found solutions that worked with the cards we were dealt, like floating quartz shelves in the tub/shower area and modern wall-mounted medicine cabinet. Robe hooks provide the perfect anchors for towels where traditional towel bars may not work.
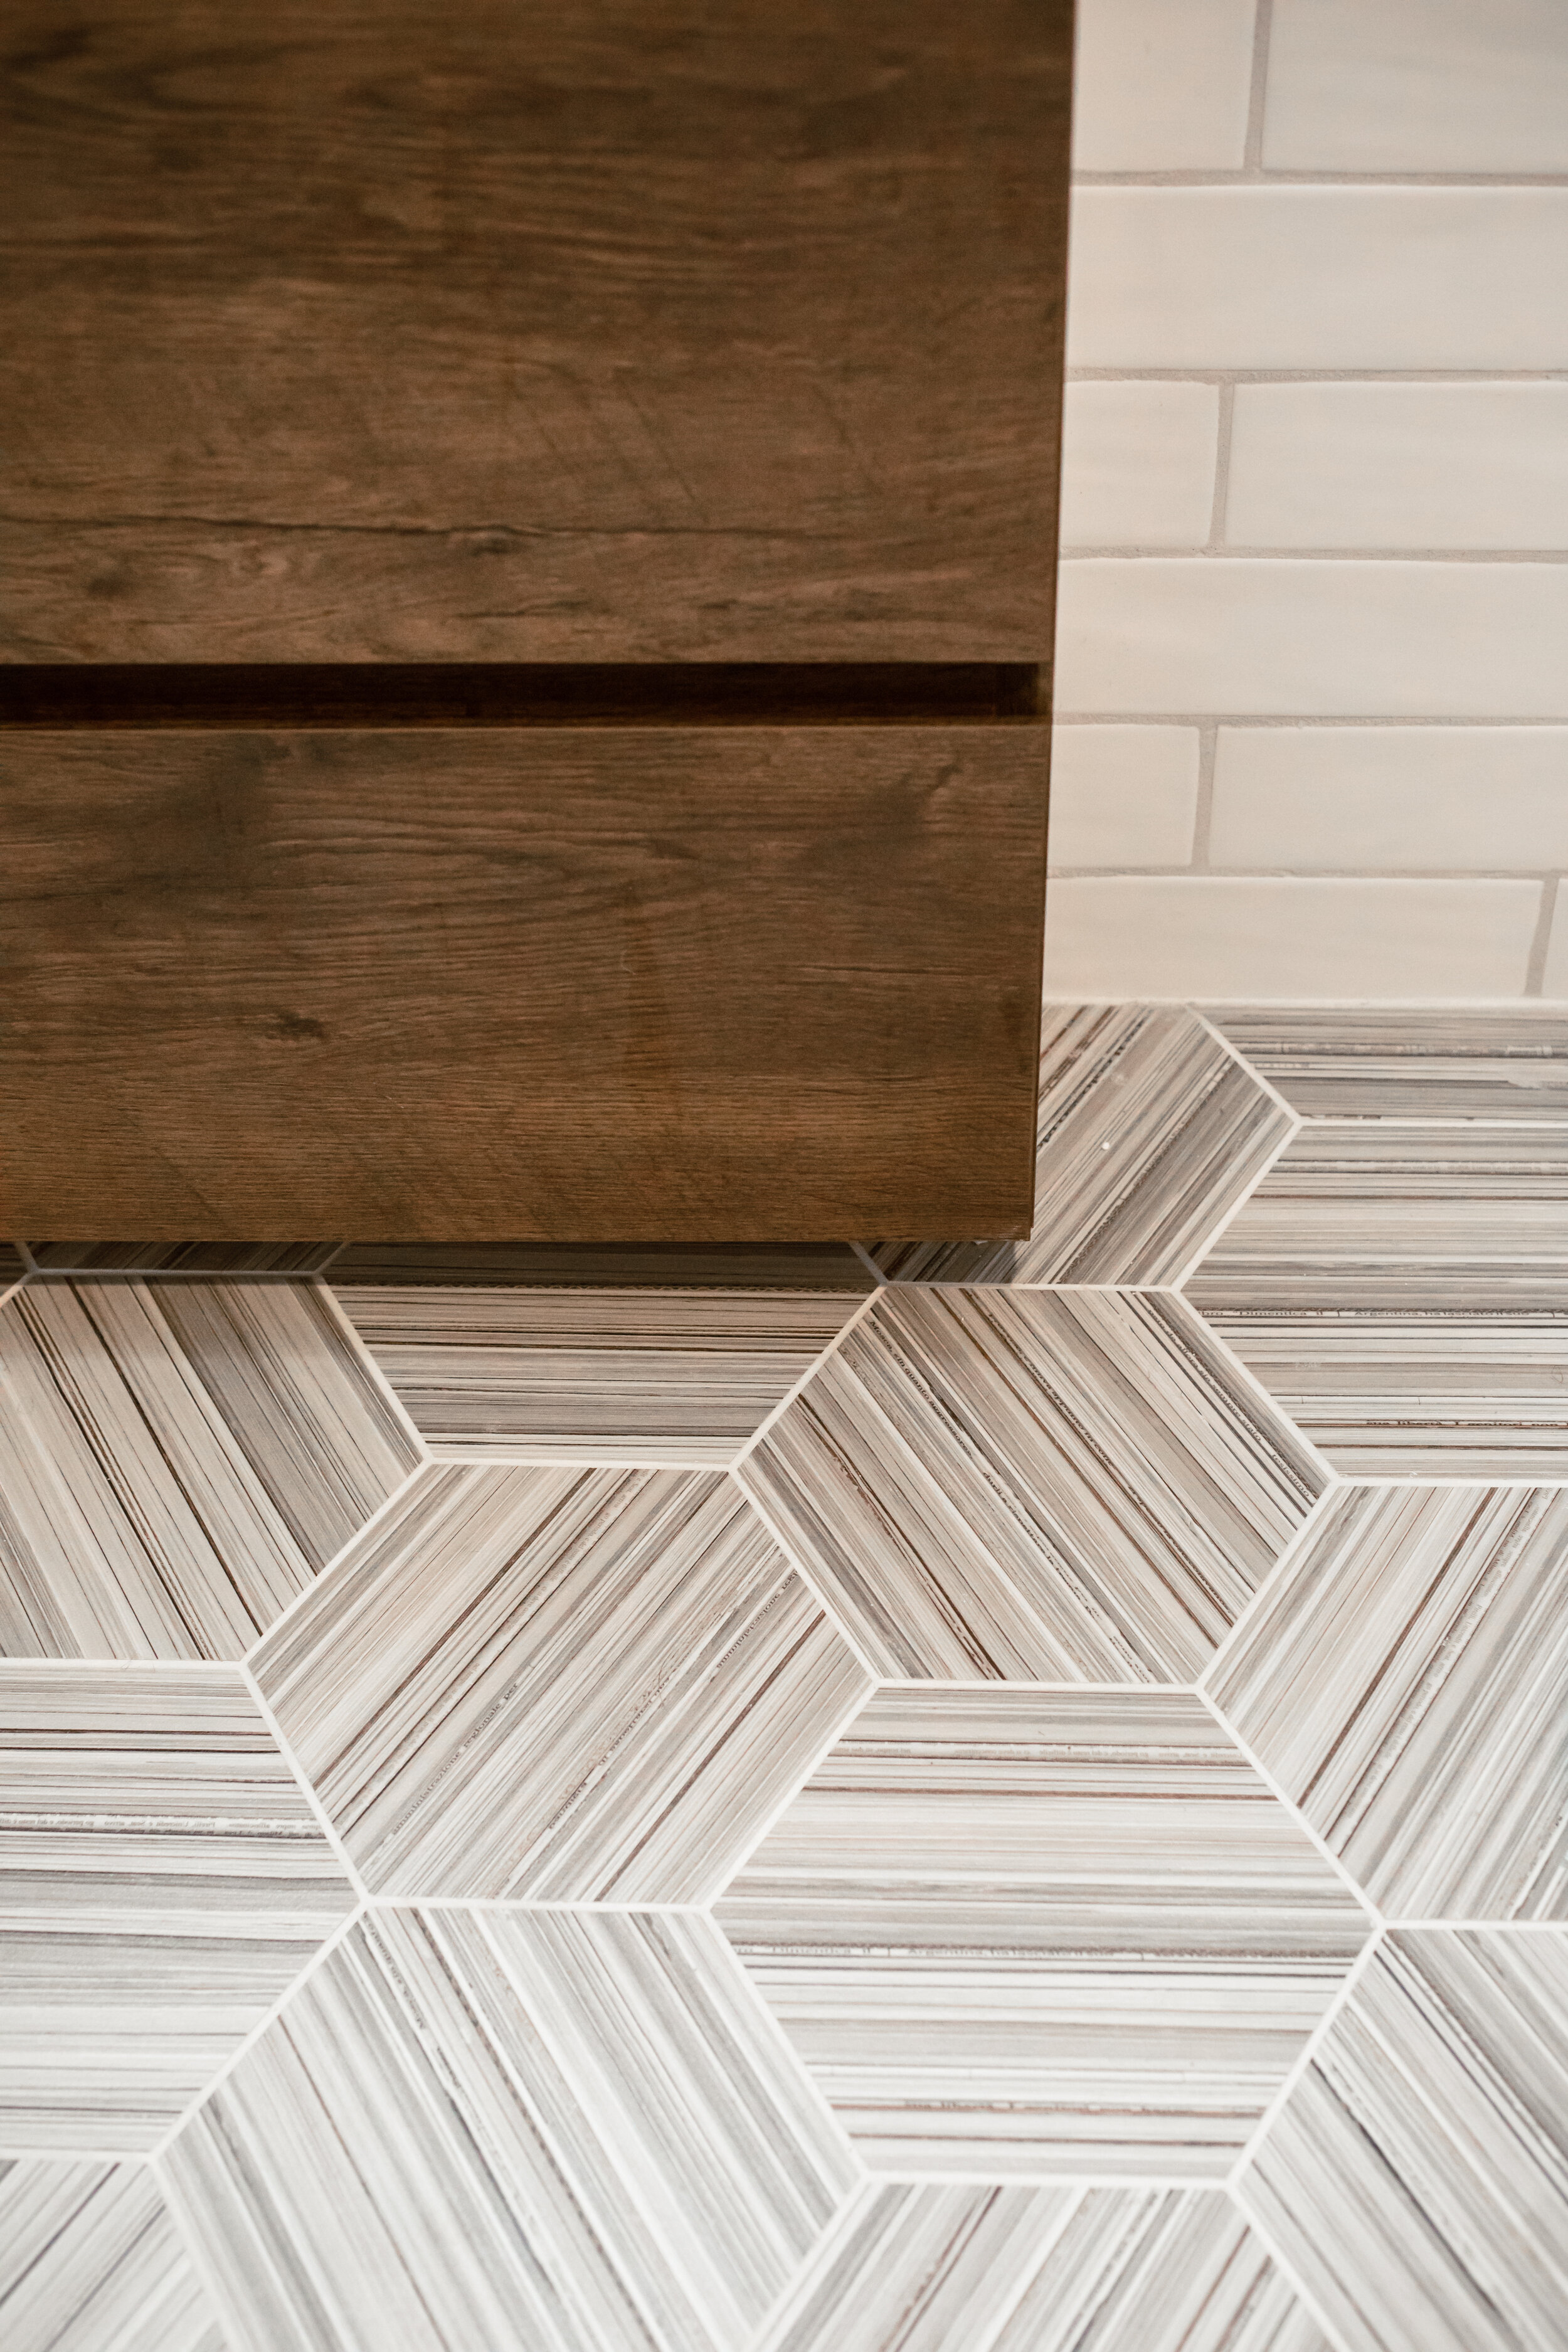
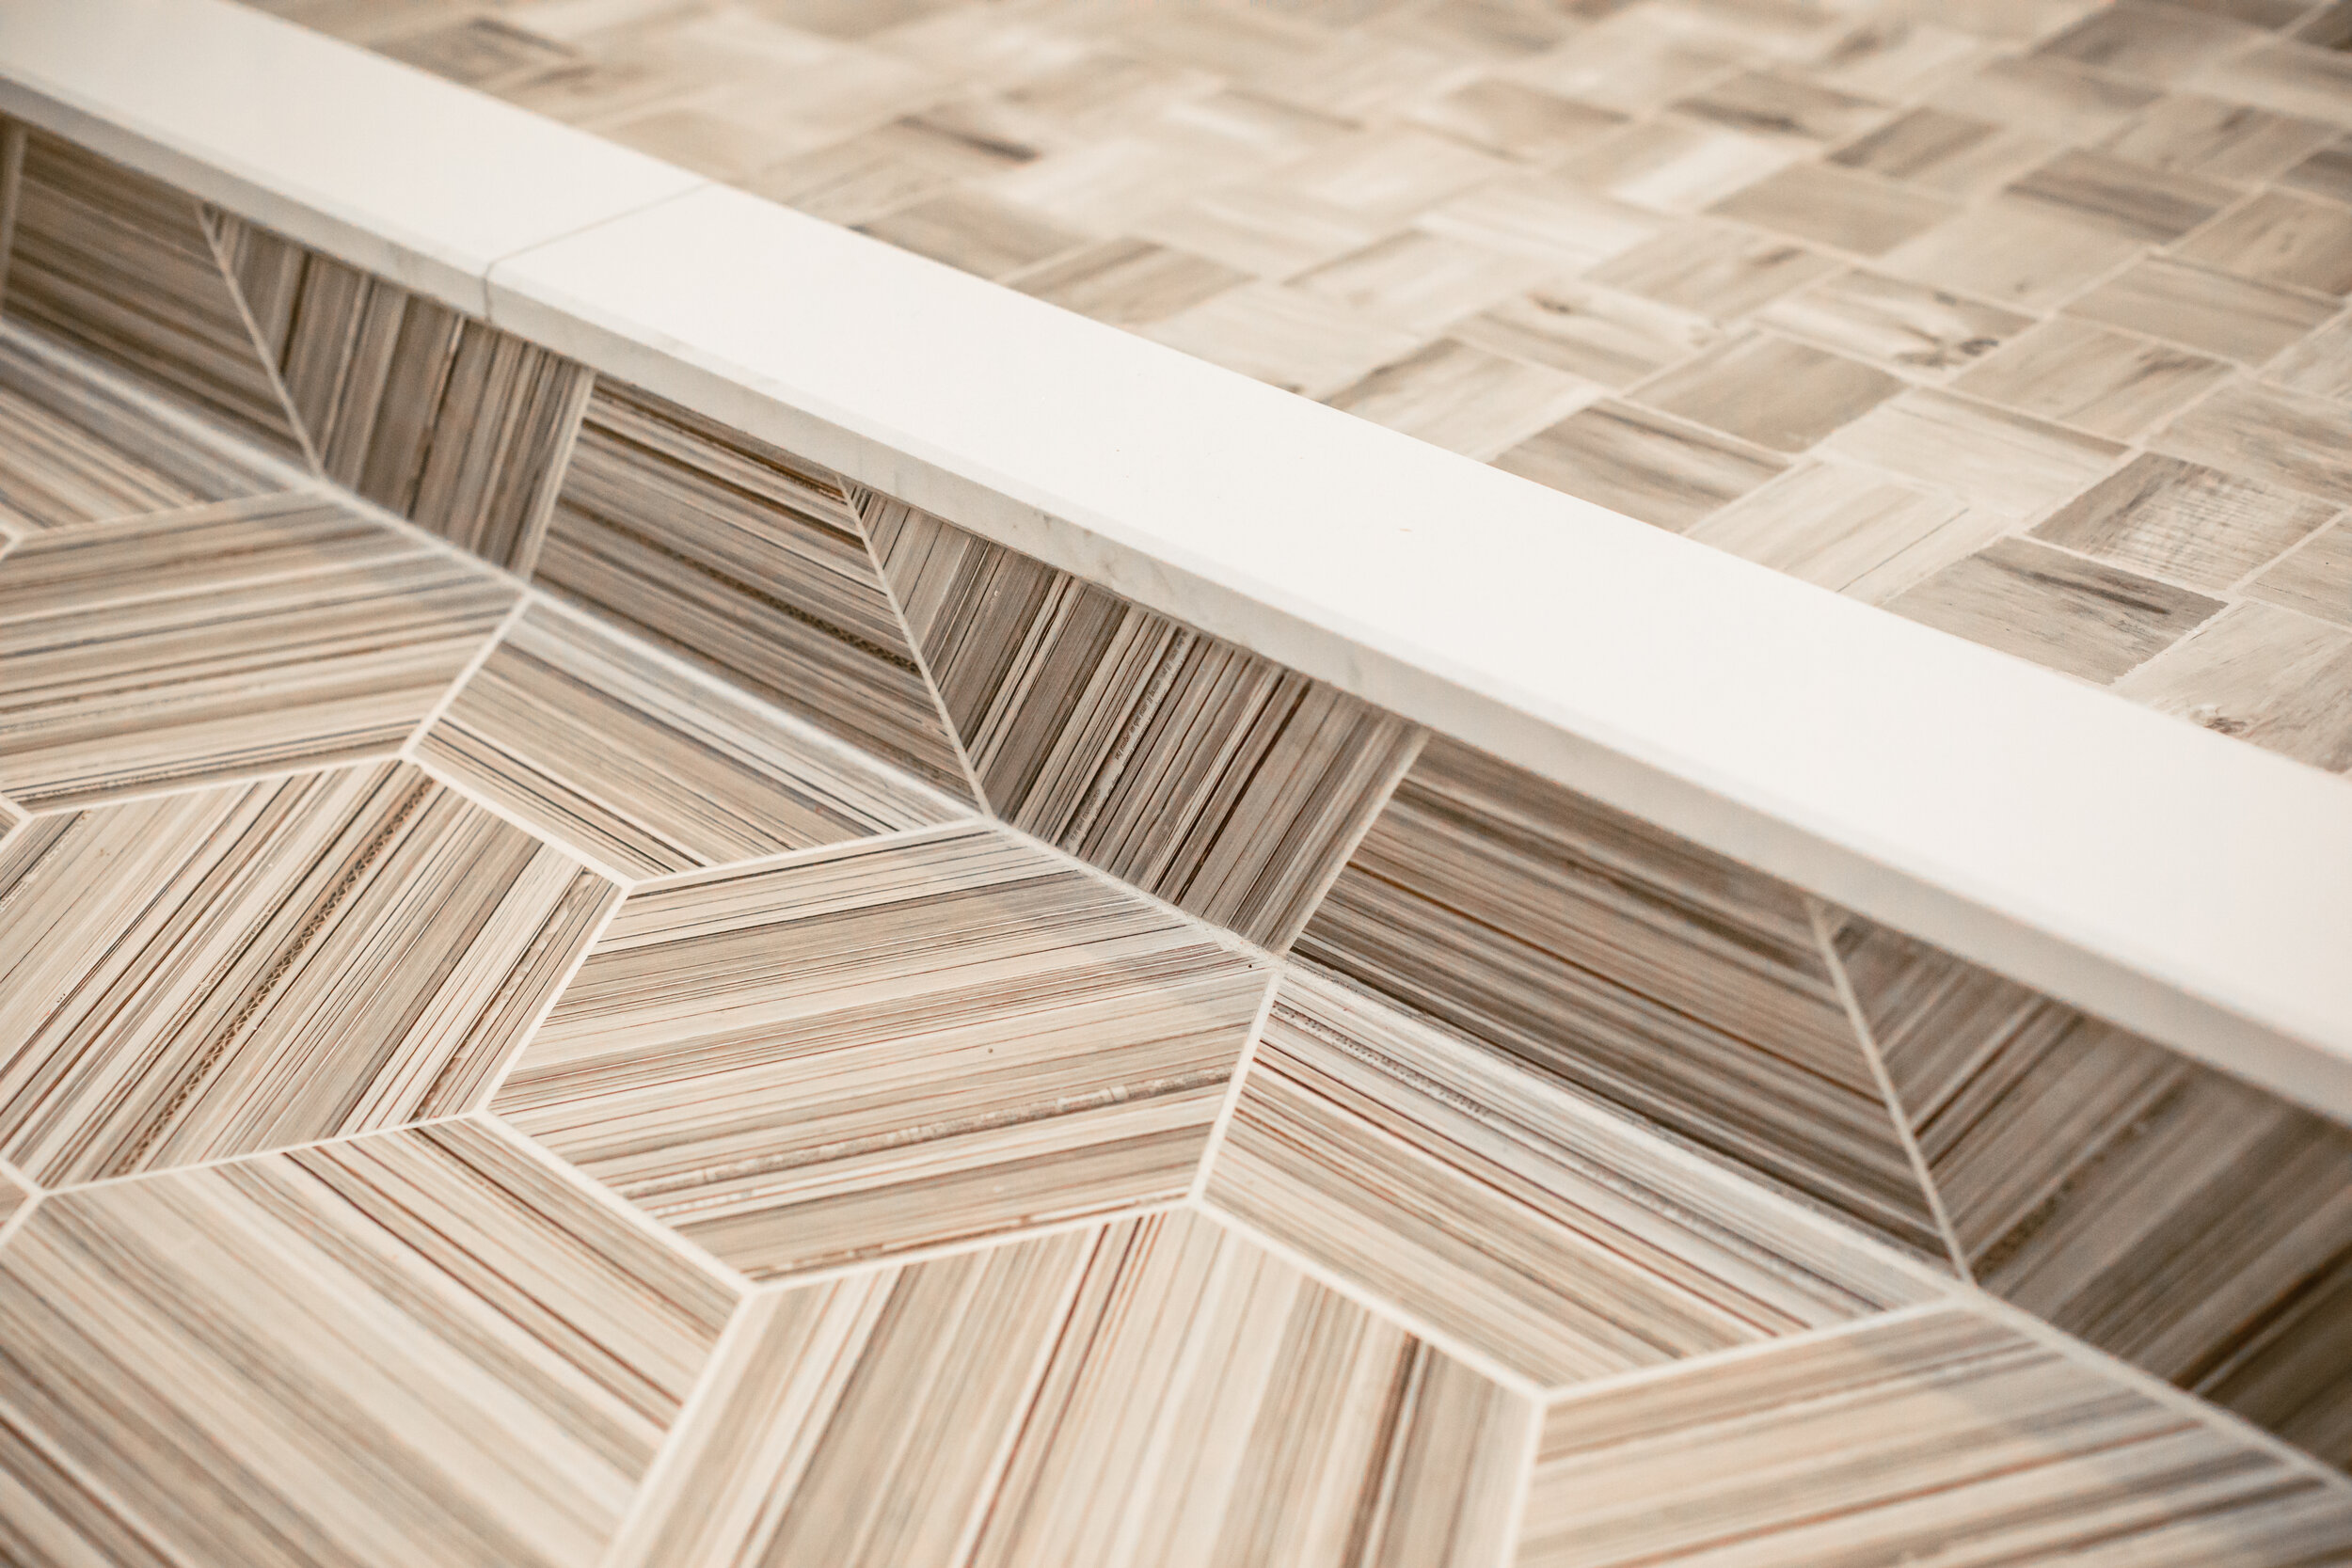
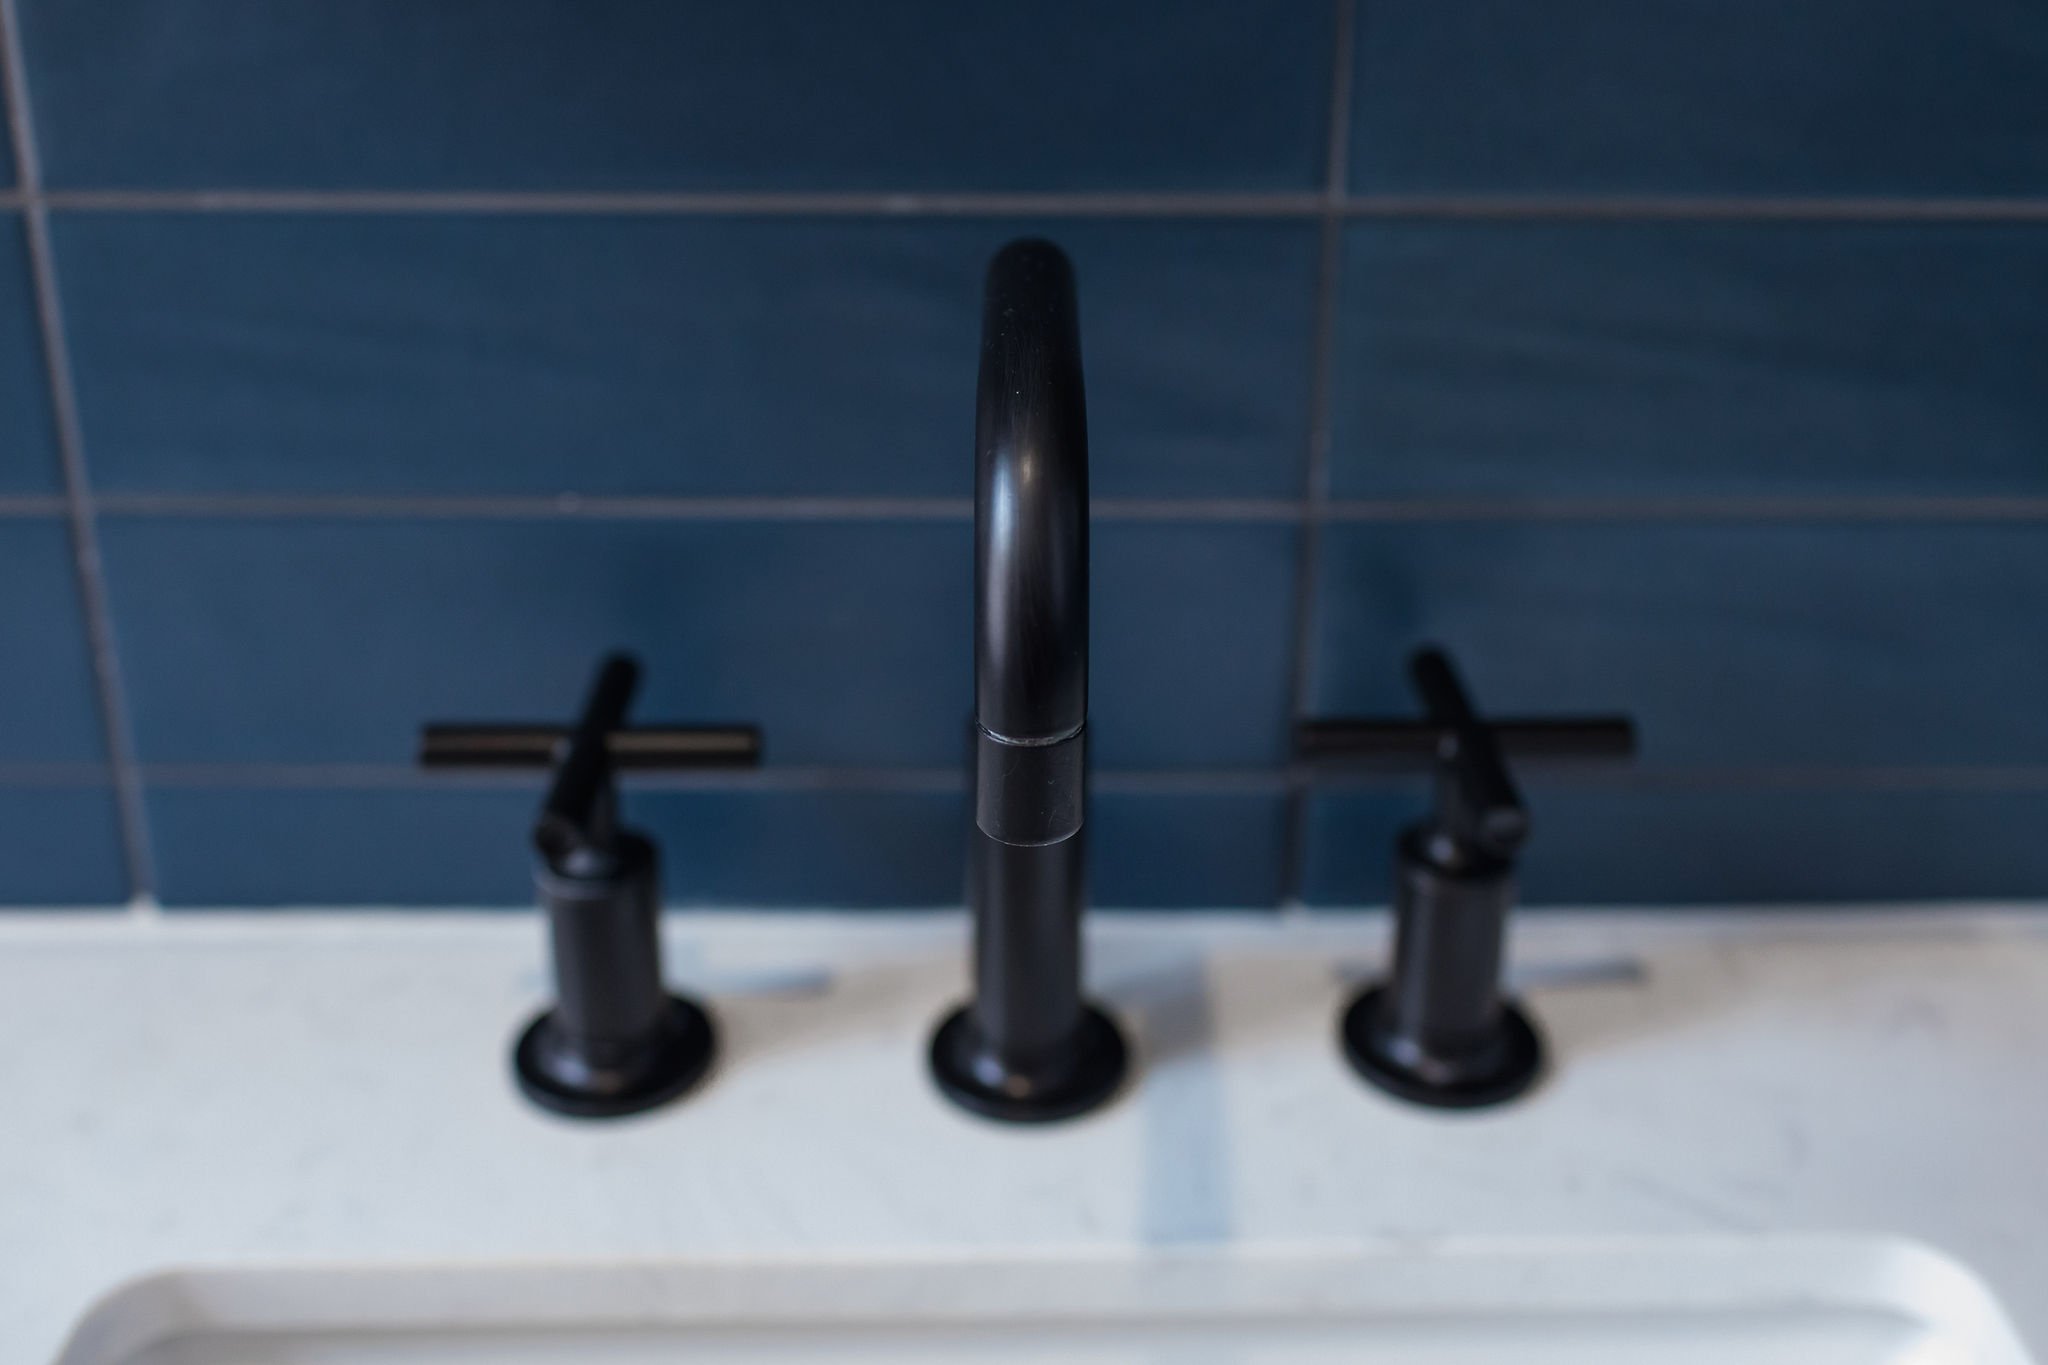
For the palette and over aesthetic, deep blues are offset by clean whites and matte black finishes, with a wood vanity adding warmth. The hex floor tile has a retro feel and the matte finish of the Kiln & Penny Petrolio wall tile with a coordinating grout (thanks to the Architessa team) and stacked installation complements the floor and adds drama without detracting from other details. The formerly all white clawfoot tub was refinished in a matte black on the outside to tie into the design. And small touches, like the faucet shape play nicely with the floor tile pattern.
Dream clients, Molly & Sam also took the project to another level with additional updates — from the reproduction of dramatic baseboards and trim in the original profiles and a beautiful door stripped of years of paint to a restored window and an updated radiator from Castrads that saved a few inches and complemented into the design with its black finish. And they further personalized by selecting personally meaningful art and photography for the gallery frames and curating floating shelves with plant babies and other trinkets to tell their story.
Check out the slideshow below for more of the “after” (thanks, as always, to Beth Caldwell for capturing)…and reach out if you need ideas for your next bathroom update — small or large!


Get the Look
3x12 Kiln & Penny Petrolio Tile (Architessa)
8x8 Hexagon Collection Natural Rete 3H Field Tile (Architessa)
Belleair 30” Single Sink Vanity in Espresso (Pottery Barn)
Eastmoreland 2-1/4” Fitter Double Wall Sconce with in Oil-Rubbed Bronze with 8” Opal Shades (Rejuvenation)
Kohler Purist 1.2 GPM Widespread Bathroom Faucet with Pop-Up Drain Assembly (Build.com)
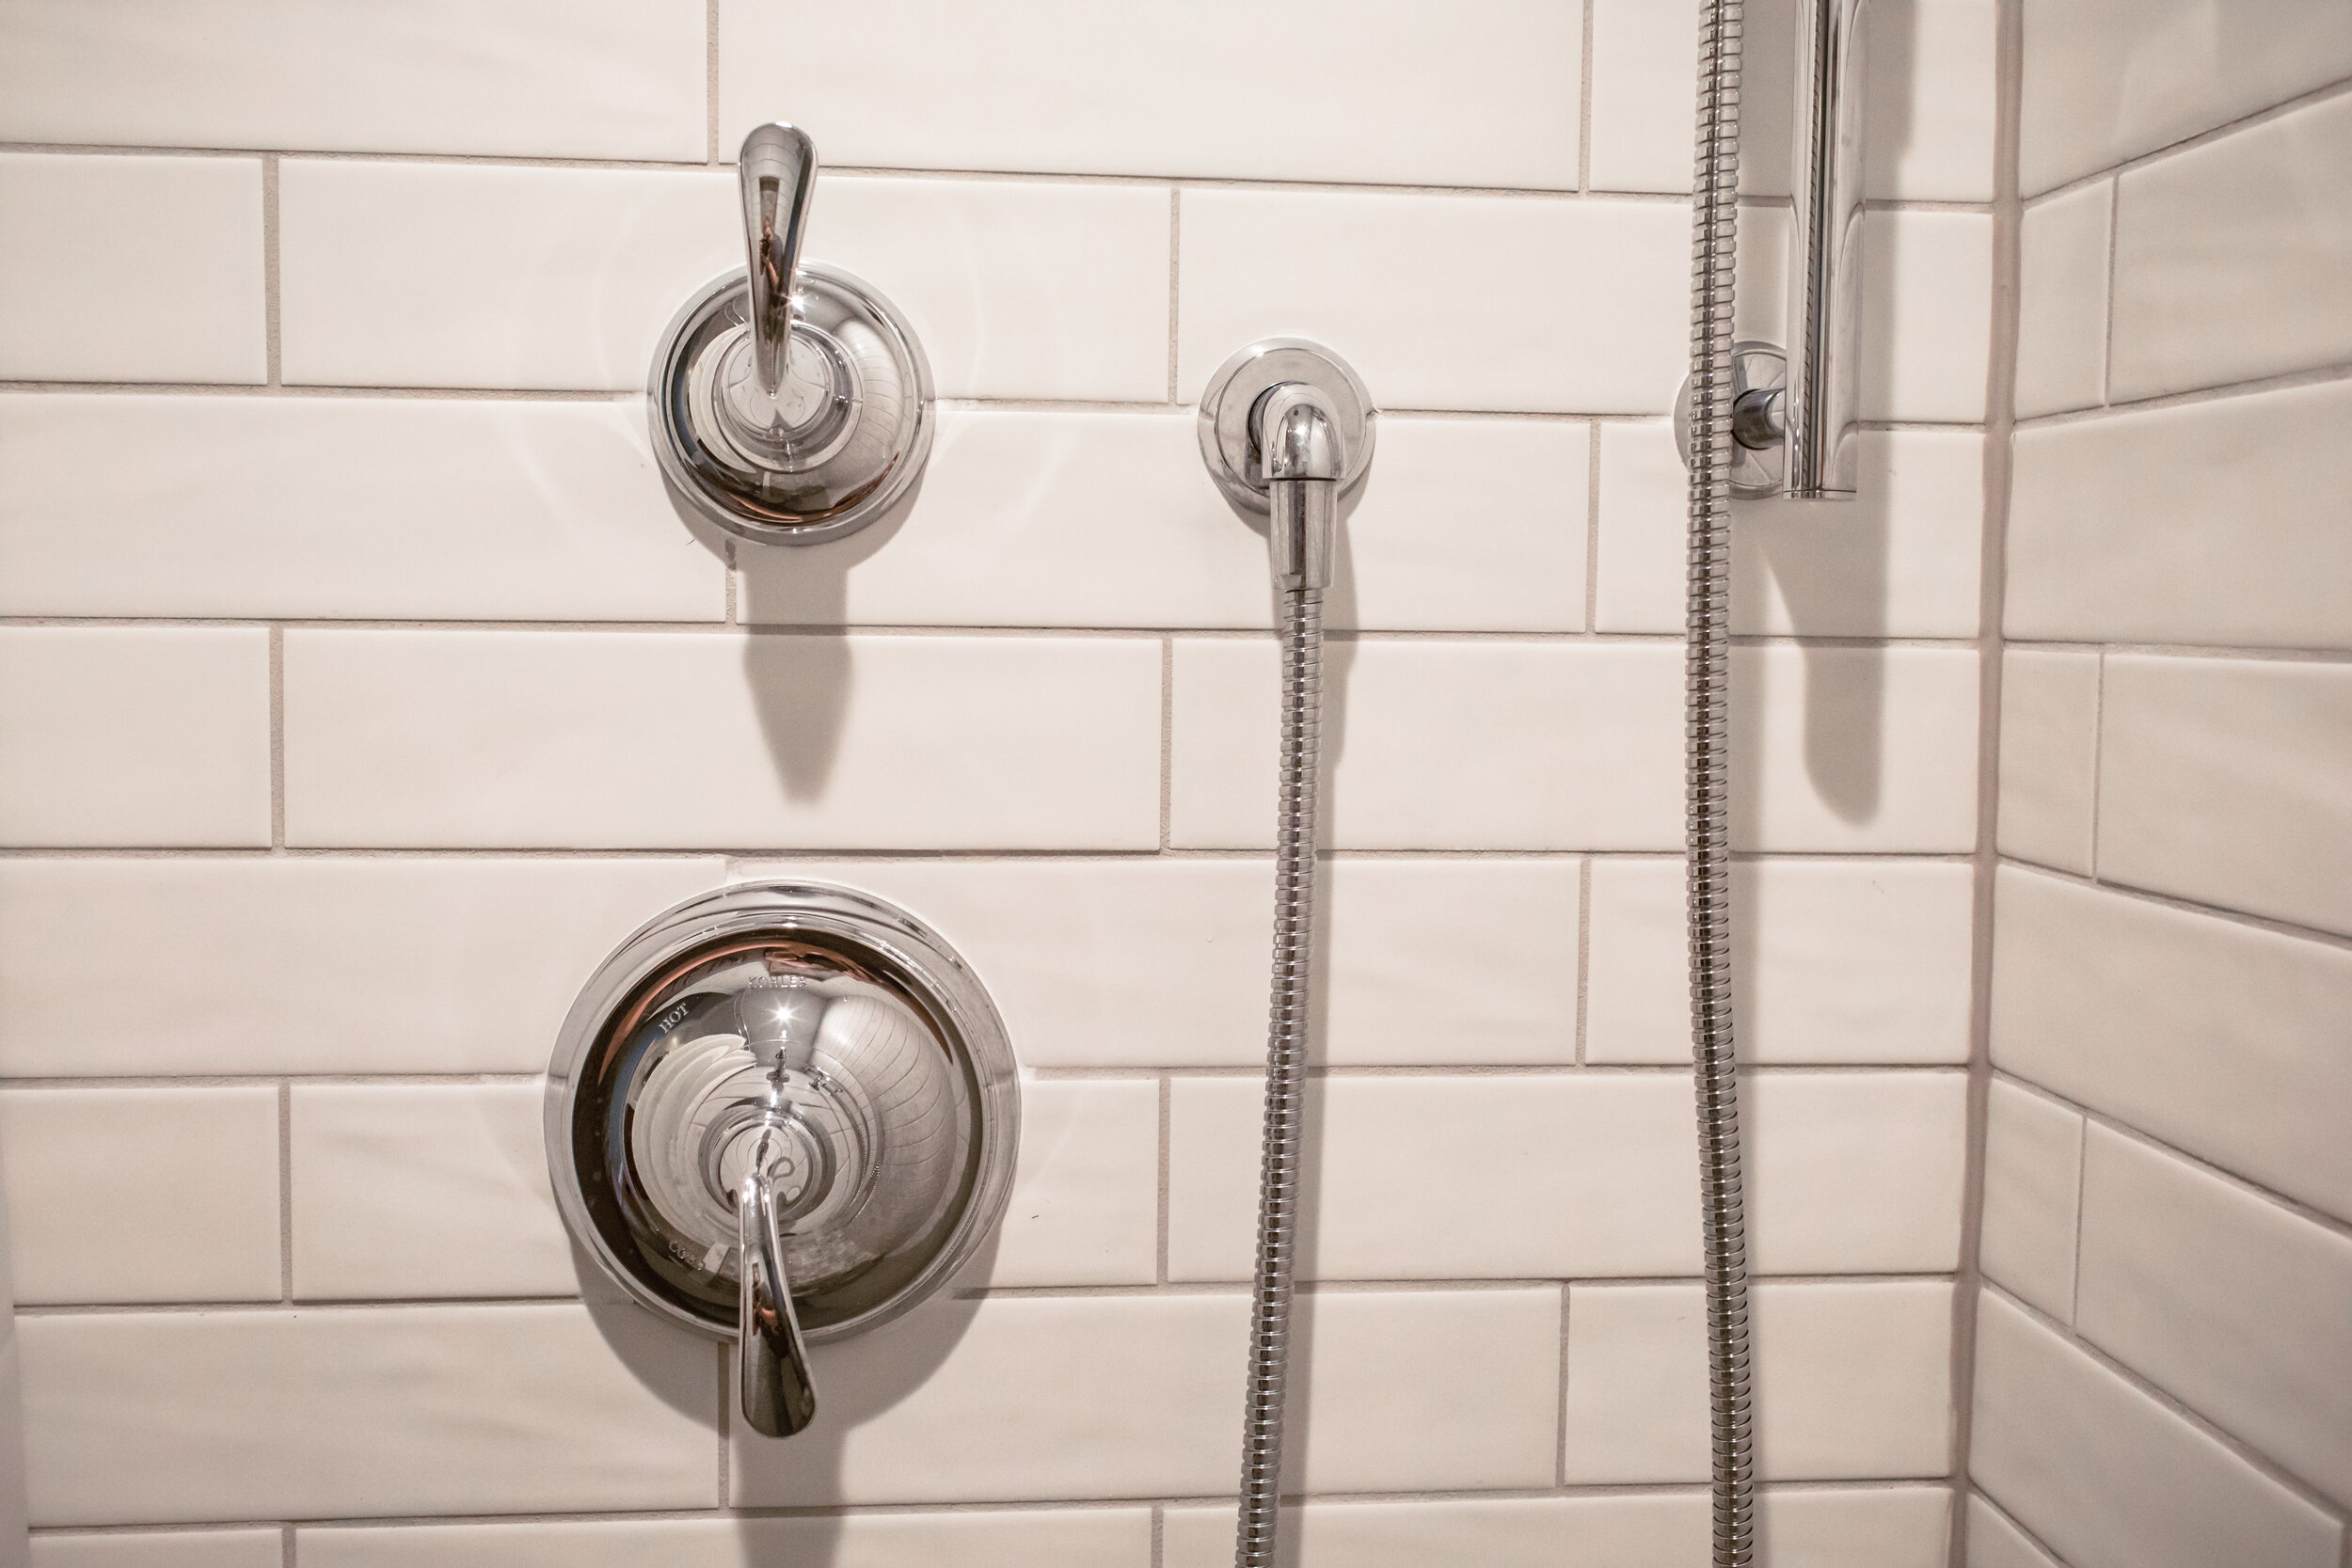
Kohler Purist Tub and Shower Trim Package (Build.com)
Signature Hardware 66" Straight Brass Shower Rod in Matte Black (Build.com)
Kohler Purist Bathroom Accessories (Build.com)
Mercury Cast Iron Radiator (Castrads)
Brushed Gunmetal Wall Frames (Crate & Barrel)
10-Inch Floating Shelf Brackets (Amazon)
Pure White Paint (Sherwin Williams)
Amber Harris is the owner of At Home DC, an interior decorator and a licensed real estate agent with Keller Williams Capital Properties working with clients in DC, Maryland and Virginia.